


Reverse Osmosis System Installation in Allen: DIY vs. Calling a Pro
Find out if reverse osmosis fits your water problem before you buy – then a licensed installation.
What’s Covered on This Page
- Deciding Between a DIY Kit and a Licensed Install
- What a Professional RO Installation Includes
- What Drives Your Installation Cost
- Do You Need a New Install or Just a Filter Change
- How Existing Plumbing Affects Your Install
- How long does an RO system installation take?
- Can I keep using my kitchen sink while the system is being installed?
- What happens during the startup and testing step after install?
Deciding Between a DIY Kit and a Licensed Install
Here’s the honest truth. Plenty of homeowners put in their own RO system and do just fine. Most kits come with push-fit tubing, a drain clamp, and clear instructions. If the setup under your sink is simple, you may not need us at all.
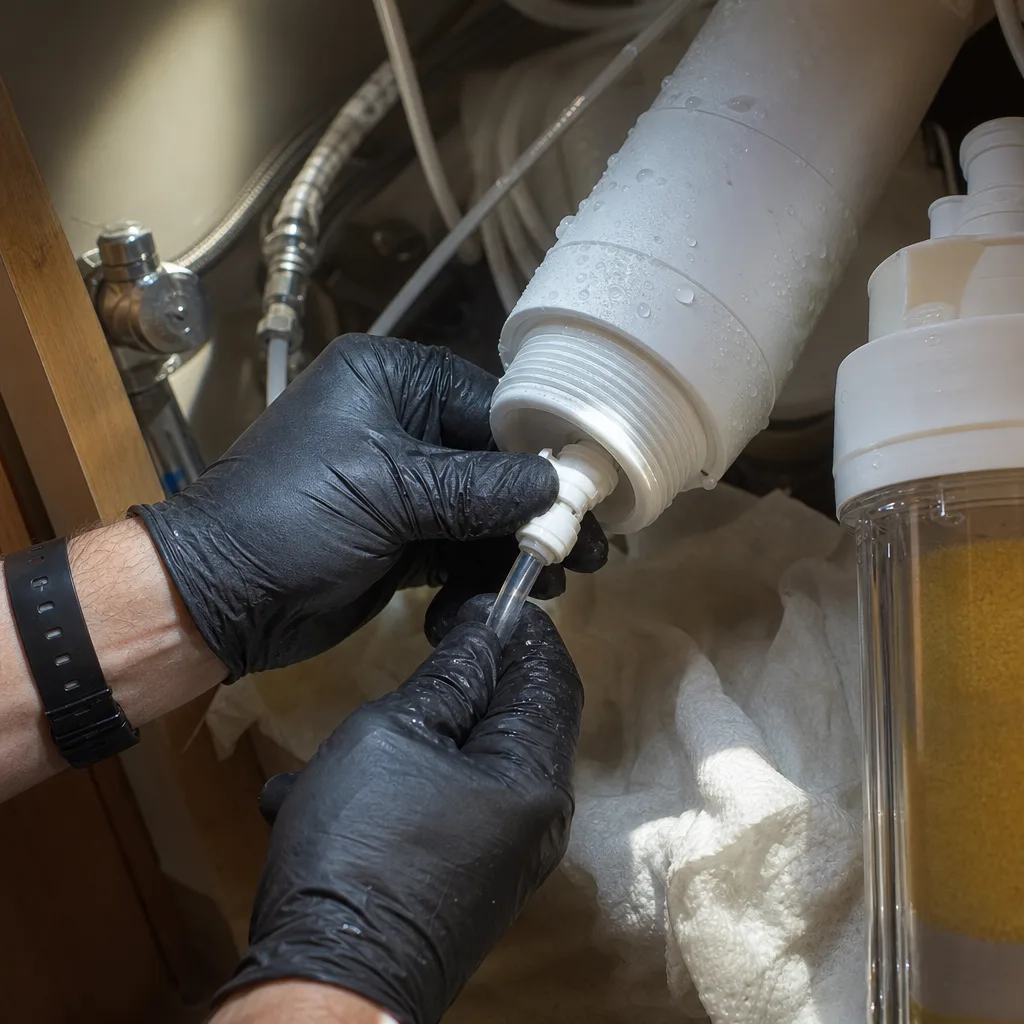
A DIY kit is usually a good fit when:
- Your sink has an open faucet hole or a soap dispenser hole you can give up.
- Your cold-water shutoff valve turns off fully and doesn’t drip.
- There’s room in the cabinet for the tank and filter housings, with no disposal in the way.
- Your drain pipe has a clean, straight section where the drain clamp can go.
- You only want water at the kitchen faucet, not at the fridge or ice maker.
If all five of those are true, give it a shot. Take your time, hand-tighten fittings, and check for drips again the next morning.
Things get harder when the cabinet doesn’t cooperate. Drilling a faucet hole in granite or quartz takes the right bit and a steady hand, and a crack can’t be undone. Older shutoff valves can seize up or start leaking the moment you turn them. A cramped cabinet with a disposal often means the drain connection ends up in a poor spot, and that can cause gurgling or a slow leak you won’t notice until the cabinet floor swells.
A licensed install is worth it when:
- Your counter is stone and needs a new faucet hole.
- Your shutoff valves are old, stuck, or already weeping.
- You want the RO water run to your refrigerator or ice maker.
- Your water pressure feels weak, which can slow how fast the system fills.
- You’d rather not spend a Saturday on your back under the sink.
Cost matters too, so here’s how it compares. A kit costs only what’s on the shelf tag, but you’re the one fixing any leak. When our licensed and insured team handles it, the most common under-sink job runs $475-$850. That includes the RO system and materials, professional installation, the faucet, connections, startup, and testing. It doesn’t include a dedicated line if the run is extensive, cabinet modifications, code corrections, or permits unless stated. We’ll tell you up front if your kitchen needs any of those.
So check under your sink before you decide. If it’s simple, DIY can work. If it’s not, that’s exactly where a pro earns the fee.
What a Professional RO Installation Includes
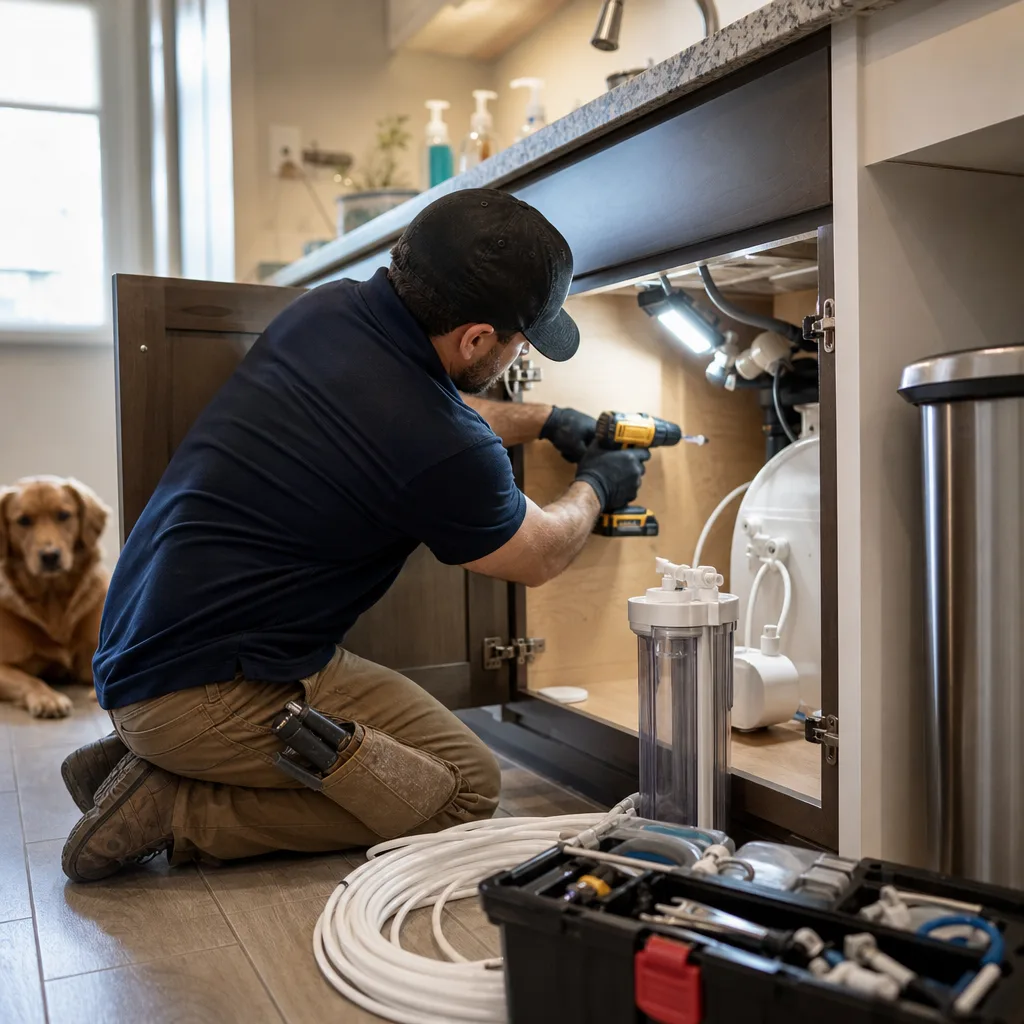
When you hire a pro for an under-sink RO system, you’re paying for more than what’s in the box. You’re paying for a system that’s tapped in right, drains right, and pours clean water the day it goes in. Here’s what a solid install covers in your kitchen.
- Tapping the cold-water line so the RO gets its own feed without cutting off your regular kitchen faucet.
- Mounting the filter housings and storage tank where you can reach them later, because you’ll be swapping filters for years.
- Setting the RO faucet in an open hole, or adding a new one when your counter needs it.
- Connecting the drain line to your sink drain, ahead of the trap, so the wastewater the system rejects can’t drift back toward your clean water.
- Starting it up. That means flushing the new filters and membrane, letting the tank fill, and dumping that first batch.
- Testing for proper output. The faucet should flow steady, the tank should refill at a normal pace, and every fitting should stay dry.
That last step is the one people skip. A push-fit fitting can look tight and still weep a drop every few minutes. Testing is how you catch it before it soaks the bottom of your cabinet. Most jobs finish same-day, so in most cases you’re filling a glass before we pack up.
Why does one kitchen land at the low end of the price range and another at the high end? It comes down to your setup, not a guess. These are the things that move the number:
- System stages and capacity. More filter stages and a bigger daily output cost more than a basic setup.
- Faucet and tank type. A simple chrome faucet and a standard tank cost less than an upgraded faucet or a different tank style.
- Condition of your existing plumbing. Older valves or worn drain parts may need attention first.
- Drain and supply access. A roomy cabinet is quicker work than a tight one packed around a disposal.
- Added remineralization. RO pulls out nearly everything, including the minerals that give water its taste. Some folks find the result a little flat. A remineralization stage adds a small amount of minerals back so the water tastes more like you expect.
Across all of that, RO installs typically run $300-$1,200. The everyday under-sink job sits in the $475-$850 range we covered above. You’ll see your price before any work starts, so nothing creeps up on you.
Hard water is part of life in North Texas. Those same minerals that leave white spots on your faucet can also wear on an RO membrane over time. If you’re already fighting scale on your fixtures and water heater, ask about water softener installation too. Softening the water before it reaches the RO can help the membrane last longer.
There’s a $26-$99 service-call fee to come out and look at your setup. If you go ahead with the install, that fee gets credited toward the job. Financing usually isn’t offered on a smaller job like this one. It’s available on larger repairs and replacements.
So when you compare quotes, don’t just compare the total. Ask whether startup and output testing are part of the price, and ask what happens if your valves or drain need work. A clear answer to those two questions tells you a lot about who you’re letting under your sink.
What Drives Your Installation Cost
You can get a pretty good read on your price before anyone comes out. Open the cabinet under your kitchen sink, grab a flashlight, and look at a few things. What you find there matters more than the brand name on the box.

- Look at the top of your sink. Is there an open hole, a soap dispenser, or a sprayer you’d give up? If not, check your counter. Laminate is easy to drill. Granite and quartz take more time and care.
- Look at the cold-water shutoff valve. A clean, newer valve is a good sign. Green crust, rust, or a drip means it may need to be replaced first.
- Look at the space. A roomy cabinet with no disposal is quick work. A tight cabinet packed with a disposal, cleaning supplies, and a tangle of pipes takes longer.
- Think about where you want the water. A faucet at the sink is the standard job. Running a line across the kitchen to your fridge or ice maker can turn into a longer run, and an extensive dedicated line isn’t part of the standard price.
Here’s how that plays out in two real-world kitchens. In the first, there’s a sprayer hole you never use, a newer shutoff valve, and plenty of room under the sink. You only want clean water at the kitchen faucet. That job sits closer to the low end of the $475-$850 range for the most common under-sink install.
In the second, the counter is quartz with no spare hole, the shutoff valve is crusty and won’t turn all the way, a disposal takes up half the cabinet, and you want RO water at the ice maker on the far wall. Every one of those adds time or parts. That kitchen lands closer to the high end, and it may pick up one of the extras we mentioned earlier.
The other place people overspend is on the system itself. Bigger isn’t always better. Think about how you’ll use the water. A couple filling a few glasses a day doesn’t need the same daily output as a family that cooks pasta, fills water bottles, and makes coffee with it every morning. Before you pay for extra filter stages, ask what each stage removes and whether your water needs it. If someone can’t explain that in plain English, that’s worth noticing.
Remineralization falls in the same bucket. It’s a taste choice, not a must-have. If you’ve tried RO water at a friend’s house and liked it, you may not need it. If it tasted flat to you, it’s worth adding.
When you call for a quote, have a few answers ready so the number you get is a real one:
- What your counter is made of
- Whether you have a disposal
- Where you want the RO water to go
- How many people in your home will drink and cook with it
- A phone photo of the inside of your sink cabinet, if you can take one
Five minutes with a flashlight tells you most of what you need to know. The more you know about your cabinet going in, the fewer surprises you’ll get when the work starts.
Need help with Reverse osmosis system installation?
Call Today, Get Service Today. Xtreme Air Services — Allen is ready to help.
Do You Need a New Install or Just a Filter Change
If you already have an RO system and it’s acting up, you probably don’t need a new one. Most RO complaints come from filters or a membrane that’s worn out. A worn filter is a part you swap, not a reason to replace the whole system. Here’s how to tell the difference before you spend money you don’t need to.
These signs usually point to filters or the membrane, not the whole system:
- The RO faucet trickles instead of pouring a steady stream.
- The tank takes much longer to refill than it used to.
- Your water has started to taste or smell a little off again.
- You’ve lost track of when the filters were last changed, or they’ve never been changed.
- A simple TDS meter, a cheap pen-style tester that measures what’s dissolved in your water, shows numbers creeping up compared to when the system was new.
If that sounds like your kitchen, start with your system’s manual or the label on the housings. It’ll tell you which filters go where and how often the maker suggests changing them. Most systems use filter cartridges that twist out by hand or with a plastic wrench that came in the box. Shut off the feed valve, release the pressure at the faucet, swap the cartridges, and flush the system the way the manual says. Plenty of homeowners do this themselves in under an hour.
Keep in mind that North Texas hard water can wear a membrane down faster, as we covered above. If your filters are fresh and the water still tastes off, the membrane may be the part that’s due. That’s still a replacement part, not a new system.
Sometimes a slow tank isn’t the filters at all. RO tanks have an air charge inside that pushes water out to the faucet. When that air charge drops, the tank can be full and still barely flow. Some tanks can be recharged with a bike pump at the air valve. Others need to be replaced on their own. Either way, the rest of the system can stay.
A new installation starts to make sense when the problem isn’t a wear part:
- A filter housing is cracked, or fittings keep weeping no matter how many times you snug them up.
- You can’t find replacement filters for your system anymore.
- The tank or faucet has failed, and the rest of the unit is old enough that you’d rather not keep chasing parts.
- Your household has grown, and the system can’t keep up with how much water you use.
- You want RO water at the fridge or ice maker, and your current setup wasn’t built for that run.
Here’s a quick example. Say your faucet slowed to a trickle, and you can’t remember the last filter change. Swap the filters first. If the flow comes back, you’re done. Now say there’s a hairline crack in a housing, and your cabinet floor is damp every morning. That’s the point where a fresh install is the safer, smarter move.
If you’re not sure what’s in your water to begin with, water testing can tell you whether your system matches what you need. That way you can decide on filters, a membrane, or a new system based on facts instead of a hunch.
Watch Our Video
See How We Handle Reverse osmosis system installation in Allen
Xtreme Air Services — Allen
How Existing Plumbing Affects Your Install
An RO system doesn’t get its own plumbing. It borrows yours. It pulls from your cold-water line, sends its rinse water down your sink drain, and runs on your home’s water pressure. That’s why the pipes already in your kitchen shape the job as much as the system you pick.

Start with what your water pipes are made of. Newer North Texas subdivisions often have PEX, a flexible plastic line. Many homes have copper. Some older homes still have CPVC or even galvanized steel. The RO feed usually taps in right where the flexible supply line meets the shutoff valve, so the pipe behind it matters less on most jobs. Corroded galvanized pipe is the exception. Disturbing it can start a leak somewhere you didn’t expect, so it’s worth a careful look before anyone puts a wrench on it.
Next, look at how your sink drains. A slow or gurgling kitchen drain is a problem for RO, because the system sends rinse water down that same pipe every time it fills the tank. If the drain is already half clogged, that water has nowhere to go. Clearing it first with a drain cleaning is cheaper than chasing a backup later.
Check for leaks that are already there. Water stains, a warped cabinet floor, or a musty smell under the sink all mean something is dripping now. Adding new fittings to a cabinet that’s already wet just hides the problem. Fix the leak, let the cabinet dry, then install.
Pressure matters too. RO uses your household water pressure to push water through the membrane. When pressure runs low, the system makes water more slowly and sends more of it down the drain. If your whole house feels weak, not just the kitchen, a worn pressure regulator could be the cause. That’s a separate repair that can help every faucet in your home, not just the RO.
Most North Texas homes sit on a slab foundation. That matters if you want RO water at your fridge. With no crawl space, a line across the kitchen can’t simply drop under the floor. It has to go through the cabinets, along the toe kick, or behind a wall. That’s why a fridge run in a slab home can become the longer, extensive line we mentioned earlier.
- Does your kitchen sink drain fast, with no gurgling?
- Is the cabinet floor dry and solid, with no stains?
- Does your water pressure feel normal at every faucet in the house?
- Is your fridge on the same wall as the sink, or across the room?
If you answer yes to the first three and the fridge is close by, your plumbing is ready for a standard install. If not, that’s fine. It just means one small fix comes first. Our licensed and insured team will point out what we find and give you upfront flat-rate pricing before any work starts. You decide what gets done.
Call 469-299-8996
Frequently Asked Questions
Common questions about Reverse osmosis system installation
How long does an RO system installation take?
Most under-sink RO installs finish the same day, often in just a few hours. That includes tapping the cold-water line, mounting the tank and filters, connecting the drain, and running startup and output testing. If your kitchen needs extra work, like a new faucet hole in stone or a valve replacement, plan for a bit more time.
Can I keep using my kitchen sink while the system is being installed?
You’ll need to shut off water to the sink for part of the job, but it’s usually a short wait. The main steps that require the water off are tapping the cold-water line, setting the faucet, and connecting the drain. Once startup and testing are done, your sink is back in service with clean water flowing.
What happens during the startup and testing step after install?
Startup means flushing the new filters and membrane, letting the tank fill for the first time, and dumping that first batch of water before you use it. Testing checks that the faucet flows steady, the tank refills at a normal pace, and every fitting stays dry. Skipping this step is risky, since a loose push-fit fitting can leak slowly for weeks before anyone notices.
Ready to Get Started?
Call (469) 299-8996 Today, Get Service Today.