


Refrigerant Recharge / Leak Repair in Fort Worth
The leak found and repaired before any refrigerant goes in – because a recharge alone won't keep your home cool.
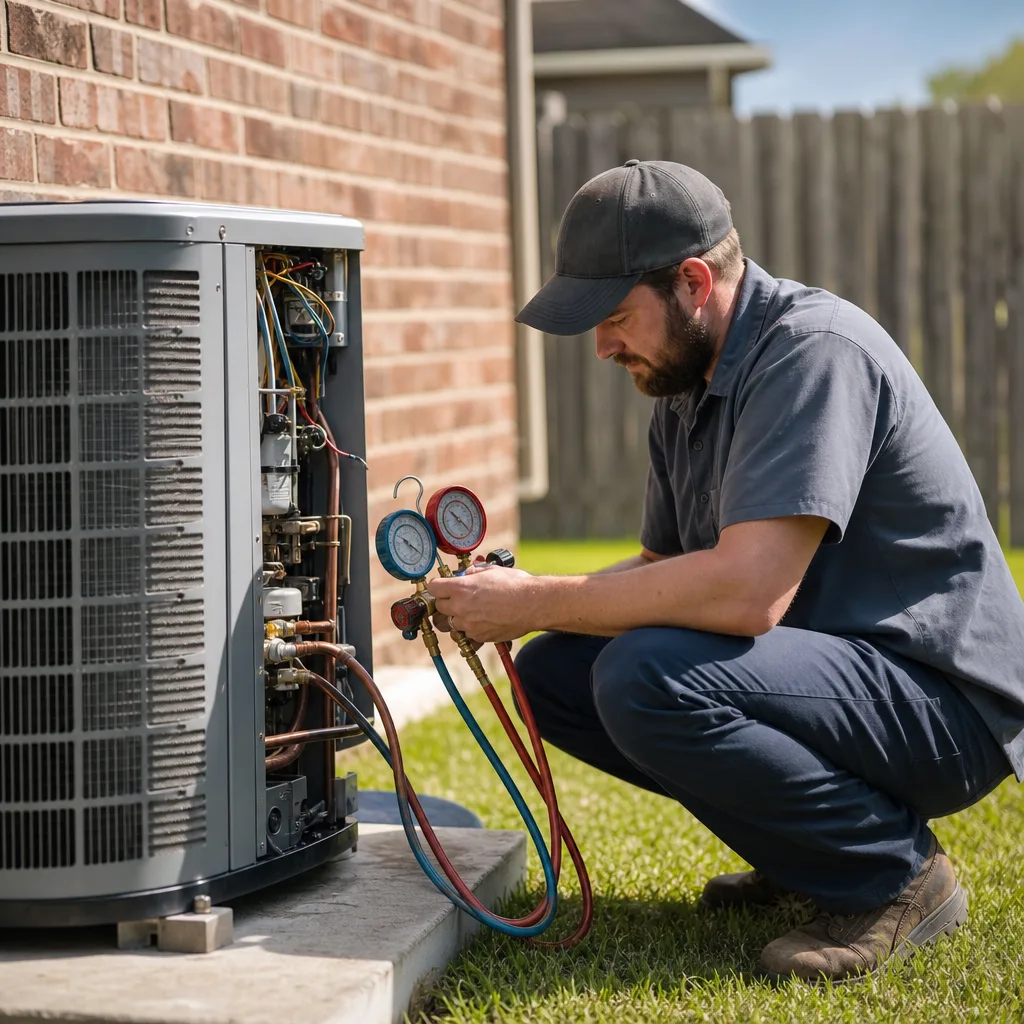
What’s Covered on This Page
- A Refrigerant Leak Always Needs Repair, Not Just a Recharge
- Signs Your System Is Low on Refrigerant
- Check These Three Things Before Assuming It’s a Leak
- Why DIY Recharge Kits Don’t Work on Modern Systems
- What Happens During a Recharge or Leak Repair Visit
- Can O’Reilly or another auto parts store recharge my home AC for free?
- How much does it typically cost to fix a refrigerant leak?
- Will adding refrigerant myself hurt my system if I get the amount right?
A Refrigerant Leak Always Needs Repair, Not Just a Recharge
Here’s the part a lot of people don’t hear. The refrigerant in your AC runs in a sealed loop. It moves heat out of your home, then cycles back to pick up more. It isn’t used up. So if your system is low, it didn’t run out. It leaked out.
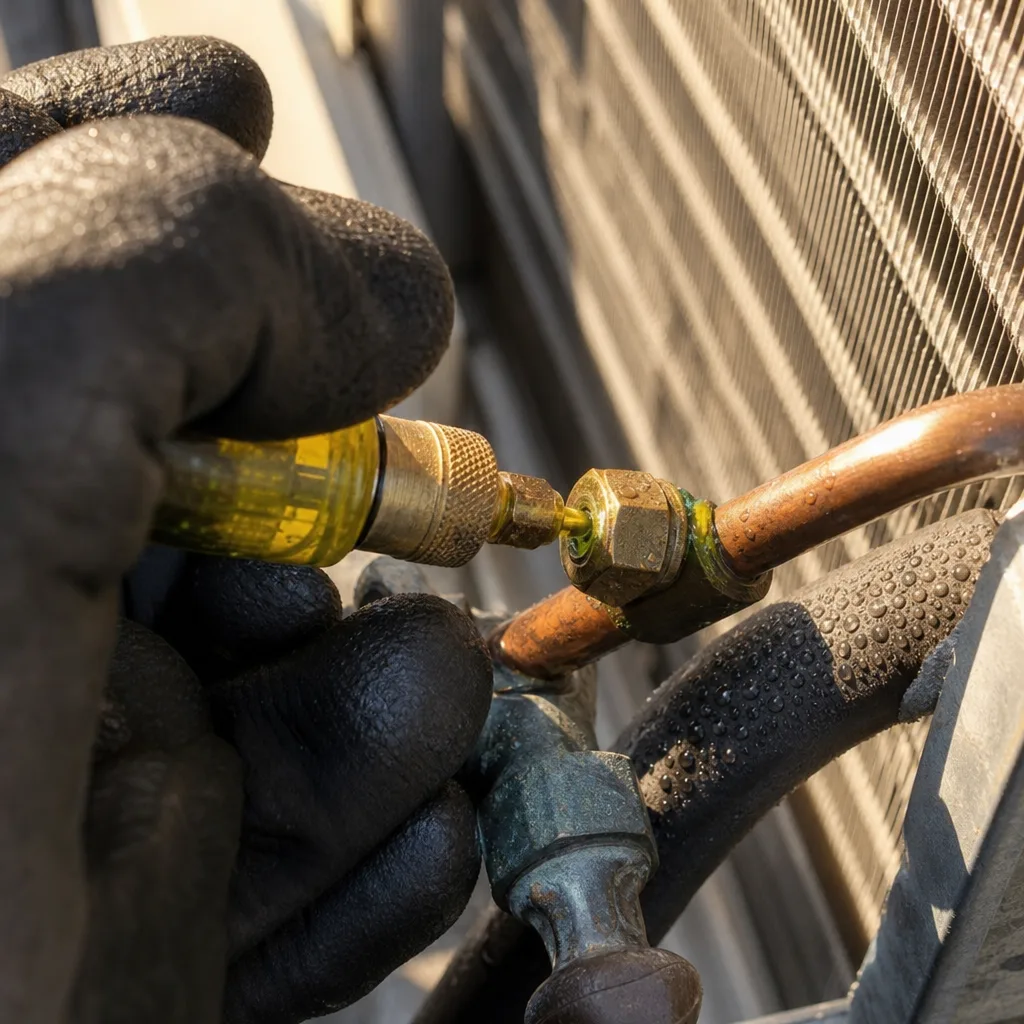
That’s why a recharge by itself is only half a job. Topping off feels like a fix because the air turns cold again. But the hole is still there. Over the next few weeks or months, the new refrigerant slips out the same way the old refrigerant did, and you’re back where you started with a second bill.
In a Fort Worth summer, that matters even more. Your system runs long, hard cycles to keep up with the heat. A system that’s low on charge has to work harder and longer to cool the house. That extra strain falls on the compressor, the most expensive part of your outdoor unit. A small leak you ignore can turn into a much bigger repair.
These are the signs that often point to a leak:
- Air from the vents feels cool, not cold, or just warm
- Ice or frost on the copper line near the outdoor unit or on the indoor coil
- A hissing or bubbling sound near the lines
- The system runs and runs but the house never gets comfortable
- Your power bill climbs while your settings stay the same
- A tech topped you off last year and the problem came back
Now, an honest word before you call anyone. Some of those signs have simpler causes. A clogged air filter can choke the airflow so badly that the indoor coil freezes, and that looks a lot like low refrigerant. If your filter is gray and packed with dust, swap it out, turn the system to fan only for a few hours to let any ice melt, then try cooling again. If it cools fine after that, you didn’t need us. If the warm air or the ice comes back, that’s when a leak check makes sense.
When we handle a refrigerant recharge and leak repair, the job is to locate the failed part, repair or replace it, and verify the system runs correctly. The charge goes back in after the leak is sealed, not before. That order is what keeps you from paying twice. Most calls come down to a single common failure that gets fixed on the first visit.
The type of refrigerant matters too. Many systems run on R-410A, and newer equipment uses A2L refrigerants. Each one needs the right handling and the right amount. Too little or too much both hurt how well your system cools and how long it lasts. Getting the charge right after the repair is part of doing the job right the first time.
Signs Your System Is Low on Refrigerant
Low refrigerant has a pattern, and it helps to know it. A leak usually doesn’t kill your AC in one afternoon. It slowly gets weaker. Maybe the house felt fine in May, a little warm by late June, and now it can’t keep up at all. That slow slide over weeks is one of the best clues you’ve got.
A system that was fine yesterday and dead today is a different story. That’s more often an electrical part than a leak. Here’s how some common look-alikes tend to show up:
- The outdoor unit hums but the big fan on top isn’t spinning. That often points to a bad capacitor or fan motor, not refrigerant.
- The outdoor unit is totally silent while the indoor fan runs. Check your breaker first. This is usually a power or control issue.
- The outdoor unit runs, but the metal fins are packed with grass clippings, dirt, or cottonwood fluff. A dirty condenser coil can’t shed heat, so cooling drops off even with a full charge.
- The thermostat screen is blank or the system won’t turn on at all. Try fresh batteries before anything else.
If none of those fit and your system is still slowly losing ground, a leak moves to the top of the list.
You can also look for clues with your own eyes. Refrigerant carries a little oil with it as it moves through the system. When it leaks, that oil often stays behind. A dark, greasy film on a copper joint, a valve on the outdoor unit, or around the indoor coil can mark the spot. Leaks aren’t always that easy to spot, but it’s worth a look.
Fort Worth weather adds a few of its own clues. After a spring hailstorm, take a look at your outdoor unit. Hail can flatten the fins, and a hard hit can damage the coil tubing behind them. Lines that rub against a wall, a fence, or the unit’s own frame can wear thin over time from vibration. String trimmers and mowers nick plenty of exposed copper lines, too. If your trouble started right after a storm or some yard work, mention that when you call.
Before you call anyone, jot down a few things. When did you first notice the house warming up? Did it fade slowly or quit all at once? Has anyone added refrigerant to this system before, and how long ago? Have you seen ice, oil, or hail damage? These answers help a technician narrow things down faster, and they help you spot anyone who wants to top you off without looking for the leak.
Check These Three Things Before Assuming It’s a Leak
You’ve already ruled out the filter and the breaker. Before you pay anyone to hunt for a leak, take ten minutes and check three more things. Each one can make an AC feel low on refrigerant when the charge is just fine.
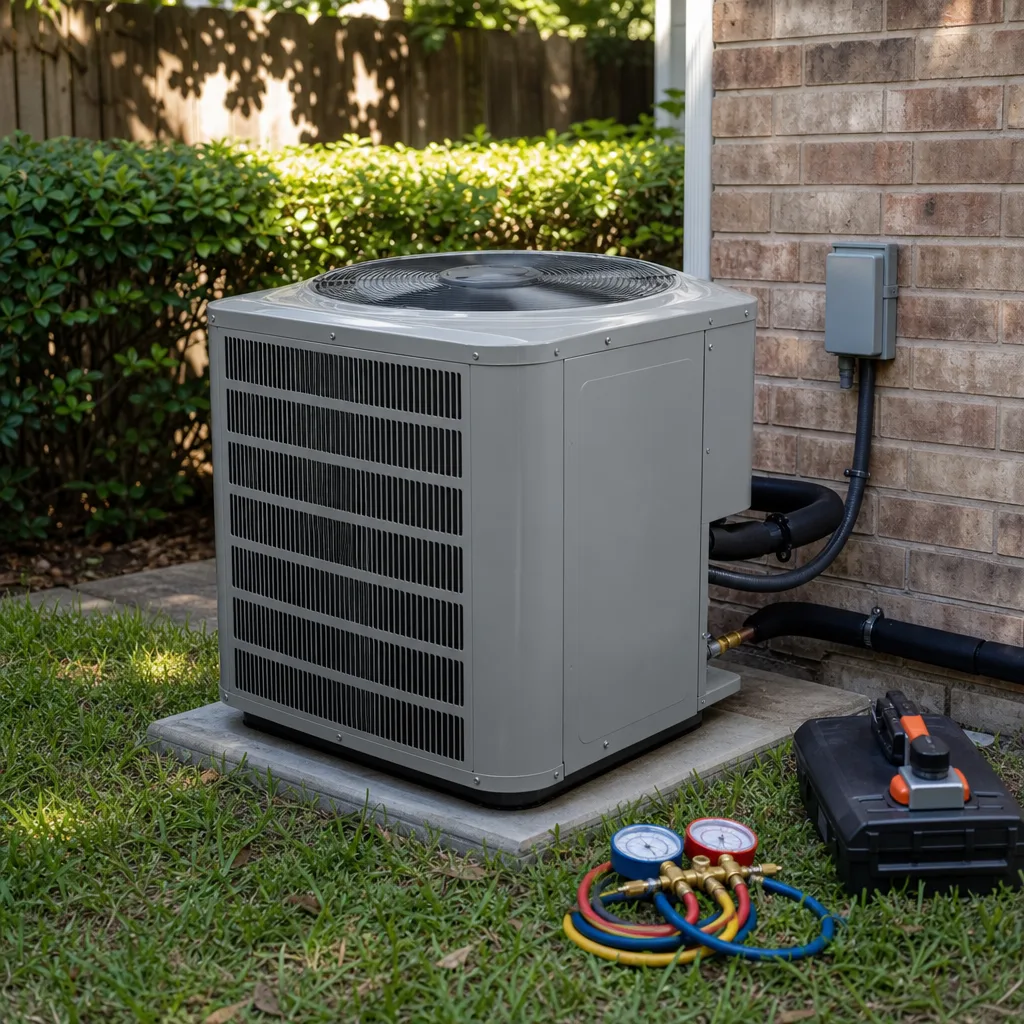
1. How your thermostat is set. Look past the screen and check the settings. Make sure it’s on Cool, not Heat or Off, and that the set temperature is below the room temperature. Then check the fan setting. If it says On instead of Auto, the indoor fan keeps blowing after the cooling cycle stops. That air isn’t being cooled, so it can feel warm or muggy coming out of the vents. It’s easy to mistake for a refrigerant problem. Switch it to Auto and give it a few cycles.
2. Your vents and return grilles. Your system needs to pull in about as much air as it pushes out. Walk through the house and look for supply vents that are shut, or a couch, rug, or bookshelf blocking them. Pay special attention to the big return grille, the one the filter sits behind or near. If it’s blocked, airflow drops. Closing vents in rooms you don’t use can starve the system too. Too little air moving across the indoor coil can make it ice up, and an iced coil looks a lot like a leak. Open everything up and clear the grilles.
3. The condensate drain. Your AC pulls water out of the air as it cools, and that water drains away through a small pipe. Many Fort Worth homes have the indoor unit up in the attic, and those systems usually have a safety switch. If the drain clogs and water backs up into the pan, the switch shuts off cooling to keep the water from coming through your ceiling. When that happens, the fan may still run while the cold air stops. Here’s what to look for:
- Standing water in the pan under the indoor unit
- A small pipe dripping outside, often above a window or near the eaves, when it normally stays dry
- Water stains on a ceiling under the attic unit
- Cooling that shuts off completely, instead of slowly getting weaker
If you find water in the pan, the problem is the drain, not refrigerant. That calls for AC drain line cleaning, which is a much smaller job than a leak repair.
Once you’ve checked all three, make sure the system really is falling short. On a triple-digit Fort Worth afternoon, even a healthy AC can struggle to hold a low setting, and that’s normal. A better test is to compare the air going in with the air coming out. Hold a kitchen thermometer at the return grille, then at a supply vent near the indoor unit, after the system has run for 15 minutes or so. Many techs look for the supply air to be roughly 15 to 20 degrees cooler. If you’re getting that, your system is likely doing its job in tough heat.
If the settings are right, the vents are open, the drain is clear, and the air still barely cools, write down what you found. Those notes save time, and they point straight toward a leak check.
Ready when you are – get in touch today.
Call Today, Get Service Today. Xtreme Air Services — Fort Worth is ready to help.
Why DIY Recharge Kits Don’t Work on Modern Systems
You’ve probably seen them: a can of refrigerant with a little gauge on top, sold online or at the auto parts store for less than a service call. It’s tempting when your house is warm and you just want cold air tonight. Here’s the straight answer. On a home central AC, those kits cause more trouble than they solve.
First, most of those cans are made for cars, not houses. Car AC and home AC use different refrigerants, and the fittings are built differently on purpose so they don’t get mixed up. Your home system runs on R-410A or one of the newer A2L refrigerants, and each one has to be handled the right way. Even setting aside the federal certification rule we mentioned earlier, a car can simply isn’t the right product for your outdoor unit.
Second, some kits sold for home units aren’t plain refrigerant at all. Many contain a stop-leak sealant or a replacement blend. Both can cause real problems:
- Sealant is designed to harden where it meets air or moisture. It can’t tell a leak from the tiny openings your system needs to work, like the small valve that meters refrigerant into the indoor coil. If that clogs, you can end up with a second repair on top of the leak.
- Sealant can also gum up a technician’s gauges and recovery equipment. That can make the real repair slower and harder once someone comes out.
- Mixing a different refrigerant into your system creates a blend nobody can identify. Then the only safe fix is to pull all of it out and start over with a clean, correct charge.
Third, that little gauge on the can can’t tell you if your charge is right. It reads one pressure on one side of the system. A correct charge depends on more than that. A technician checks pressures on both sides, measures line temperatures, and compares the readings with the indoor and outdoor conditions and the manufacturer’s specs.
That matters a lot here. On a 100-degree Fort Worth afternoon, the pressures inside your AC run very differently than they do on a mild spring morning. A single gauge reading taken in that heat can make a low system look full, or push you to add too much. An overcharged system can be just as hard on your compressor as an undercharged one.
And even if the can got the amount exactly right, the leak would still be there. You’d be buying another can in a few weeks, and the new refrigerant would leave the same way the old charge did.
The honest DIY work on this problem is the checking you’ve already done: the filter, the breaker, the thermostat, the vents, and the drain. Those are real fixes you can handle yourself. Once they’re ruled out, the charge and the leak are a job for a technician with the right gauges, the right refrigerant, and a way to find where it’s escaping. If you’ve already added a kit, that’s okay. Just tell your technician what was in it before they hook up their gauges.
Watch Our Video
See How We Handle Refrigerant recharge / leak repair in Fort Worth
Xtreme Air Services — Fort Worth
What Happens During a Recharge or Leak Repair Visit
You’ve done your checks, and it still looks like a leak. Here’s what the visit looks like, so nothing about it catches you off guard.
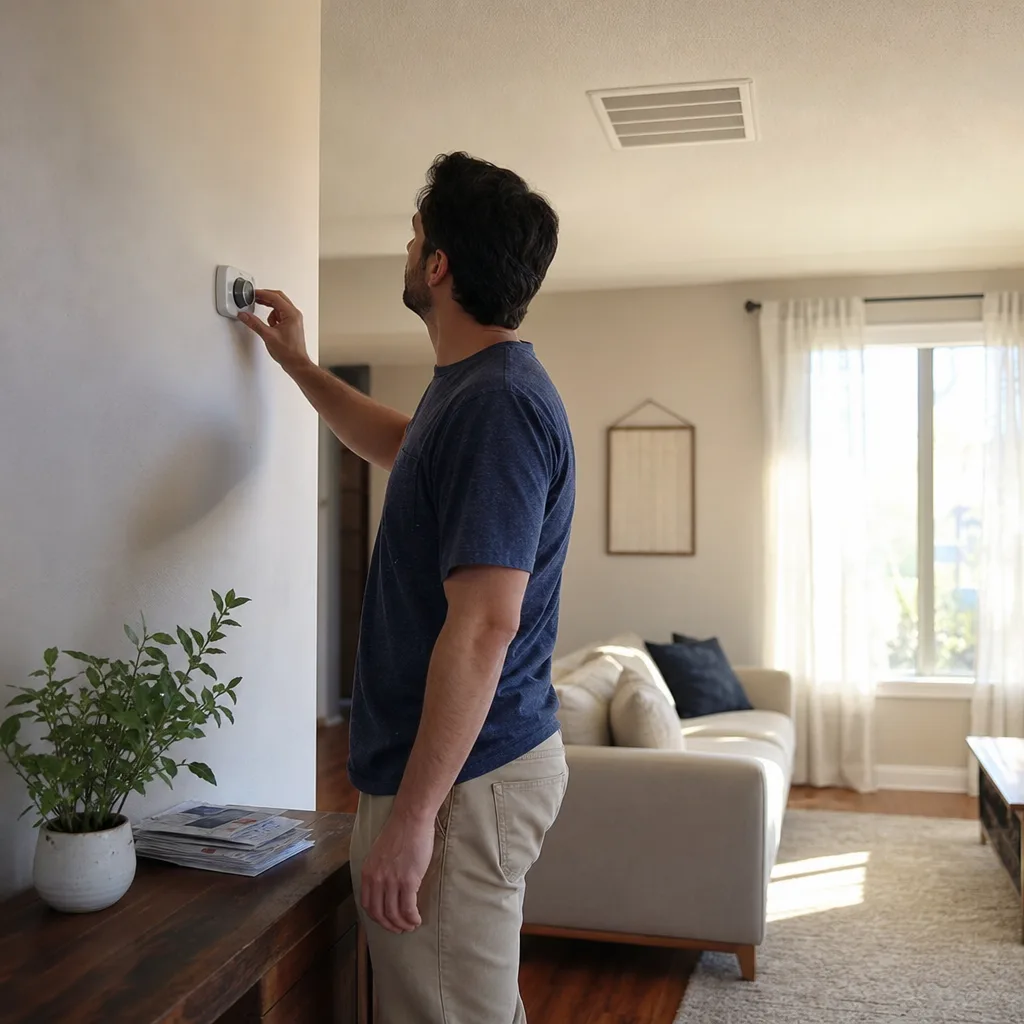
Our job on a refrigerant call comes down to three things. We locate the failed part, repair or replace it, and verify the system runs correctly. Most calls are a single common failure fixed on the first visit.
- Your story first. The technician starts with what you noticed. Tell them when the cooling started to fade, whether you saw ice or oil, whether you had a recent hailstorm or yard work, and whether anyone has added refrigerant before. If you used a DIY can, say what was in it.
- Finding the leak. A good technician checks the usual trouble spots first. That means the copper joints, the valves on the outdoor unit, the lines where they rub, and the indoor coil. A leak can be tiny, so checking takes some patience. In many Fort Worth homes, the indoor coil sits up in the attic, so the search often goes up there too.
- Your price, before any work. Once the problem is found, you get upfront flat-rate pricing. You approve it before any work starts, so you’re not watching a meter run while someone works in your attic.
- The repair. The failed part gets repaired or replaced. After that, the charge goes back in, measured for your system’s refrigerant type.
- The test. The technician runs the system and verifies that it’s cooling correctly before calling the job done. Cleanup is part of the visit too.
There’s a service-call fee of $26 to $99. That fee is credited toward the repair if you go ahead with Xtreme Air Services. On our most common refrigerant job, the price usually lands between $250 and $800. Our typical range for this kind of work is $250 to $1,500. The price includes diagnosis, labor, the standard replacement part, testing, and cleanup.
Sometimes the leak isn’t in a simple joint or valve. If it’s in a major component, like the evaporator coil or the condenser coil, or if more than one part has failed, that work gets quoted separately. The same goes for code upgrades or permits. You’ll see that number and decide on it before anything happens. Financing usually isn’t offered on a smaller repair like this one, but it is available on larger repairs and replacements if the job turns into one.
Timing won’t change your price. A leak that shows up on a Saturday night in August costs the same to fix as one on a Tuesday morning, because we charge no extra for nights or weekends. Same-day service is available, so you’re not left sweating it out until next week.
A little prep makes the visit faster. Clear a path to the outdoor unit and to the attic access, often a pull-down ladder in a hallway or garage. Put pets in another room. Keep your notes from the earlier checks handy. The licensed and insured technician who shows up is background-checked and drug-tested, and they’ll treat your home with respect.
Frequently Asked Questions
Common questions about Refrigerant recharge / leak repair
Can O’Reilly or another auto parts store recharge my home AC for free?
No, that offer is for car AC systems, not home central air. Home systems use R-410A or newer A2L refrigerants that need certified handling and the right equipment to measure pressures correctly. A store gauge made for a car can’t safely check or fill a home unit, and using the wrong refrigerant can create a mix nobody can identify.
How much does it typically cost to fix a refrigerant leak?
Most refrigerant leak repairs fall in a wide range, since the cost depends on where the leak is and which part failed. A leak at a simple joint or valve costs far less than one in a major part like the evaporator or condenser coil. The only way to know your real number is to have a technician find the leak first, since pricing follows the diagnosis, not a guess.
Will adding refrigerant myself hurt my system if I get the amount right?
Yes, it still causes problems even with a perfect amount, because the leak stays open. The new refrigerant leaks out the same way the old charge did, often within weeks. Many store-bought kits for home units also contain sealant that can clog the small valve that meters refrigerant into your indoor coil, turning one problem into two.
Ready to Get Started?
Call (817) 677-1907 Today, Get Service Today.