


A/C System Installation in Irving: A Fair Price, Done Right
New AC systems sized to your Irving home and installed right – with an honest look at whether a repair still makes sense.
What’s Covered on This Page
- What a Standard A/C Installation Includes
- What Drives Your Installation Cost Up or Down
- Permits and Licensing for Irving Installations
- How the Installation Day Works
- When Repair Makes More Sense Than Full Installation
- What should my thermostat be set to in Irving during summer?
- Is a central A/C really a refrigeration system?
- How long does a wall or window A/C unit last compared to a full system install?
What a Standard A/C Installation Includes
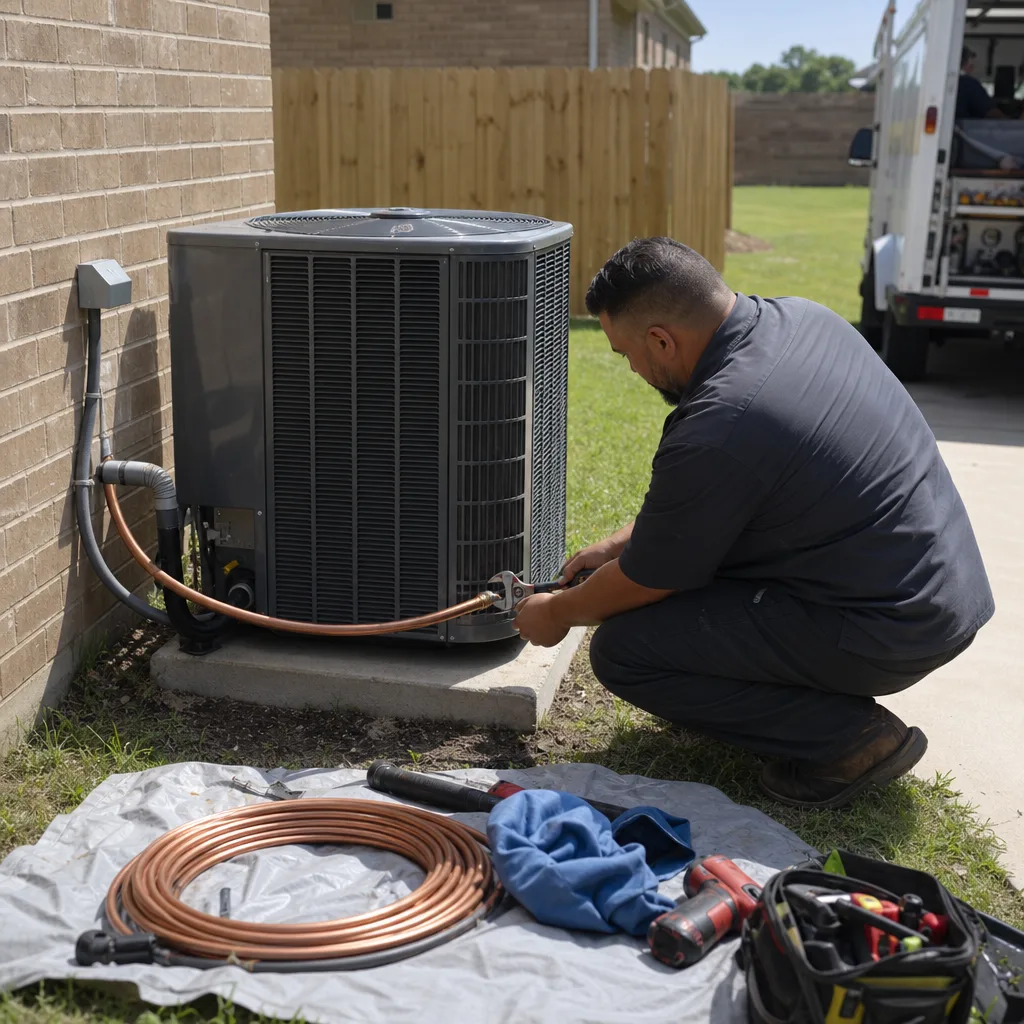
When you hear “standard install,” here’s what it means. We take out your old system and put in a new one that fits the same spot and hooks up to the same connections you already have. No new duct runs. No moving the unit to a different part of the house. No rewiring. It’s the most common A/C job we do, and it usually runs $7,000-$10,000.
Here’s what that price covers:
- The equipment and materials for your new system
- Professional installation by our trained technicians
- Standard connections to the ductwork, wiring, and drain lines you already have
- Startup and testing, so the system is running and checked before we leave
- Haul-away of your old unit, so it isn’t sitting in your yard or garage
And here’s what isn’t included unless your quote says so:
- Changes to your ductwork, electrical, or plumbing
- Code corrections, meaning fixing older work so it meets today’s rules
- Permits
That second list is where surprise costs come from, so it’s worth a closer look. A like-for-like job stays simple when the parts around the old unit are in good shape. If your ductwork is leaky or crushed, the new system can’t push air where it needs to go, and that’s a duct repair, not part of the swap. If the wiring that feeds your outdoor unit isn’t up to code, that has to be fixed too. The same goes for a drain line that’s cracked or clogged. None of this is padding the bill. It’s work that sits outside the box marked “standard.”
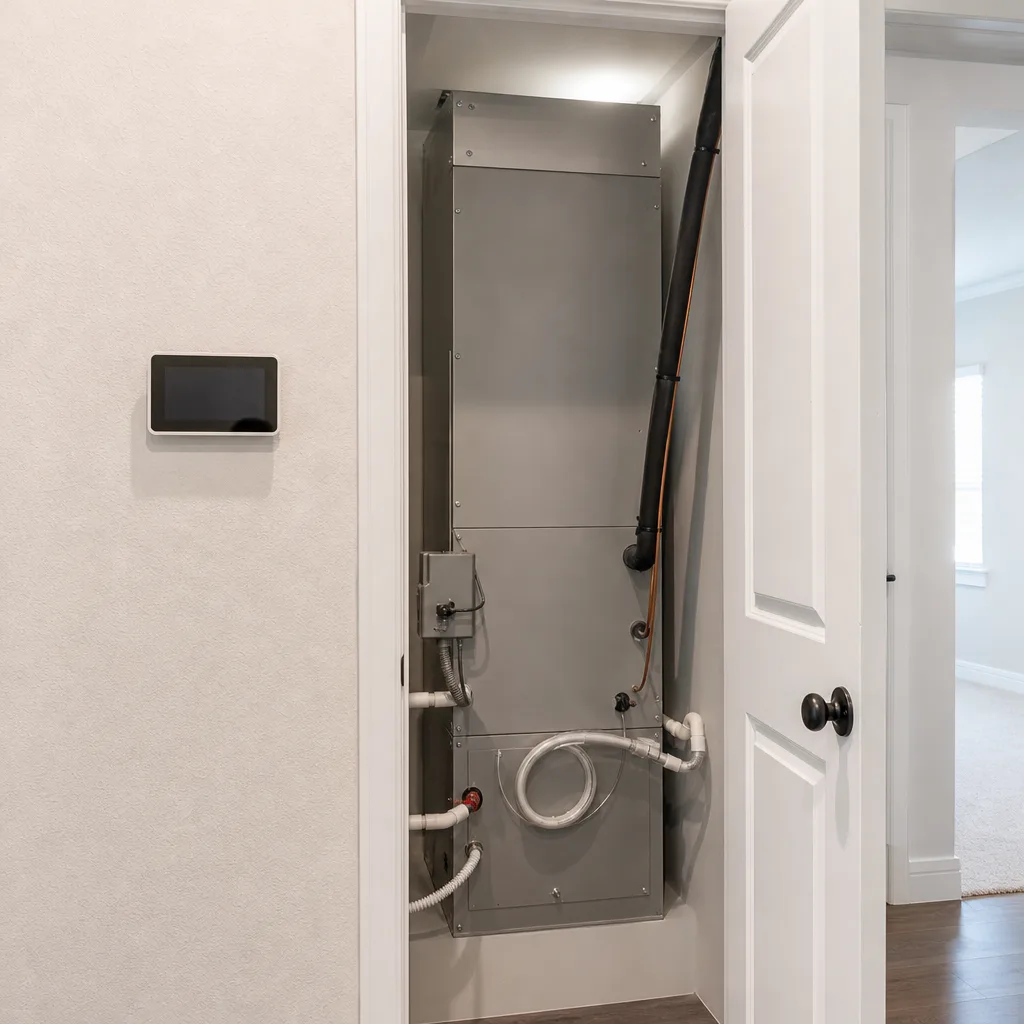
In North Texas, a lot of homes have the indoor half of the system up in the attic. Attic installs can take more work to reach, and ease of access is one of the things that moves the price. A bigger or higher-efficiency system, a different brand or model, or any custom metal work needed to make things fit can also push the number up or down. SEER2, if you see it on a quote, is just a rating for how much cooling you get per dollar of power. Higher numbers mean lower bills over time, but the equipment costs more up front.
The best way to protect yourself is to read your quote with both lists in hand. Ask three simple questions. Is this a like-for-like swap, or does it include changes? Are permits in this price? If something outside the standard scope turns up, will I see the price and approve it before any work starts? A good contractor will answer all three plainly. That’s how a standard install stays standard, and how you end up with the number you planned for.
What Drives Your Installation Cost Up or Down
Most A/C system installations we quote fall between $5,500-$13,000. Where your home lands in that range comes down to a short list of things. You choose some of them. Your house decides the rest.
Here are the parts you control:
- Efficiency level. A higher SEER2 system costs more on day one and less every month after. Variable-speed systems run longer at a low, quiet speed, which helps pull more humidity out of the air. If you plan to stay in your home for years, the savings have time to add up. If you’re selling soon, a solid mid-range system may make more sense.
- Brand and model. Different lines within the same brand have different features and price points. It’s fine to ask what you’re paying for at each step up.
- Whether you replace the indoor half too. If your furnace or air handler is getting old, replacing it at the same time adds cost now but means both halves are matched. On a gas furnace, the efficiency rating is AFUE. That’s the share of fuel that turns into heat for your home, so 95% AFUE means 95 cents of every gas dollar heats the house.
Then there are the parts your house decides.
Size comes first. A system’s size is measured in tons. One ton removes about 12,000 BTUs of heat per hour, and a bigger system costs more. Don’t just copy the size of your old unit. It may have been the wrong size from the start, or your home may have changed since then with new windows, more insulation, or an added room. A cooling load calculation looks at your square footage, insulation, windows, and how much sun hits the house to find the right fit.
Bigger isn’t better, either. An oversized system cools the house fast and shuts off before it has time to pull moisture out of the air. You end up cool but clammy, and the constant on-and-off wears parts out sooner. Getting the size right can save you money on equipment and on repairs down the road.
- Ease of access. Beyond the attic issue covered above, tight closets, long equipment carries, and tricky outdoor spots all add labor time.
- Condition of what’s already there. Worn ductwork, wiring, or plumbing has to be fixed before a new system can do its job.
- Code upgrades. Older homes sometimes have work that doesn’t meet today’s rules. If it’s tied to the new system, it has to be brought up to code.
- Permits. Permit costs depend on your city and the scope of the job.
- Custom fabrication. When a new unit doesn’t line up with the old connections, sheet metal has to be built to make it fit.
The time to find out about any of these is during the estimate, not on install day. With upfront flat-rate pricing, you see the full number and approve it before work starts, so nothing on that second list shows up as a surprise.
If the right system costs more than you planned, flexible financing is available on qualifying installations, on approved credit. That can let you pick the size and efficiency your home needs instead of the cheapest box that fits the space.
One last tip if you’re comparing quotes. Line them up by tonnage, efficiency rating, and what’s included. Two quotes that look far apart are often pricing two very different jobs.
Permits and Licensing for Irving Installations
A new A/C system in Irving usually needs a permit from the city, and the work should be done by a contractor licensed by the State of Texas. Those two things protect you more than anything printed on the equipment box. The permit gets a second set of eyes on the work. The license tells you who’s on the hook if something’s wrong.
In Texas, air conditioning contractors are licensed through the Texas Department of Licensing and Regulation, or TDLR. Our HVAC license number is TACLA29023C. You don’t have to take our word for it. You can look up any contractor’s license on the TDLR website in about a minute, and it’s worth doing for anyone you’re thinking about hiring. A real license number should be easy to find on the quote, the truck, or the website. If a contractor gets vague when you ask for it, that tells you something.
There’s a second credential you won’t see as often. Federal rules require anyone who handles refrigerant to be certified by the EPA. Taking out an old system means safely pulling the refrigerant out of it, and putting in a new one means charging it correctly. That’s not a job for a handyman or a friend with a set of gauges.
So what does the permit do for you? Once the system is in, a city inspector checks that the work meets code. That includes things like the electrical hookup to the outdoor unit, the drain line that carries water away from the indoor coil, and how the equipment is set and secured. In a lot of North Texas homes, the indoor half sits in a hot attic where a bad drain line or loose wire can go unnoticed for months. An inspection is a cheap way to catch that early.
Skipping the permit can also come back to bite you later. When you sell your home, a buyer’s inspector may ask about a newer system with no permit on file. Your insurance company may ask questions too if there’s ever a claim tied to the A/C. A contractor who offers to leave the permit off to save you a little money isn’t really saving you anything.
As covered above, permit costs aren’t part of a standard install price unless your quote says so. That’s normal. What matters is that you know who’s pulling the permit and that it’s happening. Before you sign, ask these questions:
- What’s your TDLR license number, and is it on this quote?
- Will you pull the city permit for my Irving address, or do I need to?
- Is the permit cost in this price, or listed separately?
- Who schedules the inspection, and will you be there if the inspector has questions?
- Are the technicians doing the work EPA certified to handle refrigerant?
- Are you licensed and insured, in case something gets damaged during the job?
A contractor you can trust will answer every one of those plainly and won’t get annoyed that you asked. Our licensed and insured technicians are happy to walk you through it, because a system that passes inspection is one that was done right the first time.
Have questions? We’re happy to help.
Call Today, Get Service Today. Xtreme Air Services — Irving is ready to help.
How the Installation Day Works
A like-for-like swap is often a one-day job. Your home will be warm for a few hours while the old system is out, so a morning start is easiest on your family in an Irving summer. The real goal isn’t speed, though. It’s making sure the steps you can’t see get done right, because those steps decide how well your new system cools and how long it lasts.
A few things on your end help the day go smoothly:
- Clear a path to the indoor unit, whether that’s a closet, the garage, or the attic hatch.
- Move cars, patio furniture, or anything stored next to the outdoor unit.
- Keep pets in a room away from the work area, since doors will be opening a lot.
- Plan to be home at the start and at the end, so you can ask questions and see the system running.
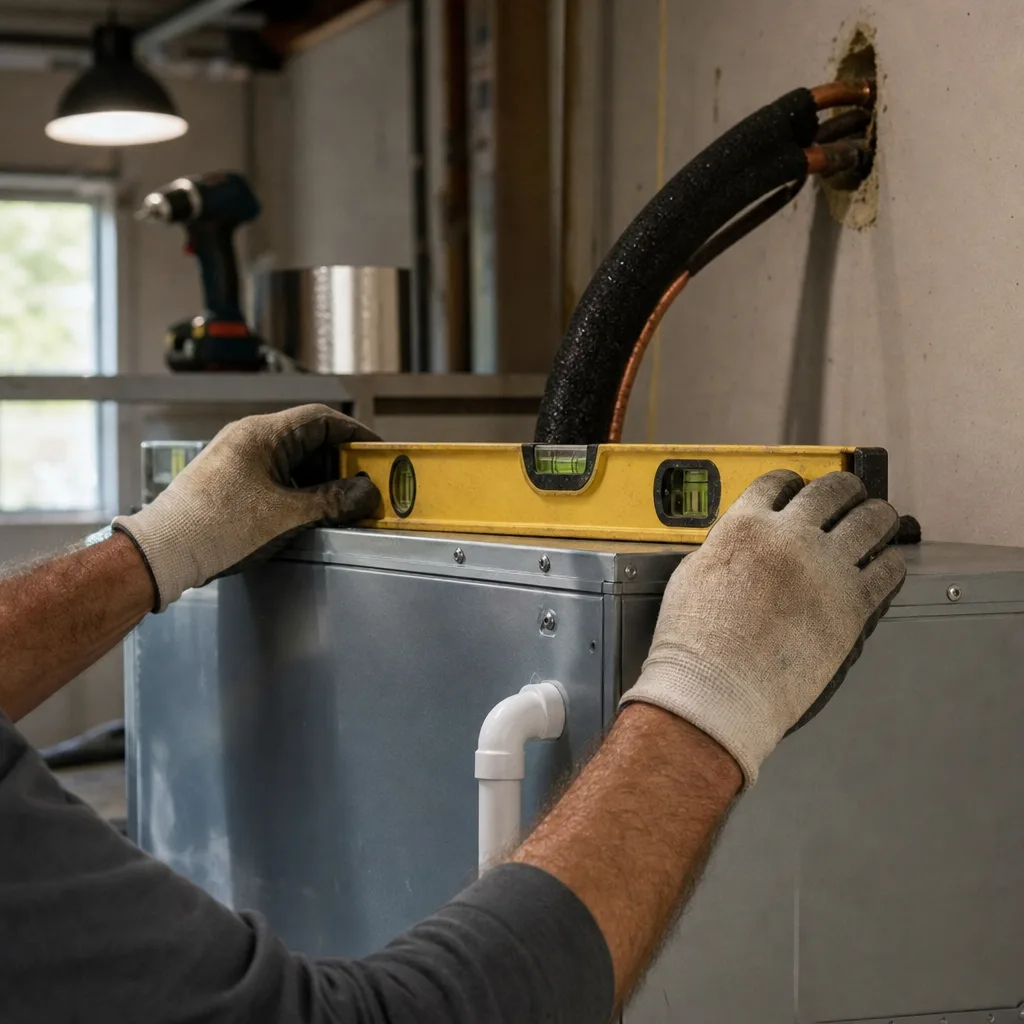
Here’s what a proper installation includes, in roughly this order. The power to the system gets shut off first. Then the refrigerant is recovered from the old unit, as covered above, before anything gets disconnected. The old outdoor unit and indoor coil come out, and the new equipment gets set in place, level and secure.
Next comes the part most people never hear about. The copper lines that carry refrigerant between the two halves get connected and sealed. Then the system is pressure tested to check for leaks and pulled into a deep vacuum. That vacuum removes air and moisture from the lines. Moisture left inside can break down the oil and wear out the compressor, which is the heart of your system. Skipping or rushing this step is one of the quiet ways an install goes wrong, and you’d never know it until something fails.
After that, the refrigerant is charged to the amount your new system calls for. The wiring, thermostat, and drain line get hooked up. With the indoor unit in a hot attic, the drain line matters a lot, since that’s where water collects every time the A/C runs.
Then it’s startup and testing, which is part of every standard install we do. The system runs while it’s checked for proper cooling, airflow, and drainage. Your old unit leaves with the crew, so it isn’t sitting in your yard.
Before anyone packs up, walk through these with the technician:
- Is cold air coming out of every vent, and does it feel steady?
- Can you see water draining where it should?
- Do you know how to set the thermostat and when to change the filter?
- Has the city inspection been scheduled, and who will be there for it?
You should be able to get a straight answer to every one of those. Our licensed and insured technicians will treat your home with respect from the first drop cloth to the last check. That way you finish the day with a cool house and a system that was done right the first time.
Watch Our Video
See How We Handle A/C system installation in Irving
Xtreme Air Services — Irving
When Repair Makes More Sense Than Full Installation
Not every A/C problem means you need a new system. If your system is fairly young, cooled your home well until recently, and has one clear problem, a repair is usually the smarter money. A new install is a big check to write. You shouldn’t write it to fix something a single part can handle.

Before you call anyone, check two things yourself. First, pull out your air filter. A filter packed with dust can choke airflow so badly that the indoor coil freezes over and the house stops cooling. A clean filter and a few hours with the system off to let the ice melt may be all it needs. Second, look at your thermostat. Make sure it’s set to cool, set below the room temperature, and has fresh batteries if it uses them. It sounds too simple, but these two checks solve more “broken A/C” calls than you’d think.
If those don’t fix it, here are the signs a repair is likely the right move:
- The system is on the newer side and hasn’t needed much work before.
- One part failed, like a capacitor, a fan motor, or a clogged drain line. These are common, fixable problems.
- Your home cooled evenly and your power bills were normal until the problem started.
- The outdoor unit hums or clicks but the fan won’t spin, which often points to a small electrical part, not the whole system.
- Water is backing up near the indoor unit, which is often a drain line issue, not a sign the system is done.
A worn part on a healthy system is a repair job. Swapping out the whole thing to fix it would be like buying a new car because of a flat tire.
It’s also fine to wait. If your system still runs and keeps your home comfortable, and you’re mostly curious about a more efficient model, you don’t have to decide in a hurry. Replacing a working system on your own schedule, in a mild month, is a lot less stressful than doing it when the house is hot.
The picture changes when the problems pile up. If your system is older and the compressor has failed, if you’re calling for repairs every summer, if the refrigerant keeps leaking out, or if some rooms have never cooled right, then repair money starts going into a system that’s on its way out. That’s when a new install, sized right for your home, starts to make more sense.
If you’re not sure which side you’re on, a diagnostic visit will tell you. Our service-call fee is $26-$99, and it’s credited toward the repair if you go ahead with Xtreme Air Services. You’ll get a straight answer about what’s wrong and whether a fix makes sense, before you spend anything more.
Frequently Asked Questions
Common questions about A/C system installation
What should my thermostat be set to in Irving during summer?
A common setting is 78 degrees when you’re home and a few degrees higher when you’re away, since Irving summers push outdoor temps well above 95. Setting it lower won’t cool the house faster, it just makes the system run longer and raises your power bill. If your home never reaches your set temperature even after a new install, that points to a sizing or duct issue worth having checked.
Is a central A/C really a refrigeration system?
Yes, your A/C works the same way a refrigerator does, just on a bigger scale for your whole house. It uses refrigerant to absorb heat from inside your home and release it outside through the outdoor unit. That’s why proper refrigerant charging and a sealed, leak-free line set matter so much during installation, since a system with the wrong charge won’t cool efficiently no matter how new it is.
How long does a wall or window A/C unit last compared to a full system install?
A window or wall unit typically covers one room and lasts far fewer years than a properly installed central system, which is why most Irving homeowners with whole-house cooling needs choose a full installation instead. A central system ties into your existing ductwork and cools the whole house evenly, while a wall unit only handles the space it’s mounted in. If you’re deciding between patching one room or replacing your whole system, a diagnostic visit can tell you which option solves your comfort problem.
Ready to Get Started?
Call (469) 200-2166 Today, Get Service Today.