


Refrigerant Recharge / Leak Repair in Dallas: Fix the Leak, Not Just the Gauge
The leak found and repaired before any refrigerant goes in – because a recharge alone won't keep your home cool.
What’s Covered on This Page
- Why a Low Refrigerant Charge Is Always a Leak, Not Normal Wear
- Signs Your System Is Losing Refrigerant
- What Happens During a Recharge and Leak Repair Visit
- What Refrigerant Recharge and Leak Repair Costs
- Why DIY Recharge Kits Don’t Solve the Problem
- Is it safe to stay in the house if the AC has a refrigerant leak?
- Can a freon leak be fixed, or does the system just need replacing?
Why a Low Refrigerant Charge Is Always a Leak, Not Normal Wear
Lots of folks believe an air conditioner needs a refrigerant top-off every summer, like an oil change. It doesn’t. Refrigerant moves back and forth between the coil inside your home and the unit outside. It soaks up heat from your house and dumps it outdoors. It never gets used up. If your system was charged right when it was installed and nothing has leaked, it should hold that charge for the life of the equipment.
So when a technician says your system is low, the honest next sentence should be, “and here’s where it’s leaking.” If all you get is a recharge and a bill, the hole is still there. The new refrigerant will slowly escape the same way the old charge did. It could take weeks or months, and it often shows up again right when Dallas hits its hottest stretch and your AC is running nearly nonstop.
Leaks tend to show up in a handful of common places:
- The indoor evaporator coil, where tiny pinholes can form in the copper or aluminum tubing over time.
- The outdoor condenser coil, which takes hail, yard debris, and weed-eater strikes.
- Brazed joints and fittings, where pipes are joined and can crack from years of vibration.
- Service valves and their small caps, which can wear out or loosen.
- The copper line set running between the units, especially where it rubs against framing, a wall, or the attic floor.
Many Dallas homes keep the air handler and coil up in the attic. In summer that space gets very hot, and your system works hard in it for months. A small leak there can hide for a long time because you can’t see or hear it from your living room.
Here’s what you might notice when the charge is low:
- Air from the vents feels cool but not cold, and the house never quite reaches the thermostat setting.
- The system runs much longer than it used to, and your electric bill climbs.
- Ice or frost forms on the copper line near the outdoor unit or on the indoor coil.
- A faint hissing or bubbling sound near the indoor or outdoor unit.
Before you assume it’s refrigerant, check two things yourself. First, look at your air filter. A clogged filter starves the system of airflow and can freeze the coil, which looks a lot like a refrigerant problem. Second, make sure the outdoor unit isn’t packed with grass clippings or cottonwood fluff. If a fresh filter and a clear condenser fix it, you didn’t need a leak repair at all.
If those check out and you’re still seeing the signs above, the real fix has three parts. Find the leak, repair it, and then charge the system to the exact amount the manufacturer calls for. That last step matters more than it sounds. Newer systems use R-410A or the newer A2L refrigerants, and each one has its own handling rules and charging specs. A system that’s overcharged or undercharged runs worse and wears out sooner, even with the leak sealed.
Signs Your System Is Losing Refrigerant
The biggest clue isn’t something you’ll see on the unit. It’s your service history. If someone added refrigerant last summer and your AC is struggling again this summer, that’s a leak telling on itself. A sealed system that was fixed right wouldn’t need more.
Beyond the obvious signs, a slow leak leaves quieter clues. These are easy to miss unless you know where to look:
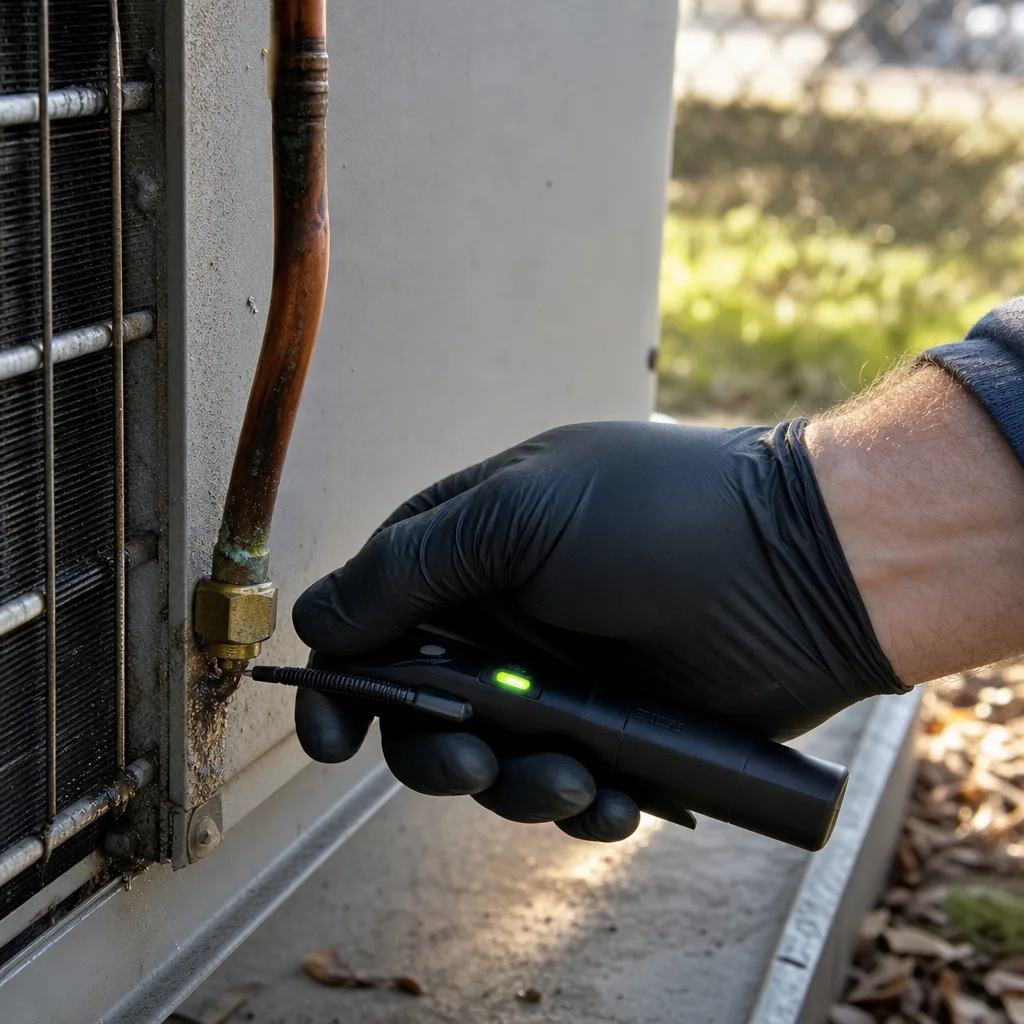
- Oily, dirty spots on copper fittings or the outdoor coil. Refrigerant carries a little oil through the system. When it escapes, it leaves a greasy film that grabs dust and turns dark.
- A house that feels sticky or clammy, even when it’s close to the thermostat setting. A coil that’s short on refrigerant doesn’t pull as much moisture out of the air, so you feel the humidity first.
- Water where it shouldn’t be. When ice on the indoor coil melts, it can overflow the drain pan. If your air handler sits in the attic, that may show up as a brown stain on the ceiling below it.
- Your AC keeps up fine in the morning but falls behind by late afternoon. On a triple-digit Dallas afternoon, a system that’s even a little low has no extra power left to give.
- The outdoor unit shuts off and starts back up more often than it used to. Many systems have a safety switch that stops the compressor when pressure drops too low.
- The larger copper line at the outdoor unit feels warm and dry on a hot day, or it’s covered in frost. When the charge is right, that line usually feels cool and often has a little sweat on it.
Some problems look like a leak but aren’t. Ruling these out can save you money:
- The outdoor unit hums, but the fan on top isn’t spinning. That often points to a bad capacitor or fan motor, not refrigerant.
- Nothing turns on at all. Check the breaker, and make sure the thermostat has working batteries and is set to Cool.
- Only one or two rooms are warm while the rest of the house is fine. A refrigerant problem cools the whole house poorly. A single hot room usually points to ductwork or airflow.
Catching a leak early really does matter. A small leak found soon is often a smaller repair. When a system runs low for a whole summer, the compressor works hotter and harder than it was built to. The compressor is the heart of your outdoor unit, and it’s one of the costliest parts to replace. Ice that keeps forming and melting on an attic coil can also lead to water damage you don’t find until later.
Before you call, jot down a few things. Note when you first noticed the problem, whether it gets worse in the afternoon, and any past refrigerant top-offs. Also note where you’ve seen ice, water, or oily spots. Those details help a technician go straight to the likely leak spots instead of starting from scratch.
What Happens During a Recharge and Leak Repair Visit
A real leak repair follows a clear order. Each step depends on the one before it, so it helps to know what a proper visit looks like before anyone touches your system.
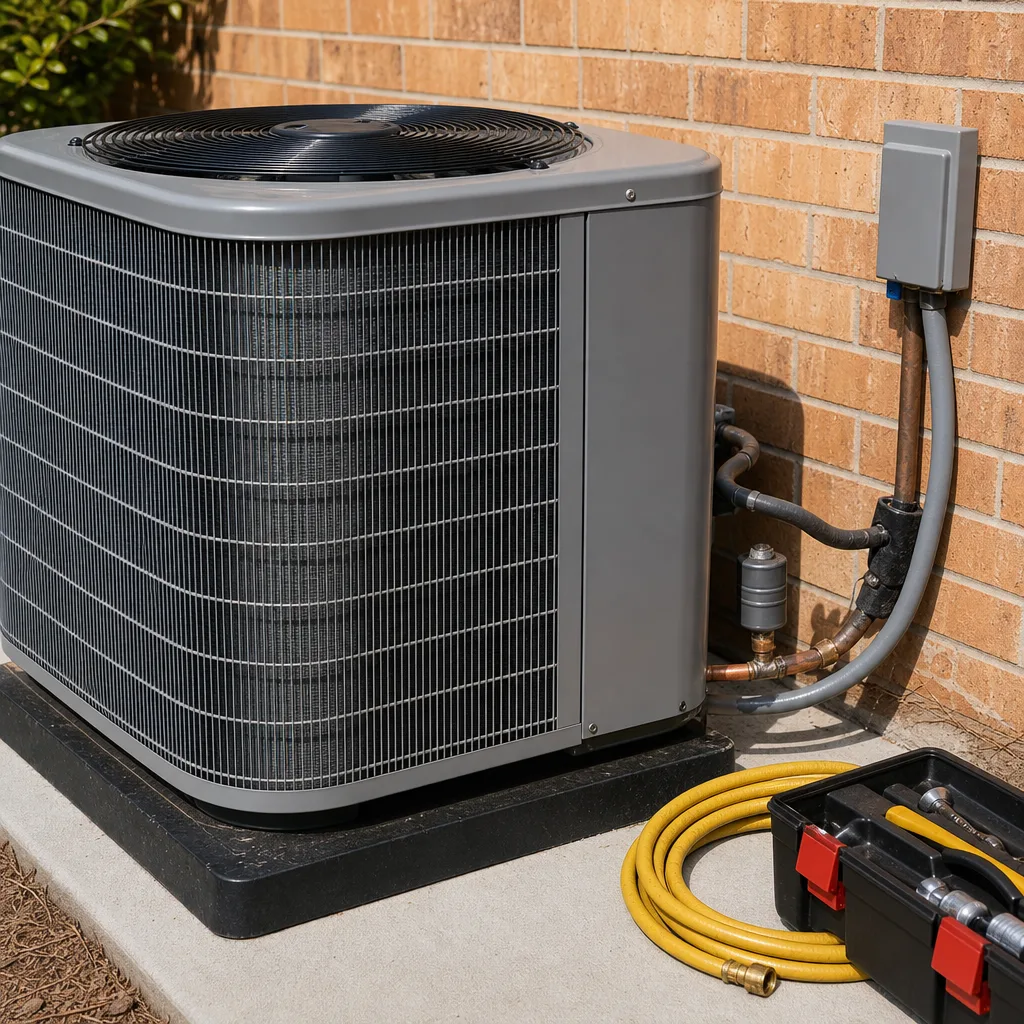
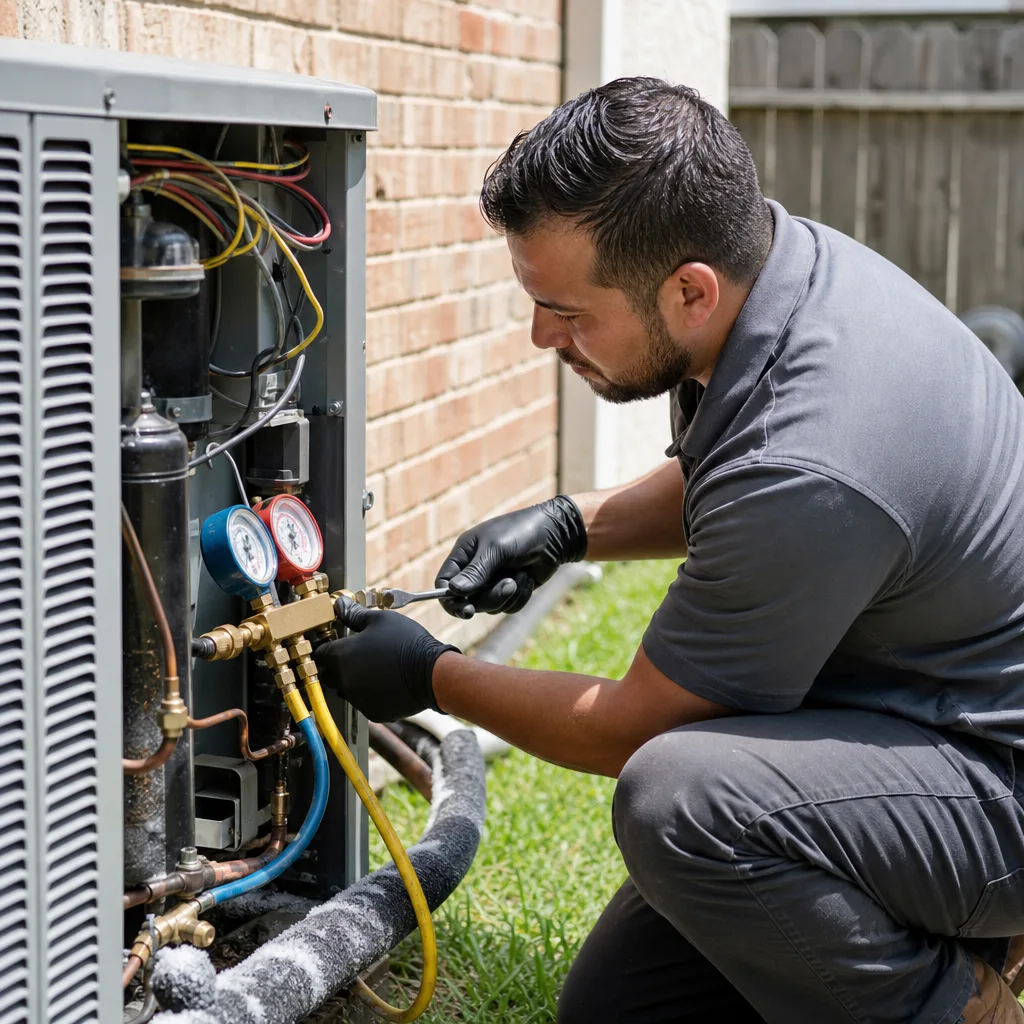
First, the technician confirms the problem. They hook gauges to the service ports on your outdoor unit and read the system pressures and temperatures. This tells them whether the charge is low or whether something else, like a weak fan motor or a dirty coil, is causing your trouble. This is also where the notes you jotted down pay off.
Next comes finding the leak. A good technician doesn’t just guess. Common methods include:
- An electronic leak detector, a handheld sniffer that beeps when it picks up refrigerant in the air near a coil, joint, or valve.
- Bubble solution brushed onto fittings and joints. Even a tiny leak will blow small bubbles.
- A nitrogen pressure test for leaks that are hard to pin down. The system is filled with nitrogen and watched to see if the pressure drops.
Once the leak is found, you should hear exactly where it is and what it’ll take to fix it before any work starts. With Xtreme Air Services, you approve an upfront flat-rate price first, so there’s no meter running while we work. A leaky valve core or a cracked joint is often a quick fix. A badly pitted indoor coil is a bigger job. Major components like a coil are quoted separately, so you can decide what makes sense for your home and your budget.
Then comes the repair itself. That might mean replacing a worn valve core, re-brazing a cracked joint, or patching or replacing a damaged section of line. After the repair, the technician should test that spot again to make sure it holds.
Before any new refrigerant goes in, the system needs to be evacuated. A vacuum pump pulls air and moisture out of the lines. This step gets skipped more than it should. Moisture left inside can mix with refrigerant oil and slowly damage the compressor. In a Dallas attic that runs hot and humid all summer, a careful evacuation really matters.
Then the system is charged. The refrigerant should be weighed in to the amount on your unit’s nameplate, using the right type for your equipment, as covered above. The technician then fine-tunes the charge by checking pressures and line temperatures while the system runs.
Last, they verify that it works. Air at your vents should be noticeably colder, the lines at the outdoor unit should look and feel right, and the system should cycle normally. Testing and cleanup are part of the job.
So what does this cost? Our most common refrigerant recharge and leak repair jobs run $250 to $800, and the overall range is $250 to $1,500 depending on how much has failed. That price includes diagnosis, labor, the standard replacement part, testing, and cleanup. Extra failed parts, major components, code upgrades, and permits aren’t included unless they’re quoted separately. There’s a $26 to $99 service-call fee, and it’s credited toward the repair if you go ahead with us. We charge no extra for nights or weekends.
Most calls turn out to be a single common failure that’s fixed on the first visit, so you can usually expect your house to start cooling again the same day.
Ready when you are – get in touch today.
Call Today, Get Service Today. Xtreme Air Services — Oak Lawn is ready to help.
What Refrigerant Recharge and Leak Repair Costs
You’ve seen our price ranges above. Here’s why one leak repair lands near the low end and another costs more. It mostly comes down to what failed and how many things failed.
- How big the failure is. A loose valve core is a small fix. A coil with pinholes in several spots is a much bigger one.
- The part, and whether it’s in stock. Common fittings and valve parts are easy to get. Some coils and model-specific parts take longer and cost more.
- Your system’s age and brand. Older units and less common brands can need parts that are harder to find.
- How many parts failed. A system that ran low all summer can wear out more than one part, like a capacitor that gave out from working too hard.
- When you call. Many companies charge more after hours. We don’t. Nights and weekends cost the same as a Tuesday morning.
The type of refrigerant matters too. Most systems in Dallas homes built or replaced in the last 15 years or so use R-410A. The newest equipment uses A2L refrigerants, which come with their own handling rules. Your technician has to use the right one for your unit and the right amount for it. Every leak repair includes the recharge, because once the hole is sealed, the system still needs its full charge back.
Across the HVAC trade, you’ll run into two ways of pricing this work. Some companies charge by the pound of refrigerant added, plus labor by the hour. That can look cheap up front, but the bill grows the longer the job takes and the more refrigerant goes in. Others give one flat price for the whole job before work starts. That’s how we do it. You know the number before we pick up a tool, and it doesn’t change because the job ran long.
Before you say yes to anyone, ask these questions:
- Where exactly is the leak, and can you show me?
- Is this price for fixing the leak and recharging, or only for adding refrigerant?
- Is that a flat price, or will it change with time or how many pounds go in?
- What isn’t covered, and what would make the price go up?
- Do you charge extra for nights or weekends?
If a company quotes a recharge but can’t tell you where the leak is, you’re likely to pay for refrigerant again next summer. That repeat bill is the real cost.
Sometimes the honest answer is that a repair isn’t worth it. If your coil is badly corroded or your compressor is failing on an older system, we’ll walk you through both options: fixing it or replacing the unit. We don’t usually offer financing for a small leak repair. It is available on larger repairs and replacements, so a big job doesn’t have to wreck your budget.
Call 469-269-6373
Watch Our Video
See How We Handle Refrigerant recharge / leak repair in Dallas
Xtreme Air Services — Oak Lawn
Why DIY Recharge Kits Don’t Solve the Problem
It’s a fair question. Your house is warm, the hardware store sells AC recharge cans, and a $40 fix sounds a lot better than a service call. We get it. But for a home central air system, those kits don’t fix the real problem, and they can make the next repair cost more.
Most recharge kits you see on the shelf are made for cars. Car AC uses a different refrigerant than your home system. As we covered above, home units run on R-410A or the newer A2L refrigerants. Putting the wrong one in, or mixing types, can throw off the pressures and harm parts inside the system. Once refrigerants are mixed, a technician can’t simply top it off. The whole charge has to be pulled out and replaced.
Even if you found the right refrigerant, a can still skips the steps that make the fix last:
- It doesn’t find the leak. Whatever you add will slip out the same way the last charge did.
- It can’t measure the charge. A can gauge reads one pressure. It doesn’t weigh in the amount on your unit’s nameplate, so it’s easy to overfill or underfill.
- It doesn’t pull moisture out of the lines. Air and water that get in during a DIY hookup stay in there and work on the compressor over time.
- It puts you near high pressure. Home systems run at much higher pressures than car systems, and a slip at the service valve can spray refrigerant on your skin or in your eyes.
Some kits also contain a stop-leak sealant. The idea is that it plugs small holes from the inside. The trouble is that it doesn’t know where to stop. Sealant can gum up the small metering parts that control refrigerant flow, coat the inside of the coil, and stick to a technician’s recovery equipment. Many techs will ask before working on a system that has had sealant added, because it can turn a simple repair into a much bigger one. A pinhole that could have been fixed for a few hundred dollars can turn into a coil or part replacement.
There’s also the timing. A DIY top-off might buy you a few cool days. Then a stretch of triple-digit Dallas heat hits, your system runs nearly nonstop, and the charge is low again. Meanwhile your compressor has been working hot and short on refrigerant the whole time.
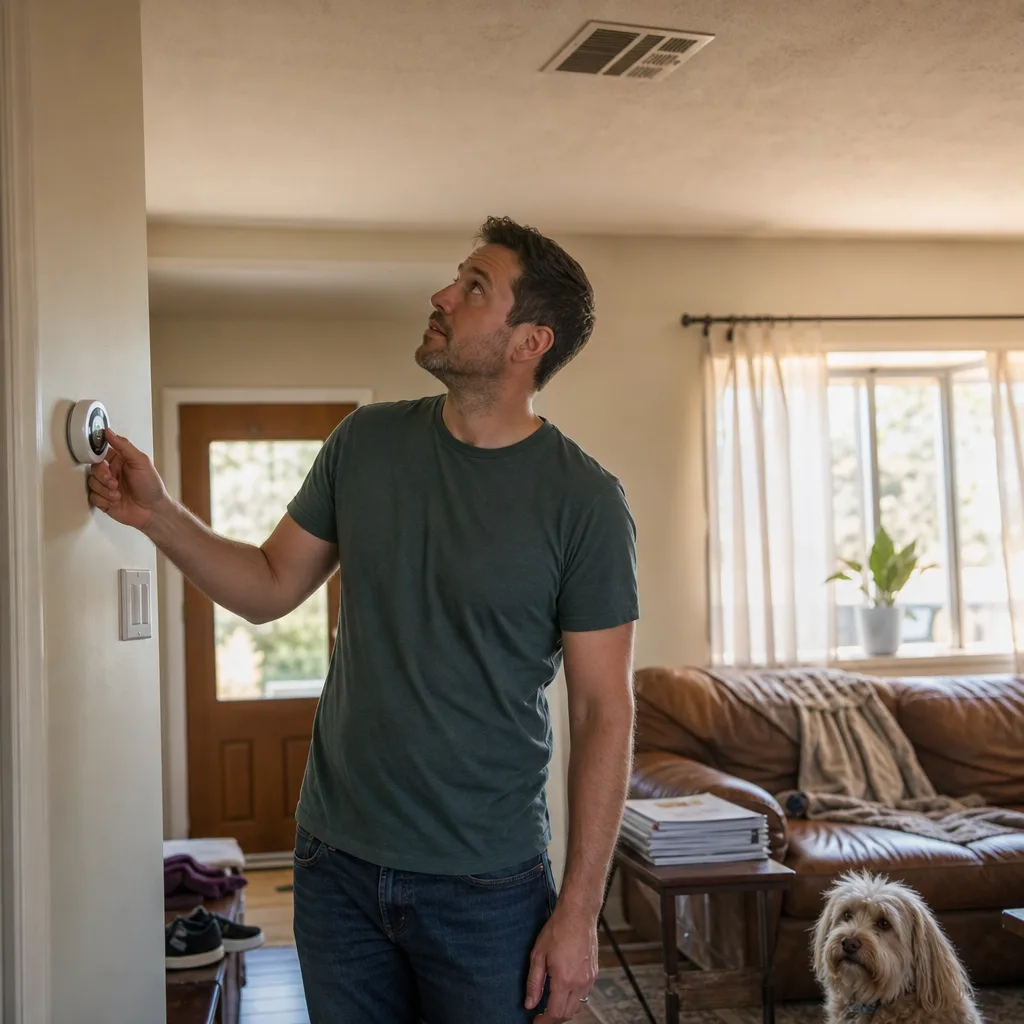
Here’s what you can safely do yourself. Change the air filter. Clear grass, leaves, and cottonwood fluff away from the outdoor unit. Check the breaker and the thermostat settings. If you see ice on the lines, switch the system off and run just the fan so the coil can thaw before anyone works on it. Those steps are worth doing before you call, and sometimes they solve the problem on their own.
Adding refrigerant is a different story. If your system is truly low, the can on the store shelf only covers up the symptom for a little while. The fix that holds is the one that finds the hole first.
Frequently Asked Questions
Common questions about Refrigerant recharge / leak repair
Is it safe to stay in the house if the AC has a refrigerant leak?
Yes, you can stay in your home with a refrigerant leak. The refrigerant used in home AC systems isn’t the kind of hazard that forces you out, though the house will feel warmer and more humid as the charge drops. The real risk isn’t to your health, it’s to your compressor, since running a low system hot and hard for weeks can turn a cheap fix into a costly one. Call as soon as you notice weak cooling instead of waiting out the summer.
Can a freon leak be fixed, or does the system just need replacing?
Most refrigerant leaks can be repaired, not replaced. Common failure points like a worn valve core, a cracked brazed joint, or a small hole in the line set are routine fixes for a technician with the right tools. Replacement only makes sense when the leak is in a badly corroded coil or the compressor itself is failing, which usually shows up on older systems that have run low for a long stretch.
Ready to Get Started?
Call (469) 269-6373 Today, Get Service Today.