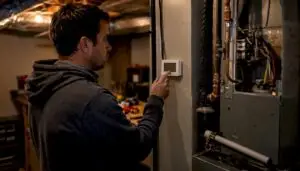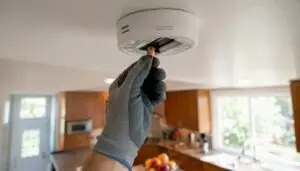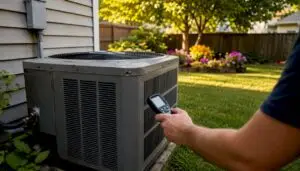


When your AC is broken, do three things immediately: check the thermostat settings, look at your circuit breaker, and pull out the air filter. Those three checks resolve a surprising number of “failures” before a technician ever shows up.
Here is the fast checklist to run through right now:
- Thermostat: Set it to Cool, fan to Auto, and dial the temperature 3–5°F below the current room reading. If it’s set to Fan Only or Heat, that’s your culprit.
- Circuit breaker: Find the double-pole breaker labeled AC or Air Handler in your main panel. If it’s tripped, flip it fully off, then back on once. If it trips again immediately, stop.
- Air filter: Pull it out and hold it up to light. If you can’t see light through it, replace it before doing anything else. Standard 1-inch filters are inexpensive and widely available at hardware stores.
- Outdoor unit: Walk outside and check whether the condenser fan is spinning. If the unit is buried in leaves or shrubs, that alone can kill cooling.
- Drain pan: Glance at the pan under your indoor air handler. Standing water there often means a float switch has cut power to protect your home from overflow.
Stop and call a professional immediately if you smell burning or see smoke, hear loud grinding or screeching, or the breaker trips the moment you reset it. These are signs of electrical or mechanical failure that get worse, and more expensive, the longer the system runs.
TL;DR: Most air conditioner failures start with one of five simple causes. Check them in order before spending money on a service call.
Table of Contents
- How to keep your home livable while the AC is out
- Step-by-step troubleshooting you can safely do yourself
- What’s actually causing your AC to run but not cool?
- What you can safely fix yourself vs. what you must not touch
- What does AC repair actually cost, and how long will it take?
- What will a technician actually check when they arrive?
- Emergency signs that mean stop everything and call now
- Key Takeaways
- The part most homeowners get wrong about a broken AC
- Xtremeairservices can help when DIY isn’t enough
- Useful sources for homeowners who want more detail
- FAQ
How to keep your home livable while the AC is out
Heat builds fast in a closed house, especially in Dallas summers. While you troubleshoot or wait for a technician, these tactics buy you real comfort.

Cross-ventilation at night. Once outdoor temps drop below indoor temps (usually after 9 or 10 PM), open windows on opposite sides of the house to pull cooler air through. Close everything again before the outdoor temperature climbs back up in the morning.
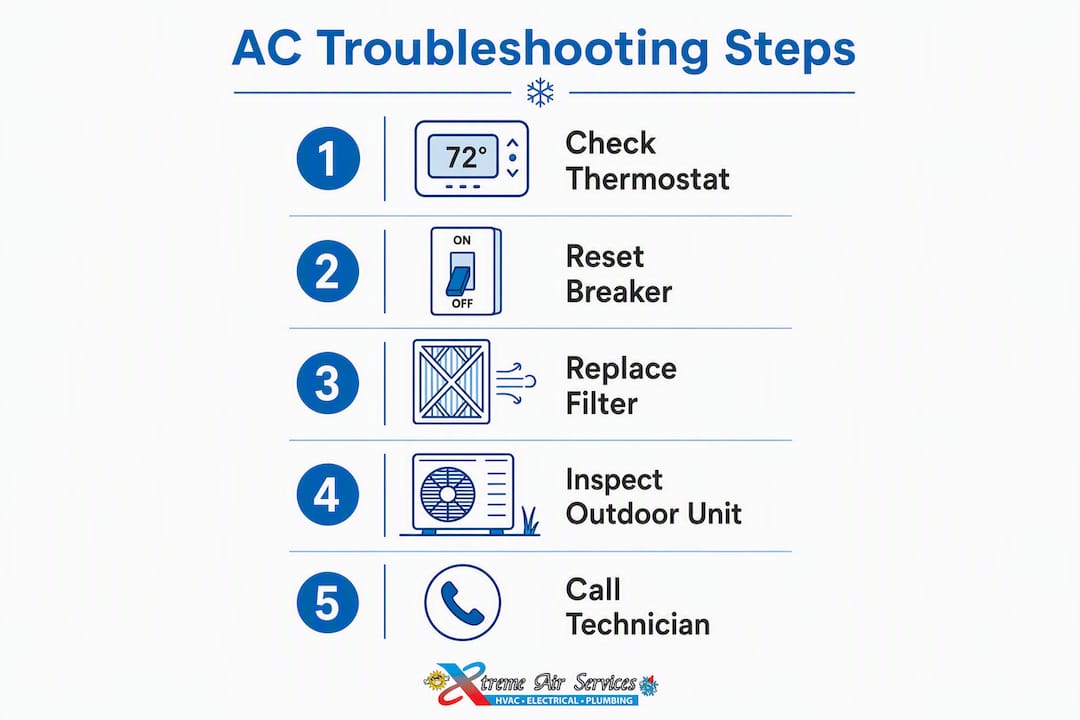
Fan placement matters more than most people realize. A box fan set in a window facing outward on the hot side of the house pulls warm air out. A second fan on the cooler side pushes air in. That directional flow moves significantly more heat than just running a ceiling fan on high. Ceiling fans should spin counterclockwise in summer to push air straight down.
Block the sun. Closing blinds and blackout curtains on south- and west-facing windows can cut solar heat gain by a meaningful amount during peak afternoon hours. It’s one of the fastest, zero-cost moves you can make.
Portable AC units and window units are your best short-term equipment options. A portable unit with a single exhaust hose can cool one room adequately. Evaporative coolers (swamp coolers) work well in low-humidity climates but lose effectiveness when humidity is high, which is common in North Texas during summer storm season.
For occupant cooling, loose light-colored clothing, cold packs on the wrists and neck, and staying on the lowest floor of the house (heat rises) all reduce how hot you actually feel.
Pro Tip: When running a portable AC or window unit as a temporary fix, plug it directly into a wall outlet, never a power strip or extension cord. These units draw significant amperage, and an undersized extension cord can overheat and trip a breaker or worse.
Step-by-step troubleshooting you can safely do yourself
Work through these in order. Each step takes only a few minutes, and stopping at the right point keeps you safe.
-
Check thermostat settings first. Set the mode to Cool, the fan to Auto, and the setpoint at least 3–5°F below the current room temperature. Thermostat misconfiguration causes a surprising share of unnecessary service calls — leaving the fan on “On” instead of “Auto” makes air feel warm even when the system is working fine. Also replace the thermostat batteries if it’s been more than a year.
-
Check the circuit breaker and outdoor disconnect. Go to your main panel and find the AC breaker. If it’s tripped (sitting between On and Off), push it fully to Off, then back to On. Then locate the outdoor disconnect box, usually a gray metal box mounted on the wall within a few feet of the condenser. Open it and confirm the pull-out fuse block is fully seated. Do not touch wiring inside the box. If the breaker trips again on reset, stop here and call a pro.
-
Inspect and replace the air filter. Locate the filter at the return air grille or inside the air handler cabinet. Slide it out. A filter clogged with gray fuzz restricts airflow enough to freeze the evaporator coil and trigger short cycling. Replacing a dirty filter is the single most common, lowest-cost fix for AC performance problems and takes under five minutes.
-
Inspect the outdoor condenser. Walk outside and look at the unit. Condenser units need at least 2 feet of clearance on all sides for proper heat dissipation. Clear away leaves, grass clippings, or shrubs. You can gently rinse the fins with a garden hose on a low-pressure setting, spraying from the inside out. Avoid bending the fins and never use a pressure washer.
-
Check for a frozen evaporator coil. If the indoor air handler has frost or ice visible on the copper lines or coil, the system is frozen. Turn the thermostat to Off and set the fan to On. This forces warm air across the coil without running the compressor. Thaw time is typically 2–4 hours. Do not chip or scrape the ice — that can puncture refrigerant lines.
-
Check the condensate drain and float switch. Look at the drain pan under the air handler. If there’s standing water, the float switch has likely cut power to the system. You can try clearing the drain outlet with a wet/dry vacuum. If water returns quickly after clearing, there’s a deeper blockage or a pump failure that needs a technician.
Pro Tip: Take a photo of your air filter, outdoor unit, and drain pan before calling a technician. That visual record helps the tech diagnose faster and protects you if there’s any dispute about what was found on arrival.
Stop and call a professional if: the breaker trips again immediately after reset, you hear grinding or screeching from the outdoor unit, you smell burning, or the system runs but produces no cool air after you’ve completed all six steps above.
What’s actually causing your AC to run but not cool?
Most air conditioner problems fall into a short list of causes. Matching your symptom to the right cause tells you whether to keep troubleshooting or pick up the phone.
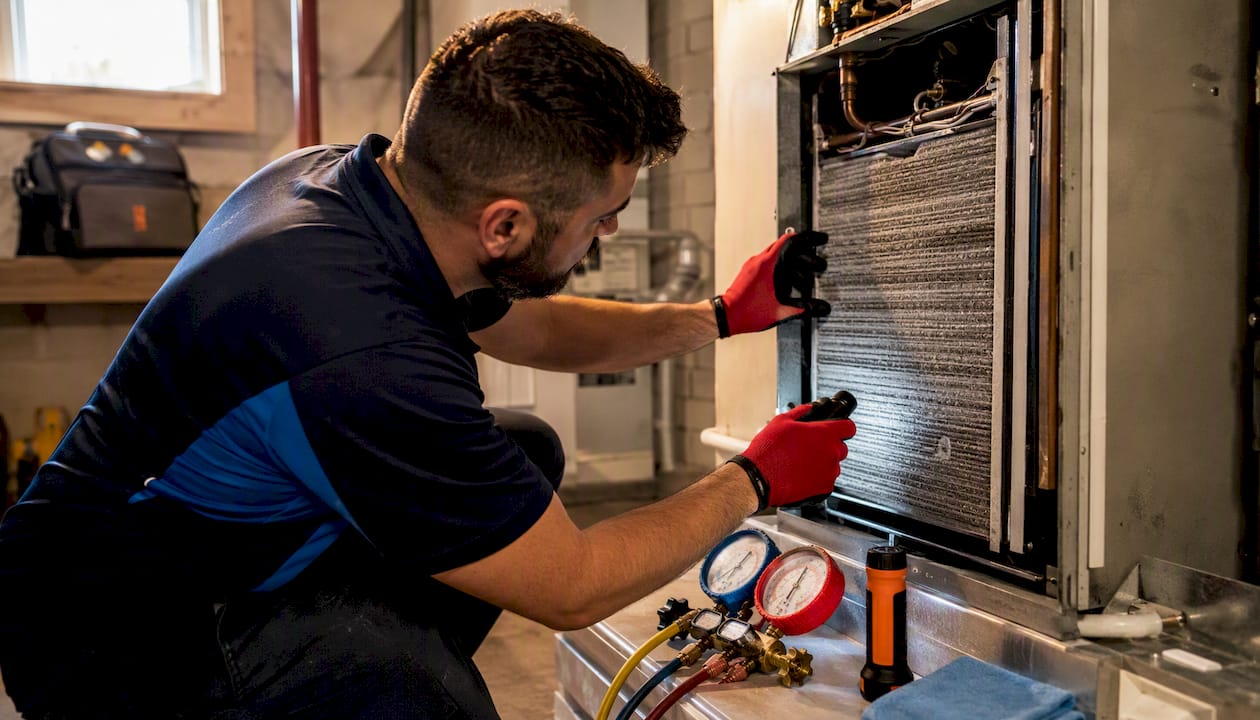
| Symptom | Likely Cause | Homeowner Action | Pro Required? |
|---|---|---|---|
| Warm air from vents, system running | Dirty air filter | Replace filter | No |
| Warm air, ice on copper lines or coil | Frozen evaporator coil | Turn off compressor, fan on, thaw 2–4 hrs | Only if it refreezes |
| Outdoor fan not spinning, unit humming | Failed start/run capacitor | None — do not touch | Yes |
| Warm air, hissing or bubbling sound | Refrigerant leak | None | Yes — EPA Section 608 certified tech required |
| System won’t start, water in drain pan | Clogged condensate drain / float switch triggered | Wet/dry vac on drain outlet | If clog recurs |
| Short cycling (turns on/off rapidly) | Dirty filter, frozen coil, or oversized unit | Replace filter, check for ice | Yes if filter change doesn’t resolve |
| Thermostat blank or unresponsive | Dead batteries or wiring fault | Replace batteries | Yes if batteries don’t fix it |
| Condenser running, no cool air | Blocked condenser, low refrigerant | Clear debris, check clearance | Yes if clearing doesn’t help |
A few of these deserve a closer look.
Frozen evaporator coil happens when airflow is restricted (dirty filter, closed vents) or when refrigerant is low. The coil gets so cold it ices over and blocks airflow entirely. Thawing it is the right first step, but if it refreezes within a day, you have a refrigerant or airflow problem that won’t fix itself.
Failed capacitor is one of the most common outdoor unit failures, especially after a hot summer. The capacitor gives the compressor and fan motor the electrical kick they need to start. When it fails, you’ll often hear the unit humming but the fan won’t spin. Capacitor replacement carries real shock risk because capacitors hold a charge even after power is cut. This is a technician job.
Pro Tip: If a technician tells you the system is “low on refrigerant” and offers to top it off, ask where the refrigerant went. Refrigerant doesn’t wear out or deplete on its own — low refrigerant always means a leak somewhere in the system. Topping it off without finding and fixing the leak is a temporary patch, not a repair.
What you can safely fix yourself vs. what you must not touch
The line between safe DIY and dangerous DIY is clearer than most homeowners think.
Safe for most homeowners:
- Replacing the air filter
- Replacing thermostat batteries and adjusting settings
- Clearing leaves and debris from around the outdoor condenser
- Resetting a tripped breaker once (not repeatedly)
- Clearing an accessible condensate drain outlet with a wet/dry vac
- Rinsing condenser fins with a low-pressure garden hose
Do not attempt these yourself:
- Opening the electrical panel beyond flipping a breaker
- Touching or discharging capacitors or contactors inside the unit
- Adding or handling refrigerant (illegal without EPA Section 608 certification)
- Bypassing float switches or other safety devices
- Replacing high-voltage components like contactors, fan motors, or compressors
The electrical risk is not theoretical. Capacitors inside AC units store lethal voltage even when the unit is completely powered down. Opening those panels without proper training and discharge tools puts you at serious risk of electrocution. The National Electrical Code and HVAC industry standards both treat these components as technician-only territory for exactly that reason.
The single most important rule: if the breaker trips again immediately after you reset it, do not reset it a third time. A breaker that trips repeatedly signals a short circuit or a grounded compressor — conditions that can cause a fire or destroy the compressor entirely. Stop, leave the breaker off, and call a professional.
Refrigerant handling has a legal dimension too. Under EPA Section 608, only certified technicians may purchase and handle refrigerants. Attempting to add refrigerant yourself isn’t just unsafe — it’s a federal violation.
What does AC repair actually cost, and how long will it take?
Knowing the numbers before a technician arrives keeps you from making decisions under pressure.
A diagnostic service call typically runs $75–$150. That fee covers the technician’s time to identify the problem and usually applies toward the repair cost if you proceed. Repair costs break into three tiers: minor repairs can cost $100–$400, mid-range repairs $400–$1,200, and major repairs or compressor replacement can be $1,200–$3,500 or more.
Prices vary based on your unit’s brand, the age of the system, local labor rates, and whether parts are in stock. Emergency or after-hours service calls typically add a premium on top of the base diagnostic fee.
The repair vs. replace decision comes down to two factors: the age of the unit and the cost of the repair. A general rule of thumb: if the repair cost exceeds half the price of a new system and the unit is more than 10–12 years old, replacement often makes more financial sense over a 3–5 year horizon. Compressor replacement in particular, sitting at the top of that cost range, is often the tipping point.
- Units under 8 years old: repair almost always makes sense unless there’s a refrigerant phase-out issue
- Units 10–15 years old with a major repair: get a replacement quote alongside the repair estimate
- Units over 15 years old: replacement is usually the better investment
For a deeper look at that decision, Xtremeairservices’s repair vs. replace guide walks through the full cost comparison.
What will a technician actually check when they arrive?
A good diagnostic visit follows a consistent sequence. Knowing what to expect helps you evaluate whether the tech is being thorough or cutting corners.
What a technician should inspect:
- System power supply and voltage at the disconnect
- Compressor start sequence and amperage draw
- Capacitor condition and capacitance reading
- Refrigerant pressure (both high and low side)
- Leak detection if pressures are off
- Evaporator and condenser coil condition
- Airflow measurement across the coil (temperature split)
- Condensate drain line and float switch function
- Thermostat calibration and wiring
Questions worth asking before they leave:
- What specifically failed, and what caused it?
- What are my repair options, and what does each cost?
- Does the repair come with a parts warranty and a labor warranty?
- Is replacement worth considering given the unit’s age?
- Can I see the written estimate before you start work?
Trust signals to look for when hiring:
- Valid state HVAC contractor license (in Texas, verify at tdlr.texas.gov)
- Proof of liability insurance and workers’ compensation
- Written estimate before work begins
- Clear warranty terms on both parts and labor
If a technician recommends a major repair over $800 and you’re not sure, getting a second written estimate is reasonable and any reputable company will understand. Ask for a parts-only cost breakdown so you can compare labor rates separately. For guidance on choosing a reliable AC repair service in Dallas, Xtremeairservices has a practical checklist.
Emergency signs that mean stop everything and call now
Some symptoms are not troubleshooting problems. They are safety events.
The four signs that require immediate professional service:
Burning or electrical odor. This usually means insulation on wiring is melting or a motor winding is failing. Running the system even briefly in this state risks an electrical fire.
Visible smoke. Any smoke from the air handler, outdoor unit, or vents is a fire precursor. Cut power and call emergency HVAC or electrical service.
Loud grinding or screeching. Grinding typically means bearing failure in the fan motor or compressor. Screeching often signals a failing belt or a compressor under extreme stress. Running a system with these sounds risks compressor destruction and can turn a $400 motor repair into a $2,500 compressor replacement.
Breaker that trips immediately on reset. As covered earlier, this is a short circuit or grounded compressor condition. Forcing a system to run despite safety interlocks commonly converts small, affordable repairs into catastrophic compressor failures. Every additional reset attempt increases that risk.
The pattern in emergency calls is almost always the same: a homeowner noticed one of these signs, kept resetting the breaker or running the system hoping it would clear up, and arrived at a repair bill two to three times larger than it would have been if they’d stopped at the first warning. The compressor is the most expensive single component in the system. Protecting it means stopping when the system tells you to stop.
If you’re dealing with repeated breaker trips alongside any of these signs, the issue may extend beyond the AC unit itself. Xtremeairservices’s electrical services in Dallas cover panel diagnosis and wiring inspection when the problem traces back to the electrical system.
Key Takeaways
A broken AC is almost always caused by one of five fixable problems — but knowing when to stop DIY and call a professional is what separates a $150 repair from a $3,000 one.
| Point | Details |
|---|---|
| Check these first | Thermostat settings, circuit breaker, air filter, and outdoor condenser — in that order. |
| Filter replacement | A $3–$15 filter swap is the single most common fix for poor AC performance. |
| Hard stop rule | If the breaker trips again immediately after reset, leave it off and call a pro. |
| Emergency signs | Burning smell, smoke, grinding noise, or repeated breaker trips require immediate professional service. |
| Xtremeairservices | For Dallas-area homeowners, Xtremeairservices provides emergency diagnostics, repair, and AC maintenance plans to prevent future breakdowns. |
The part most homeowners get wrong about a broken AC
Most of the advice online about a broken air conditioner focuses on what to check. That’s useful. But the more important skill is knowing when to stop checking.
The homeowners who end up with the largest repair bills aren’t the ones who ignored the problem. They’re the ones who kept troubleshooting past the point where troubleshooting was safe. They reset the breaker four times. They ran the system with a frozen coil because the house was hot. They added refrigerant from a can without finding the leak. Each of those decisions converted a manageable repair into a compressor replacement or a refrigerant system overhaul.
There’s a version of “taking control of the situation” that actually costs you more. The AC system has safety interlocks — float switches, thermal cutoffs, breakers — specifically designed to stop the system before damage escalates. When you override those, you’re not fixing the problem. You’re removing the protection.
The right mental model is this: your job as a homeowner is to run the five-minute checklist (thermostat, breaker, filter, condenser, drain pan), document what you found, and then hand the problem to a qualified technician the moment anything on that list doesn’t resolve cleanly. That’s not giving up. That’s the decision that keeps a $400 repair from becoming a $3,500 one.
Xtremeairservices can help when DIY isn’t enough
When the checklist doesn’t fix it, Xtremeairservices handles the full range of AC repairs for Dallas-area homeowners: emergency diagnostics, capacitor and fan motor replacement, refrigerant leak detection and repair, compressor replacement, and full system tune-ups. Every job comes with a written estimate before work starts, and technicians carry proof of licensing and insurance on every call.
Booking is straightforward. Call or schedule online, have your unit’s model and serial number ready (usually on a label on the side of the outdoor unit), and note the symptoms and when they started. That information cuts diagnostic time significantly. For homeowners who want to avoid emergency calls altogether, Xtremeairservices’s HVAC maintenance plans include seasonal tune-ups and priority scheduling that catch failing capacitors, dirty coils, and refrigerant issues before they become a mid-July breakdown. Visit xtremeairservices.com/air-conditioning-repair to schedule service or get a quote.
Useful sources for homeowners who want more detail
- Trane: Air Conditioner Troubleshooting — Manufacturer’s step-by-step guide covering thermostat, breaker, filter, and condenser checks with model-specific notes.
- Carrier: Troubleshoot an AC Not Working — Covers thermostat settings and fan mode errors that cause warm air even when the system is running.
- Bryant: Why Is My AC Not Working? — Detailed breakdown of condensate drain issues, float switch behavior, and common no-start causes.
- FixIt Finder: AC Not Working Troubleshooting Guide — Practical homeowner guide covering frozen coils, filter replacement, and repair cost ranges.
- HVAC.com: AC Troubleshooting Expert Advice — Expert perspective on refrigerant leaks, why “topping off” refrigerant is not a fix, and when to call a certified technician.
- EPA: Frequent Questions on Phasedown of Hydrofluorocarbons — Official EPA guidance on refrigerant handling regulations and Section 608 certification requirements.
- Angi: Troubleshooting Common Air Conditioning Problems — Broad overview of 12 common AC problems with homeowner-friendly explanations and hiring guidance.
FAQ
What should I do first when my AC is broken?
Check the thermostat settings, reset a tripped circuit breaker once, and replace a clogged air filter — in that order. These three steps resolve the majority of home AC failures without a service call.
Why would an AC stop working suddenly?
The most common sudden causes are a tripped breaker, a float switch triggered by a clogged condensate drain, a failed start capacitor, or a thermostat set to the wrong mode. Thermostat misconfiguration alone accounts for a significant share of unnecessary service calls.
How do you know if your AC is actually broken vs. a settings issue?
If the system runs but blows warm air, check the thermostat fan setting first — “On” instead of “Auto” circulates uncooled air. If settings are correct and the system still won’t cool after a filter change and condenser check, you likely have a mechanical or refrigerant issue that needs a technician.
Is a broken AC considered an emergency?
It depends on the symptoms. A burning smell, visible smoke, or a breaker that trips immediately on reset are genuine emergencies — cut power and call for service right away. A system that simply won’t cool on a hot day is urgent but not an emergency unless vulnerable occupants (elderly, infants, or people with medical conditions) are in the home.