

If your energy bills keep climbing, one room never gets comfortable, and dust seems to reappear the day after you clean, leaking ducts are a strong suspect. The clearest hvac duct leakage signs are rising bills without an obvious cause, hot or cold rooms, whistling near vents, and dust buildup on registers. Start with a five-minute hand check at your vents; if airflow feels weak or you spot loose tape, call a professional for a pressure test.
TL;DR:
- Duct leaks often cause energy bills to rise inexplicably and lead to uneven temperatures, especially in rooms that never match the thermostat.
- Visible signs such as dust buildup near vents, insulation debris on filters, and whistling noises indicate possible air escaping through leaks.
- DIY checks like hand tests and smoke puffs around accessible joints can identify leaks, but hidden leaks require professional duct blaster testing for accurate measurement.
- Common leak locations include flex duct connections, plenums, and vent boots, often caused by poor installation, age, damage, or material failure.
- Sealing small leaks with UL-181 rated mastic or foil tape helps, but persistent or hidden leaks call for professional diagnosis and potentially full system repairs or replacement.
Table of Contents
- Top Signs Your HVAC Ducts Are Leaking
- How to Check Your Ducts: Hand Test, Smoke Test, and Visual Inspection
- Common Causes and Usual Leak Locations
- DIY Fixes You Can Safely Do
- When to Hire a Pro for Duct Testing
- Sealing vs. Repair vs. Replacement: How to Decide
- What a Proper Duct Inspection Looks Like
- What Homeowners Get Wrong About Duct Leaks
- Sources
- FAQ
Top Signs Your HVAC Ducts Are Leaking
Ductwork leakage symptoms rarely show up as one dramatic event. They build slowly, which is why so many homeowners live with them for years before connecting the dots. Here’s the priority order worth checking, from most common to least obvious.
- Energy bills climbing with no clear reason. If your thermostat settings and usage haven’t changed but your bill has, leaking ducts are pushing conditioned air into attics, crawlspaces, or wall cavities instead of your rooms. ENERGY STAR estimates that typical homes lose 20 to 30 percent of conditioned air through duct holes, leaks, and poor installation.
- Rooms that never match the thermostat. A bedroom that’s always five degrees warmer than the hallway usually means a leaking supply run is losing air before it reaches that register.
- Dust ghosts and grimy buildup around vents. Dark smudging on ceilings or walls near registers, plus dust that returns fast after cleaning, points to air escaping and pulling particles in through gaps.
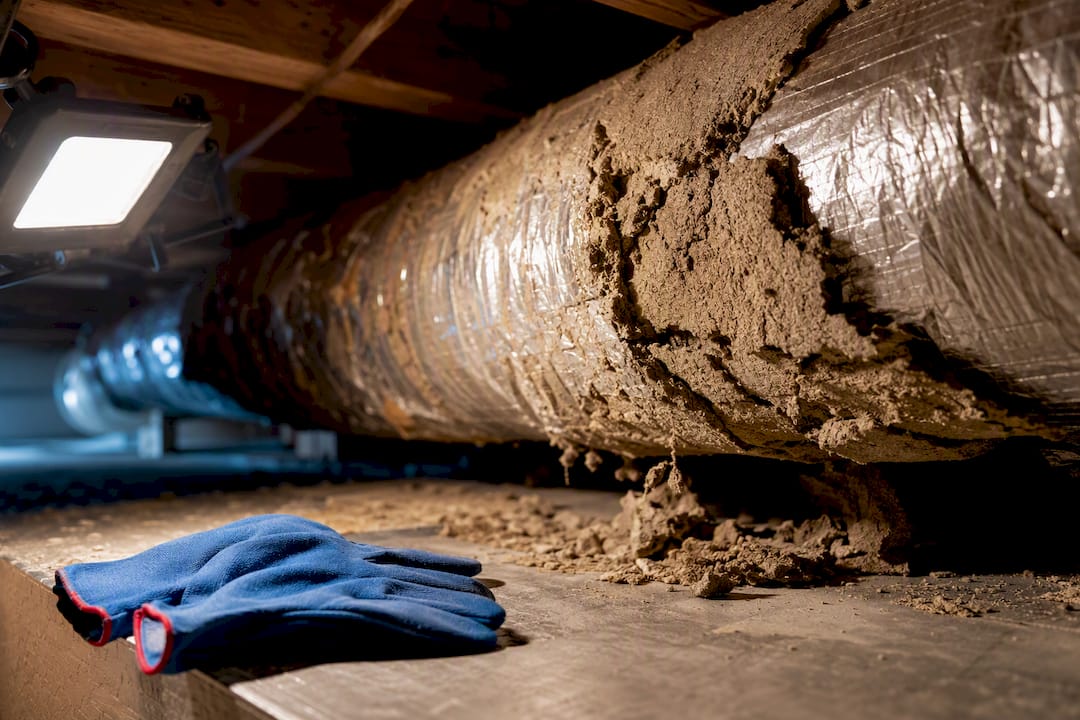
- Insulation fibers or debris on your air filter. This is a return-side leak calling card. Leaky return ducts sitting in an attic or crawlspace pull in fiberglass insulation and dust that end up caked on your filter.
- Whistling or whooshing sounds near walls or registers. Air forcing itself through a small gap makes noise. If you hear it consistently when the system runs, there’s likely a breach nearby.
- Visible tape failure or disconnected sections. Silver cloth tape that’s peeling, brittle, or missing entirely is one of the most reliable visual clues you’ll find in an attic or basement.
None of these signs alone proves a leak, but two or three together are a strong pattern worth acting on.
How to Check Your Ducts: Hand Test, Smoke Test, and Visual Inspection
Before spending money on a diagnostic, you can rule a lot in or out yourself. These low-cost checks work for accessible ductwork in attics, basements, and crawlspaces.
- Turn the system fan on and open all registers and returns so air is actively moving through the system.
- Wear a mask and long sleeves in attics or crawlspaces, and watch your footing on joists, since drywall between them won’t hold your weight.
- Run your hand slowly along exposed duct seams, joints, and boots. A sudden puff of air or a noticeable temperature change against your skin usually marks a leak.
- Light an incense stick or a smoke pencil near suspected joints. If the smoke stream bends, wavers, or gets pulled sideways instead of rising straight up, air is escaping or being drawn in at that spot.
- Look closely at flex duct connections for pulled-back liners, ripped inner sleeves, or insulation that looks discolored and matted, which often signals long-term moisture or air loss.
Pro Tip: Do the hand and smoke checks on a day when your system has been running for at least 15 minutes. Cold ducts sitting idle won’t show the pressure differences that reveal a leak.
When you’ve checked everything accessible and the bills or comfort problems persist, the leak is probably hidden inside walls, under slabs, or in sections you can’t reach. That’s when a duct blaster test becomes worth the cost, because it measures leakage you simply cannot see or feel.
Common Causes and Usual Leak Locations
Ducts don’t fail randomly. Leaks cluster in predictable spots because those are the places where two pieces of duct meet or where flexible material gets disturbed.
- Installation shortcuts, like unsealed seams or undersized connections, show up early, sometimes within the first year.
- Age and material breakdown, especially old cloth tape that dries out and separates from the metal.
- Physical damage, such as a flex duct crushed by stored boxes or pulled loose during an attic repair.
- High-leak zones: plenums at the furnace or air handler, register boots where duct meets floor or ceiling, branch takeoffs, and flex-to-metal collar connections.
Every leak also throws off the pressure balance in your home, and that imbalance is what drags in outside dust, humidity, and sometimes musty odors from unconditioned spaces — issues that can be mitigated with noise-reducing interior door options that actually work to improve home comfort.
DIY Fixes You Can Safely Do
Small, accessible leaks at joints and seams are genuinely fixable without a contractor, as long as you use the right materials. ENERGY STAR’s guidance is direct: use UL-181 rated mastic or metal-backed foil tape for sealing. Skip standard cloth duct tape entirely. It dries out and peels away from metal ductwork within a year or two, especially in hot attics.
- Clean the duct surface around the leak with a dry rag so mastic or tape adheres properly.
- Mark each leak point as you find it during your hand and smoke test, so you don’t backtrack later.
- Apply mastic with a disposable brush at roughly the thickness of a nickel over seams and small gaps.
- For gaps wider than a quarter inch, embed fiberglass mesh tape into the mastic before adding a second coat over the top.
- Use metal-backed foil tape only on clean, smooth metal joints, pressing firmly to set the adhesive.
Materials for a handful of leaks typically run $0 to $20, and the work takes an afternoon for a motivated homeowner.
Pro Tip: If your home was built before 1980 and the duct insulation looks old or crumbling, stop and have it tested for asbestos before you touch it. Never work near gas appliances or exposed electrical wiring while sealing ducts.
When to Hire a Pro for Duct Testing
Once you’ve done the accessible fixes and the problem lingers, or you never found the leak in the first place, it’s time for professional diagnostics. A duct blaster (also called a CFM25 test) pressurizes your duct system and measures exactly how much air is escaping, which is far more precise than a hand or smoke check.
- Diagnostic-only visits typically run $100 to $350 depending on home size and access.
- Full sealing jobs range from $500 to $3,000 or more, based on how much ductwork needs work and how accessible it is.
- Technicians commonly pair a pressure test with a pressure pan, thermal imaging camera, or theatrical fog to pinpoint leaks inside walls or under floors that hand tests can’t reach.
- A thorough contractor documents each leak location with photos and notes, then prioritizes repairs by how much leakage each spot contributes.
ENERGY STAR programs generally target very low outside leakage, often under 4 CFM per 100 square feet of conditioned floor area, while many existing homes test well above that. That gap is exactly what a duct blaster reveals and what a sealing job is designed to close. If you want a professional to walk your system before deciding, scheduling a ductwork inspection gives you that documented starting point.
Sealing vs. Repair vs. Replacement: How to Decide
Not every leak calls for the same fix, and matching the response to the actual condition of your ducts saves money.
- Seal it when ducts are structurally sound and leaks are limited to joints, seams, and connections.
- Repair a section when physical damage, like a crushed or torn flex run, is localized to one area rather than spread across the system.
- Replace it when deterioration is widespread, the original design undersized key runs, or you’ve sealed and repaired the same sections more than once with no lasting improvement.
Done correctly, sealing or repair work typically shows up within a billing cycle or two as lower energy use and rooms that finally hold temperature evenly. If you’re weighing a bigger decision, comparing duct repair against replacement side by side helps clarify which one actually fits your situation.
What a Proper Duct Inspection Looks Like
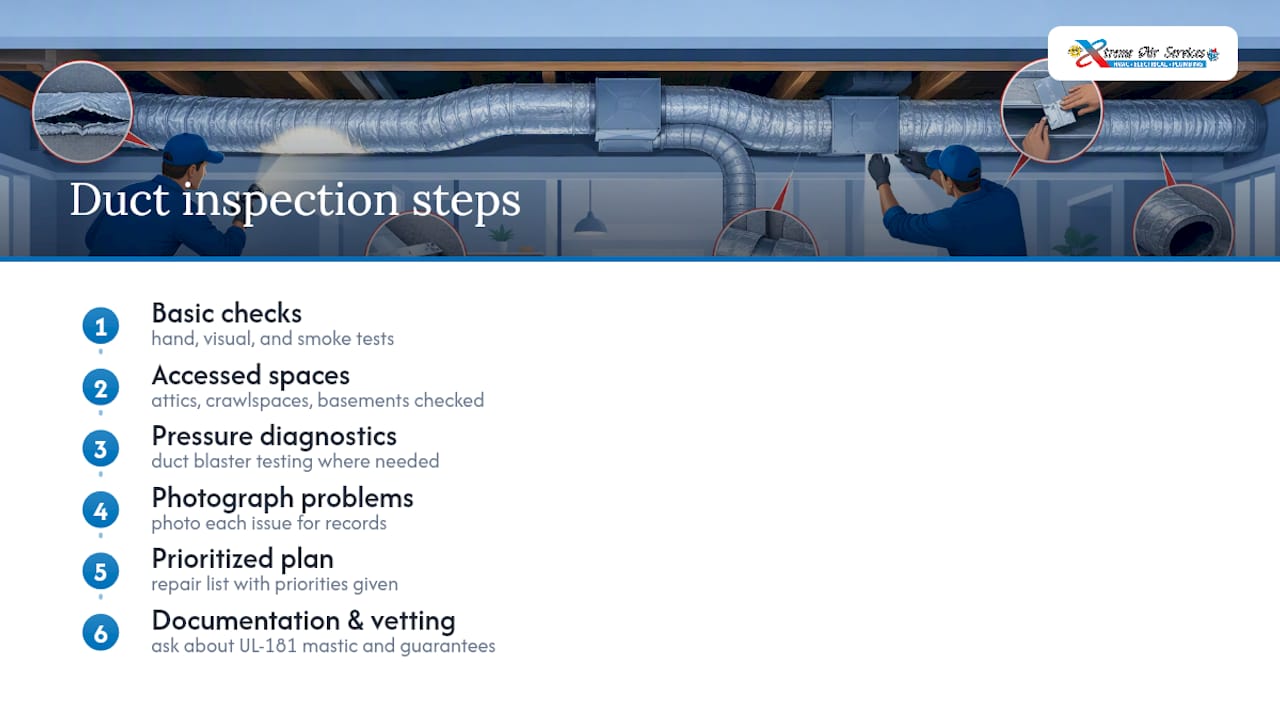
A trustworthy inspection starts with the same hand, visual, and smoke checks covered above, but extends into accessible attics, crawlspaces, and basements a homeowner might skip. Qualified technicians follow that visual pass with pressure diagnostics where needed, photograph each problem area, and hand homeowners a prioritized repair plan instead of a vague summary. That documentation matters. When you’re vetting any contractor for this work, ask directly whether they perform duct blaster testing, whether they use UL-181 mastic rather than tape alone, and what guarantee backs the repair.
What Homeowners Get Wrong About Duct Leaks
Most advice online treats duct sealing like a weekend project with a guaranteed payoff, and that’s only half true. The DIY hand and smoke tests genuinely work for accessible leaks, and sealing a few obvious gaps with mastic is worth doing regardless of what else is going on. But homeowners consistently underestimate how much leakage hides inside walls and under slabs where no amount of hand-waving will find it.
The bigger mistake is treating every leak the same way. A whistling register boot in the attic and a system that’s lost a third of its output through hidden runs are not the same problem, and they don’t deserve the same fix. If your bills stay high after sealing what you can reach, that’s not a sign the sealing failed. It’s a sign the real leak was never accessible to begin with, and a pressure test is the only honest way to find it. Homeowners who skip that step and just reseal the same visible joints twice are the ones who stay frustrated for years.
Quiet, even airflow throughout the house, not a lower bill alone, is the real test that a repair worked.
— Xtreme
Sources
For official guidance on sealing materials and methods, see ENERGY STAR’s duct sealing guidance. For a practical walkthrough of smoke testing and duct blaster diagnostics, This Old House covers the process step by step.
FAQ
How can you tell if your AC ducts are leaking?
Watch for rising energy bills, rooms that run hotter or colder than the rest of the house, whistling near vents, dust buildup around registers, and insulation debris on your air filter. A hand test near duct joints while the system runs will often confirm a leak directly.
How much duct leakage is acceptable?
ENERGY STAR programs generally target under 4 CFM per 100 square feet of conditioned floor area leaking to outside, though many existing homes test well above that threshold, sometimes in the 15 to 30 percent range of total airflow.
How do you fix leaky ductwork?
Clean the area around the leak, then seal it with UL-181 mastic or metal-backed foil tape, reinforcing wider gaps with mesh tape embedded in mastic. Never use standard cloth duct tape, since it dries out and fails within a year or two.
How do I test for ductwork leakage?
Start with a hand test and a smoke or incense test around accessible joints and seams while the system fan runs. If leaks stay hidden or the problem persists after sealing what you can reach, a professional duct blaster test will quantify the leakage precisely.