


Refrigerant Recharge / Leak Repair in Frisco: Get an Honest Diagnosis First
The leak found and repaired before any refrigerant goes in – because a recharge alone won't keep your home cool.
What’s Covered on This Page
- Warm Air, Ice on the Coil, or Hissing Means Low Refrigerant
- Why Recharging Alone Does Not Fix a Leak
- Check These Four Things Before Assuming It’s a Refrigerant Leak
- What Drives the Price of This Repair
- What Happens During a Diagnosis-First Visit
- How long does a refrigerant leak repair visit usually take?
- Can I just keep adding refrigerant every summer instead of fixing the leak?
- What if the leak is small and hard to find right away?
Warm Air, Ice on the Coil, or Hissing Means Low Refrigerant
Most people don’t call about refrigerant. They call because the house won’t cool down. If you’re wondering whether you need refrigerant recharge / leak repair, here’s what you’re likely noticing.
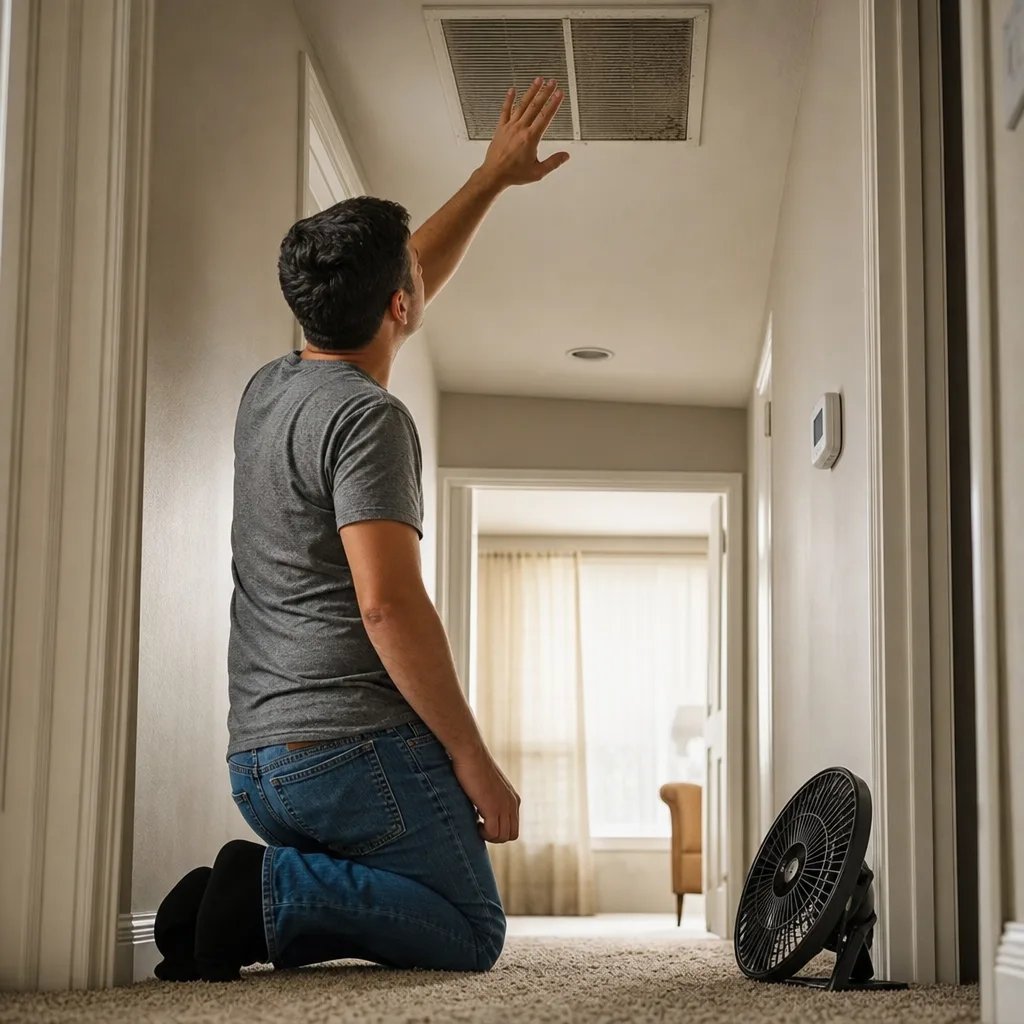
- The vents blow air that’s cool, but not cold. Your AC runs all afternoon and the thermostat barely moves.
- There’s ice or frost on the copper line going into the outdoor unit, or on the indoor coil by your air handler.
- You hear a hiss or a bubbling, gurgling sound near the indoor or outdoor unit, even when the system is running normally otherwise.
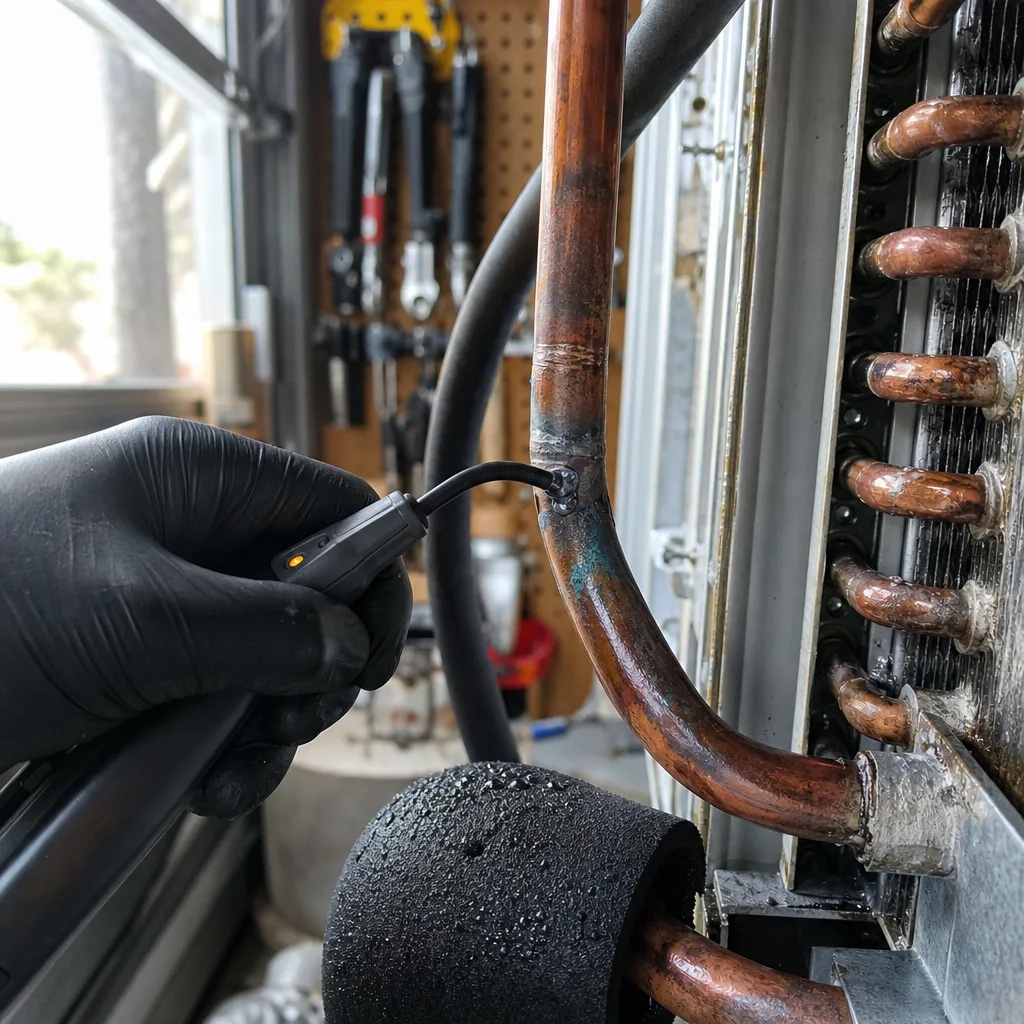
- You spot oily residue on the copper lines or fittings. Refrigerant carries oil with it, so a leak can leave a greasy film behind.
- Your electric bill climbs while your comfort drops, because the system has to run longer to do the same work.
Ice is the sign that confuses folks the most. It seems backward that a system short on refrigerant would freeze up. Here’s why it happens. When there isn’t enough refrigerant, the pressure in the indoor coil drops too low. The coil gets colder than it should, and the moisture in your air freezes right onto it. Once ice coats the coil, air can’t pass through, so cooling gets even worse.
That matters in a North Texas summer. When it’s well past 100 outside, your AC is already working near its limit. A system that’s even a little low on charge can’t keep up, and a long run with a frozen coil puts real strain on the compressor, the most expensive part of your outdoor unit.
Hissing usually means refrigerant is escaping right now, often at a fitting, a valve, or a worn spot in a line. A bubbling sound can mean air or gas is getting into the lines. Either way, the sound tells you the system is losing charge, not just running low on its own.
This is the big point: your AC is a sealed system. It holds the same refrigerant for its whole life unless something lets it out. So low refrigerant isn’t a top-off problem. It’s a leak problem. If someone adds refrigerant without finding where it went, you’ll likely be back in the same spot when the next heat wave hits.
To be fair, not every one of these signs means a leak. A clogged air filter can also freeze your indoor coil, because the coil isn’t getting enough warm air across it. Weak cooling can come from a failing capacitor or a dirty outdoor coil too. If your filter hasn’t been changed in a while, swap it first and see if things improve. If the ice comes back or the air still isn’t cold, refrigerant is the next thing to check.
Why Recharging Alone Does Not Fix a Leak
Adding refrigerant to a leaking system is like pumping up a tire with a nail in it. It feels fine when you drive away. Then you’re back at the air pump a few weeks later. Since your AC doesn’t burn through refrigerant on its own, as covered above, any charge you add just starts leaking out the same hole.
Some homeowners get a top-off in June, feel cold air for a while, and then lose it again in August when the heat is at its worst. That’s the worst time to wait on a repair, and you’ve now paid for refrigerant twice without fixing anything.
A top-off can also cost you more than money. Here’s what keeps happening inside your system while a leak goes unfixed:
- Oil leaves with the refrigerant. Your compressor depends on that oil to stay lubricated, so a slow leak can wear it down over time.
- Moisture and air can get in. A leak that lets refrigerant out can also let outside air and moisture in, which isn’t good for the inside of your system.
- The system runs low again and again. Each time the charge drops, you’re back to weak cooling, longer run times, and the frozen-coil problem described above.
- Refrigerant isn’t getting easier to buy. R-410A, which many North Texas homes still run on, is being phased down, and newer systems use A2L refrigerants. Paying for refrigerant over and over makes less sense every year.
A real fix starts with finding where the refrigerant is getting out. Common trouble spots are valve cores, brazed joints, the indoor evaporator coil, the outdoor condenser coil, and places where a copper line rubs against something and wears thin. Techs track leaks down with tools like electronic leak detectors, bubble solution on fittings, and pressure testing. Some leaks are easy to spot. Others hide inside a coil and take more time to pin down.
Once the leak is found, the job is simple to explain. When our team handles refrigerant recharge and leak repair, we locate the failed part, repair or replace it, recharge the system, and then verify it runs correctly. In most cases, it’s a single common failure we fix on the first visit.
That last step matters. After the repair, the system should be cooling at the right pressures and temperatures, with no ice and no hissing. If those signs are gone and your house cools down on a hot afternoon, you know the fix worked.
There’s one honest exception. If a leak sits deep inside an older coil and your system is near the end of its life, a short-term recharge may make sense to get you through a heat wave while you plan a replacement. That’s a fine choice when you make it on purpose. Just know you’re buying time, not a repair.
Check These Four Things Before Assuming It’s a Refrigerant Leak
Before you call anyone about refrigerant, take ten minutes and check these four things. Each one can make your AC blow warm air or quit cooling, and none of them involves a leak. If one of these turns out to be the problem, you’ve saved yourself a service call.
1. Your thermostat settings. This sounds too simple, but it happens all the time. Make sure the system is set to Cool, not Heat or Auto, and that the fan isn’t set to On. When the fan is on, it keeps blowing air between cooling cycles, and that air will feel warm. Set the temperature a few degrees below what the room is reading right now. If your thermostat runs on batteries and the screen is dim or blank, replace them.
2. Your air filter. As mentioned above, a dirty filter can freeze your indoor coil just like low refrigerant can. If you can’t remember when you last changed it, pull it out and hold it up to a light. If you can barely see through it, put in a new one.
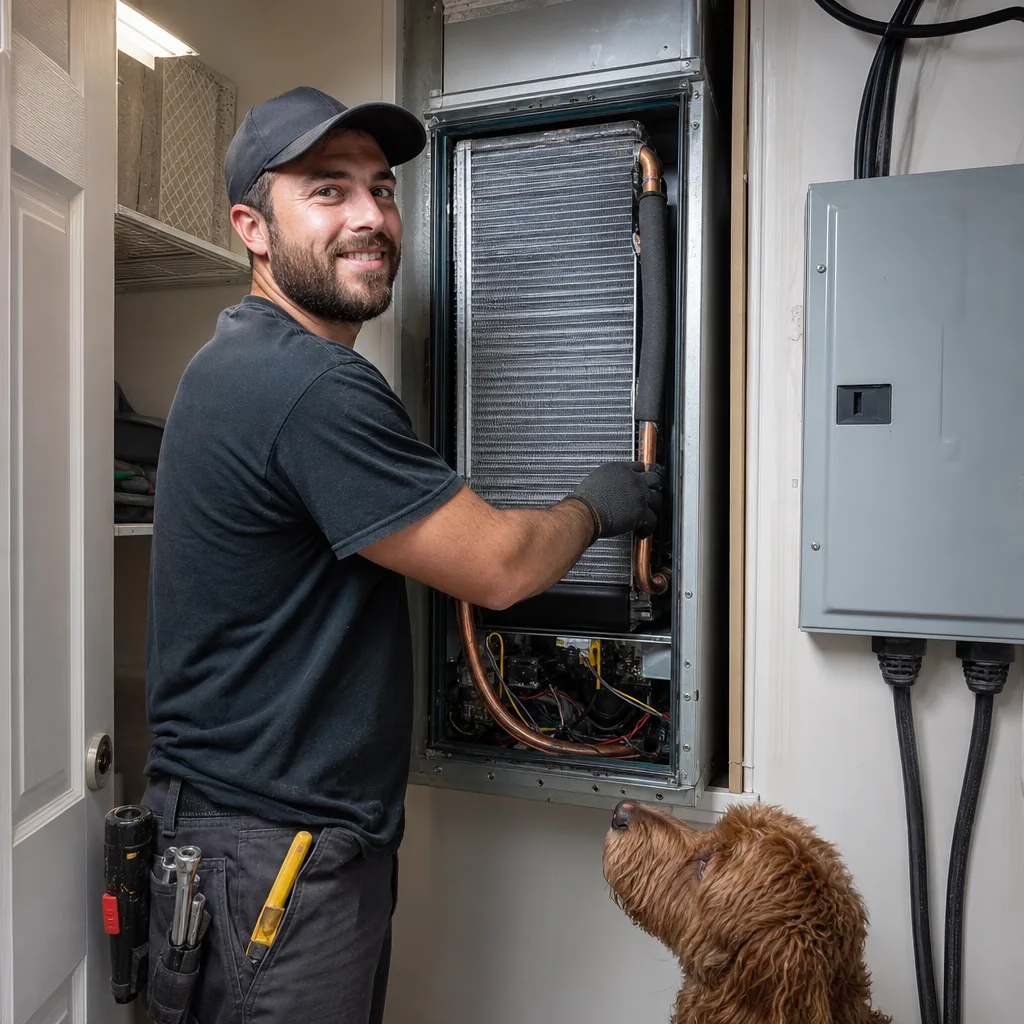
3. Your breakers and the outdoor shutoff. Your AC usually has two breakers in the panel, one for the indoor unit and one for the outdoor unit. If the outdoor breaker trips, the indoor fan can keep running, so you still feel air moving, but the air isn’t cold. Check the panel for a breaker sitting in the middle position. There’s also a shutoff box mounted on the wall near your outdoor unit. Make sure nobody bumped it or pulled it during yard work.
If a breaker trips again right after you reset it, leave it off. A breaker that keeps tripping is telling you something electrical is wrong, and that’s a job for a technician, not another reset.
4. Your outdoor unit. The outdoor unit has to push heat out of your home, and it can’t do that if air can’t move through it. Walk outside and look at the metal fins around the sides. Grass clippings, leaves, and dirt can pack against them over a season. Shrubs or a fence built too close can choke off airflow too. Hail can flatten the fins, which also blocks air. Clear away anything piled against the unit and trim plants back so there’s a couple of feet of open space all the way around. Turn the power off at the shutoff box first if you’re working close to it. While you’re out there, check that the fan on top is spinning when the system is running.
Once you’ve made a change, give the system an hour or so to catch up. On a hot afternoon, it won’t drop the temperature right away.
If all four check out and you still have warm air, ice that keeps coming back, a hissing sound, or oily spots on the copper lines, you’ve ruled out the easy stuff. At that point, a refrigerant leak is the likely cause, and it needs a technician with the right tools to find it.
Ready when you are – get in touch today.
Call Today, Get Service Today. Xtreme Air Services — Frisco is ready to help.
What Drives the Price of This Repair
Most refrigerant recharge and leak repair jobs we do cost $250-$800. That covers the most common call, where one part has failed and we fix it on the first visit. The wider range for this kind of repair is $250-$1,500, and where your job lands depends on what we find once we track down the leak.
You won’t have to guess. We give you upfront flat-rate pricing, and you approve it before any work starts. No meter running while the tech hunts for the leak.
Here’s what moves the price up or down:
- How bad the failure is. A leaking valve core or a loose fitting is a small fix. A leak buried inside a coil takes more time and more parts.
- Part cost and availability. Some parts are easy to get. Others cost more or take longer to come in.
- Your equipment’s age and brand. Older systems and certain brands can need parts that cost more.
- Whether more than one part has failed. If a long-running leak has caused a second problem, that adds to the job.
- Which refrigerant your system uses. Your system may run on R-410A or a newer A2L refrigerant, and the type affects what the recharge costs.
One thing that won’t raise your price is the clock. If your AC quits on a Saturday night in July, we charge no extra for nights or weekends. You pay the same as you would on a Tuesday morning.
There’s a $26-$99 service-call fee to get a technician out to your home and diagnose the problem. If you go ahead with the repair with Xtreme Air Services, that fee is credited toward the repair.
Here’s what your repair price includes and what it doesn’t:
- Included: diagnosis, labor, and the standard replacement part, plus testing and cleanup.
- Not included unless we quote it separately: additional failed parts, major components, code upgrades, or permits.
That second line matters most if the leak turns out to be inside your evaporator coil or condenser coil. A coil is a major component, so replacing one is priced on its own. You’ll see that number before you decide anything. If your system is older, that’s also the point where a short-term recharge or a replacement might make more sense, as we covered above.
Financing isn’t typically offered for a smaller job like this. It is available on larger repairs and replacements, so if a coil or a new system comes up, ask us about your options.
Whoever you call, ask these questions before the work starts:
- Will you find and fix the leak, or just add refrigerant?
- Is the price flat, or are you billing by the hour?
- What’s included, and what would cost extra?
- Do you charge more for nights or weekends?
- Does the service-call fee count toward the repair?
A company that’s doing right by you will answer all five plainly. If the answers are fuzzy, keep looking.
Watch Our Video
See How We Handle Refrigerant recharge / leak repair in Frisco
Xtreme Air Services — Frisco
What Happens During a Diagnosis-First Visit
A diagnosis-first visit means the technician finds out why your system is low before anyone talks about adding refrigerant. From your side, it’s simple. You tell us what you’ve noticed, the tech looks at the whole system, and you get a clear answer and a price before any repair starts.
A little prep on your end saves time once the tech arrives:
- Write down what you noticed and when. Warm air only in the afternoon, ice that showed up overnight, or a hiss you heard once are all useful clues.
- Mention anything you already checked from the list above, so the tech doesn’t repeat it.
- Clear a path to your indoor unit. If it’s in the attic, make sure the pull-down ladder and the walkway up there aren’t blocked by boxes.
- Make the outdoor unit easy to reach. Unlock the gate and keep pets inside.
- If someone added refrigerant before, tell the tech when. A system that lost a charge in a few weeks points to a bigger leak than one that held for two summers.
That attic note matters here. In a lot of Frisco homes, the indoor coil and air handler sit up in the attic. On a summer afternoon, that space gets brutally hot, and a leak hiding in the indoor coil can take longer to reach and pin down than one at the outdoor unit. Knowing that up front helps you understand why some visits take longer than others.
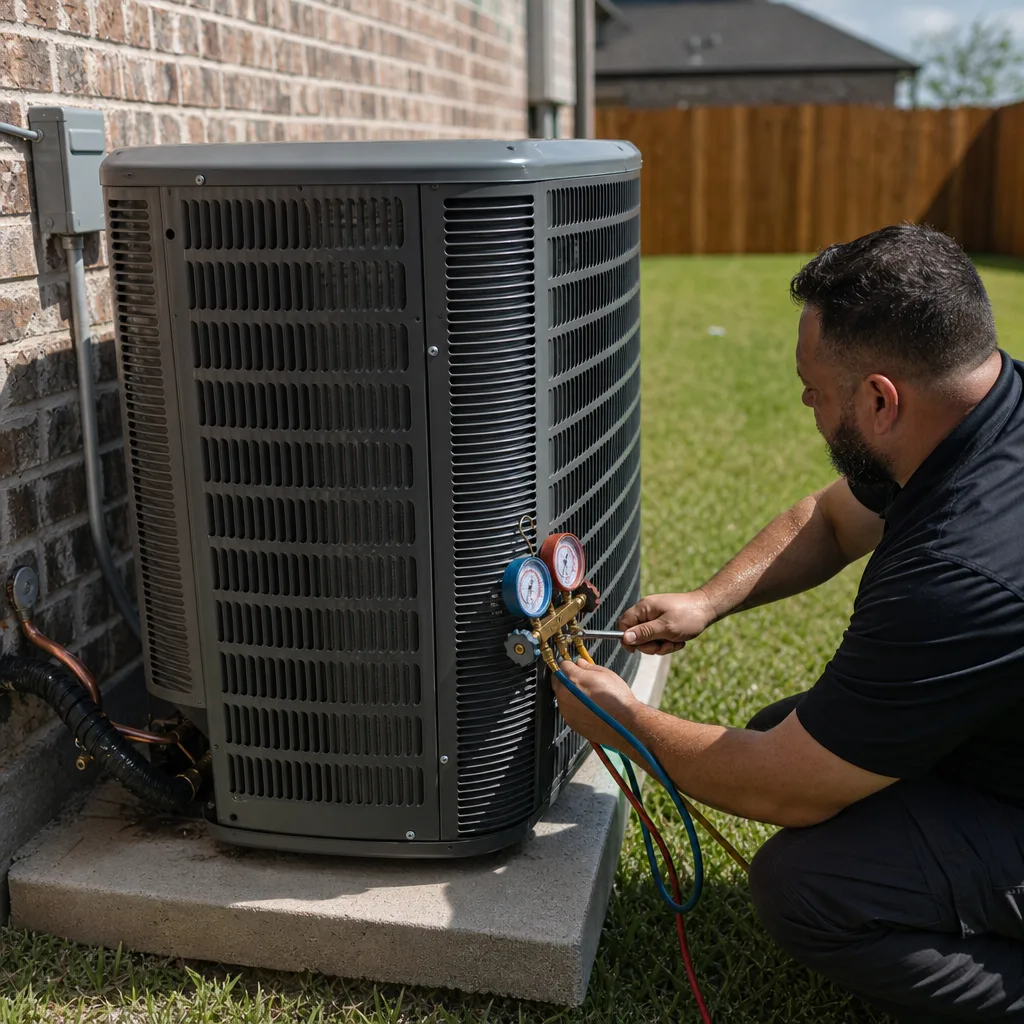
Once the tech is working, expect them to read your system’s pressures with gauges and check temperatures on the copper lines. Those numbers show whether the charge is low, and by how much. They’ll also look over the lines and fittings for the oily spots mentioned earlier, then use leak-finding tools to narrow down the spot.
Before you approve anything, you should be able to answer these questions yourself:
- Where is the leak, and can the tech show you or explain how they found it?
- Is it a small part like a valve core or fitting, or a major component like a coil?
- What are your choices? Repair now, a separate quote for a coil, or a short-term recharge if your system is near the end of its life.
- What’s the flat price for the option you pick?
If you can’t answer those, ask before you sign off. It’s your home and your money, and you should feel in control of the decision. After the repair, the tech confirms the system is cooling the way it should, so you’re not left wondering whether the fix took.
Our licensed and insured technicians are background-checked and drug-tested, so you can feel good about who’s walking through your home and climbing into your attic.
Call 469-490-3595
Frequently Asked Questions
Common questions about Refrigerant recharge / leak repair
How long does a refrigerant leak repair visit usually take?
It depends on where the leak is hiding, but most single-failure repairs are finished the same visit. A leak at a valve core or fitting on the outdoor unit is quick to find and fix. A leak inside an indoor coil tucked in a hot attic takes longer to track down, since the tech has to work in that heat while testing pressures and checking fittings for the oily residue a leak leaves behind.
Can I just keep adding refrigerant every summer instead of fixing the leak?
You can, but you’ll likely pay for it twice and risk bigger damage. Since your AC is a sealed system, any refrigerant you add just leaks back out the same hole, often leaving you with weak cooling again right when a heat wave hits. A slow leak also lets compressor oil escape over time, which can wear down the most expensive part of your outdoor unit.
What if the leak is small and hard to find right away?
Some leaks take more than one tool to pin down. Technicians use electronic leak detectors, bubble solution on fittings, and pressure testing together, because an easy leak at a fitting shows up fast while one hidden inside a coil takes more digging. You’ll still get a clear answer on where it is before any repair work or recharge happens.
Ready to Get Started?
Call (469) 490-3595 Today, Get Service Today.