


Reverse Osmosis System Installation in Dallas
Find out if reverse osmosis fits your water problem before you buy – then a licensed installation.
What’s Covered on This Page
- What Reverse Osmosis Installation Includes in Your Dallas Home
- Why a Licensed Plumber Should Handle the Supply and Drain Connections
- Reverse Osmosis vs. Water Softener vs. Whole-Home Filtration
- What Drives Reverse Osmosis Installation Cost Up or Down
- How the Installation and Testing Process Works
- Is there a downside to drinking reverse osmosis water?
- Can I buy an RO system at a home improvement store and have it installed separately?
- Is reverse osmosis the best option, or is something else better for my water?
What Reverse Osmosis Installation Includes in Your Dallas Home
Here’s what you’re paying for. A reverse osmosis system pushes your tap water through a very fine membrane that holds back most dissolved minerals and other impurities. Most systems also have filters before and after the membrane. The clean water goes to its own small faucet at your sink. The leftover water flushes down your drain line. That’s why the drain connection matters as much as the filter itself.
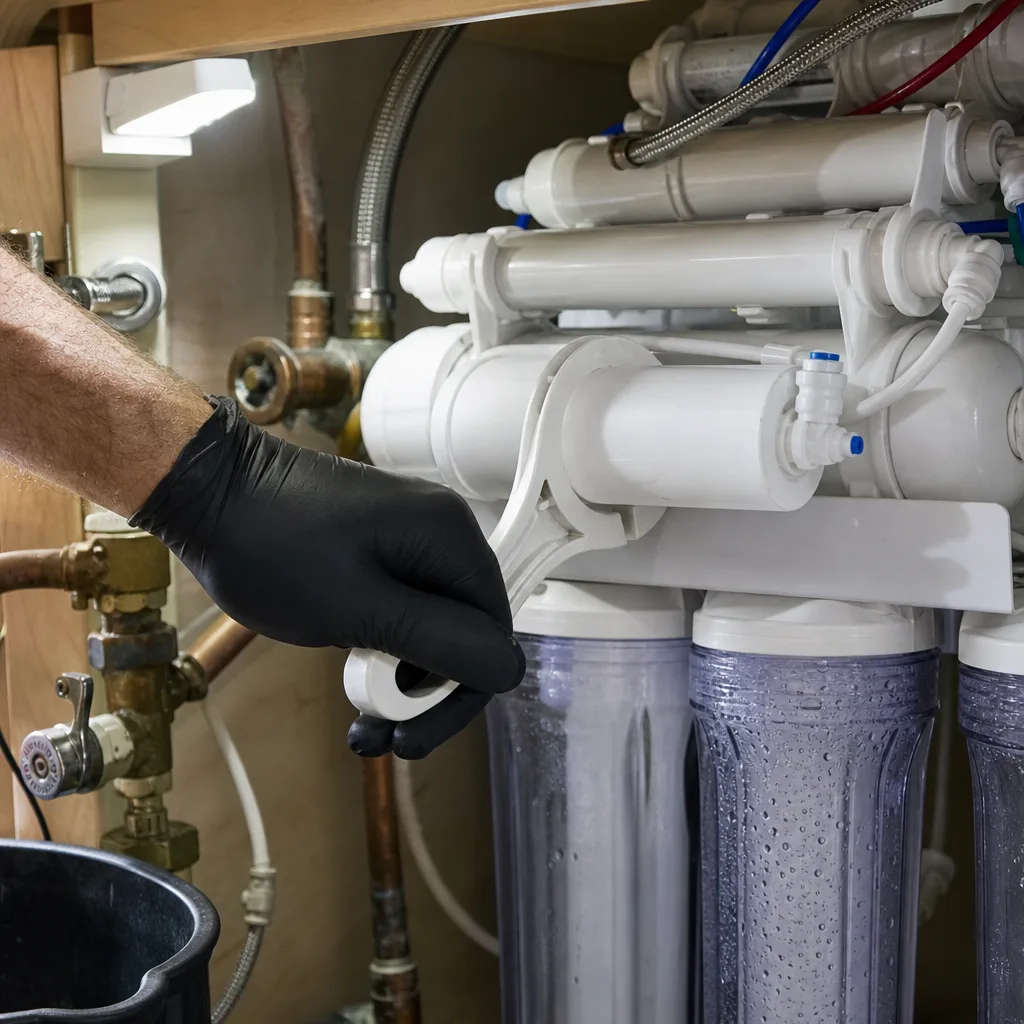
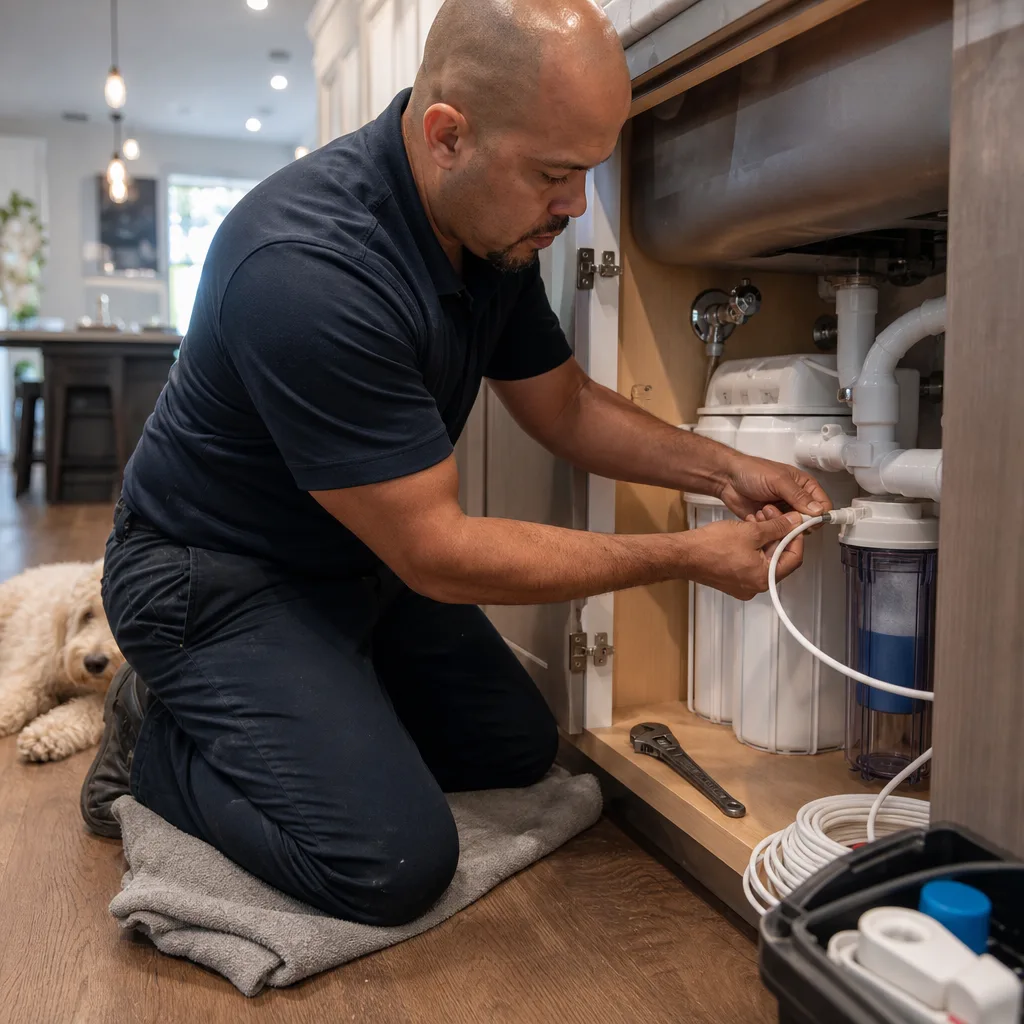
When Xtreme Air Services installs your system, here’s what’s included:
- The RO system and the materials to hook it up
- Professional installation under your sink
- A dedicated drinking-water faucet
- The supply and drain connections
- Startup and testing, so you know it’s making water the way it should
Some things aren’t included unless your quote says so. We’d rather tell you now than surprise you later:
- A dedicated water line, if running one takes extensive work
- Cabinet changes, like cutting or rebuilding the inside of your sink cabinet
- Code corrections to existing plumbing that’s out of date or unsafe
- Permits, unless your quote lists them
Most kitchens never need any of these. Still, it helps to know they exist. Say you open the cabinet under your sink and find a cramped space, a corroded shutoff valve, or a drain pipe that’s been patched before. Those details can change the job, and you should hear about them before anyone picks up a tool.
Where your price lands inside the range depends on a few things. The first is the number of system stages and how much water it can make. The second is your faucet and tank type, since some systems use a storage tank and others don’t. The third is the condition of the plumbing you already have. Easy or tight access to your drain and supply lines matters too. So does adding remineralization, which puts a little calcium and magnesium back into the water for taste. A basic system under an open, modern sink sits at the lower end. A system with more stages, remineralization, and harder access sits higher.
There’s a $26-$99 service-call fee to come out and look. That fee is credited toward the work if you go ahead with Xtreme Air Services. You’ll get upfront flat-rate pricing to approve before work begins, so there’s no meter running.
On financing, we don’t usually offer it for a smaller job like this one. It’s available on larger repairs and replacements. If you’re also thinking about whole-home water treatment, ask about that while we’re there, and we’ll price each piece on its own.
Why a Licensed Plumber Should Handle the Supply and Drain Connections
The filter gets all the attention, but the two plumbing connections decide how your RO system behaves day to day. One brings water in. One sends the leftover water out. If either is off, you’ll notice it in a dripping cabinet, a gurgling sink, or water that tastes worse than it should.
On the supply side, the system taps into your cold water line under the sink. That means shutting off the water, adding a fitting, and making a connection that stays tight under constant pressure, around the clock. A tiny weep at a compression fitting won’t flood your kitchen. It soaks the cabinet floor slowly, and you might not find it until the particleboard swells or you smell mildew.
Older Dallas homes add a wrinkle. Many 1950s through 1990s slab ranch houses still have their original shutoff valves under the kitchen sink. After decades of sitting still, those valves can stick, drip, or refuse to close all the way. A licensed plumber can tell whether your valve will hold and whether it needs replacing before anything gets connected. That’s the kind of detail that lands under code corrections if it turns up.
The drain side is where most do-it-yourself installs go wrong. Here’s what a plumber is watching for:
- Drain clamp placement. The clamp that carries RO wastewater should sit above the trap, the curved pipe under your sink. If it’s placed too low or right next to the disposal outlet, food and gunk can back up into the line.
- Backflow protection. Dirty drain water should never have a path back toward your clean water. Some RO faucets have a built-in air gap for this, and the drain line has to be set up to match the faucet you choose.
- Line routing. A drain tube with a sag or kink holds water and can make noise every time the system flushes.
- Water pressure. RO membranes need steady incoming pressure to make water at their rated speed. If yours runs low, a plumber will catch it during testing instead of leaving you with a slow-filling tank.
To be straight with you, plenty of under-sink RO kits are built so a handy homeowner can install them. If your cabinet is roomy, your shutoff valve turns easily, and you’re comfortable drilling a faucet hole and tightening compression fittings, you can likely handle it. Read the instructions twice, check every fitting for drips over the next few days, and you’ll probably be fine.
Hiring a pro makes more sense when the setup isn’t that simple. That includes a stone or quartz countertop that needs a clean faucet hole, a disposal crowding the drain, a cramped cabinet, an old valve, or a slab home where a hidden leak under the sink can go unnoticed for a long time. In those cases, you’re paying for the connections to be done right the first time.
Xtreme Air Services is a fully licensed and insured plumbing contractor, with Master Plumber Larry Breedlove on our team. Our licensed technicians make the supply and drain connections, then run the startup and output testing before we leave, so you know the system is working and the cabinet is staying dry.
Reverse Osmosis vs. Water Softener vs. Whole-Home Filtration
These three systems get lumped together, but they solve different problems. The right one depends on what’s bugging you about your water. Start with the symptom you notice, then match it to the fix.
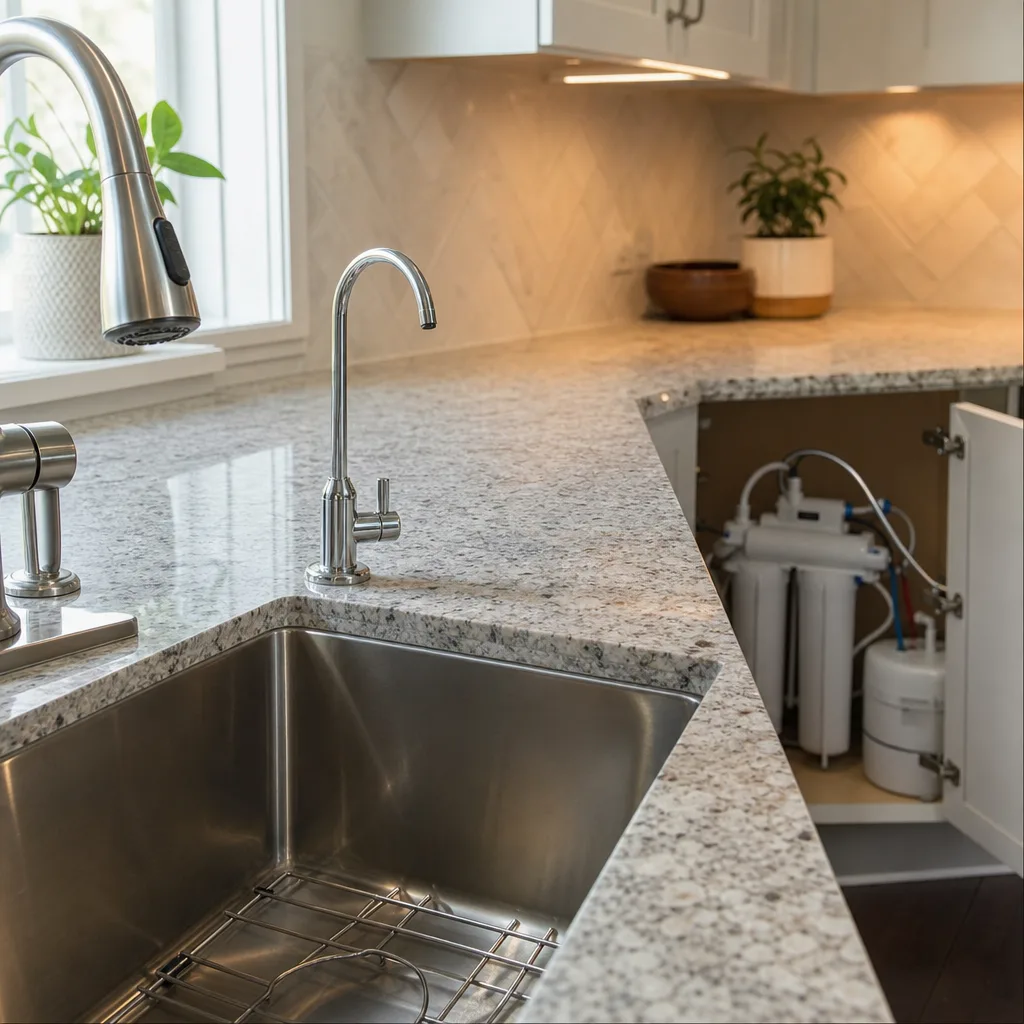
- Reverse osmosis treats the water you drink and cook with, at one tap. It’s the pick when you don’t like how your drinking water tastes, or you want fewer dissolved minerals and impurities in what goes into your glass, your coffee maker, or your baby’s bottle.
- A water softener treats every drop that comes into your home. It goes after hardness, the calcium and magnesium behind white crust on faucets, spots on glasses, stiff laundry, and scale building up inside your water heater. It doesn’t make your water purer to drink. It swaps hard minerals for a small amount of sodium.
- Whole-home filtration also treats all your water, but it targets different things. A carbon system cuts the chlorine or chloramine taste and smell that city water often carries. You’ll notice the change in the shower and at every faucet. It won’t remove hardness.
So if your shower glass is always spotty and your water heater sounds like it’s popping, an RO system under the kitchen sink won’t help either one. That’s a softener job. If the whole house smells a little like a pool when you run the tap, look at whole-home filtration. If the problem is really just the water you drink, RO is the focused fix, and you don’t have to treat the whole house to get it.
RO also isn’t built to be a whole-house system. It makes water slowly, a little at a time, and it sends some water down the drain as it works. That’s fine for drinking and cooking. It doesn’t make sense for showers, laundry, and toilets.
Plenty of homes end up with two systems working together. A softener protects your pipes, fixtures, and water heater. RO under the sink then gives you great-tasting drinking water. Softened water is easier on an RO membrane too, because there’s less hard mineral trying to build up on it.
Not sure which problem you have? A water test takes the guessing out of it. It shows how hard your water is and what’s in it, so you’re paying for the system that fixes your actual issue. Xtreme Air Services offers water testing, water softener installation, and whole-home water filtration installation, so we can look at the whole picture with you and give you a straight answer, even if that answer is that RO alone is all you need.
Need help with Reverse osmosis system installation?
Call Today, Get Service Today. Xtreme Air Services — Oak Lawn is ready to help.
What Drives Reverse Osmosis Installation Cost Up or Down
You already know the main things that move the price. Here’s what they look like when you open your own sink cabinet, so you can make a good guess about where your job will land before anyone comes out.
These details tend to keep a job simple:
- Your sink already has a spare hole, or a soap dispenser you don’t mind giving up, so no new hole is needed for the faucet.
- The cabinet is open, with room for the filters and a tank.
- Your shutoff valve turns easily and doesn’t drip.
- You’re choosing a standard tank system that only feeds the kitchen faucet.
These details tend to add time or parts:
- A quartz or granite countertop with no spare hole. Drilling stone takes the right bit and a slow, careful hand.
- A tankless system. It saves cabinet space, but many models run on power. If there’s no outlet under the sink, one has to be added first. Xtreme Air Services also does outlet and switch installation, so that piece can be handled during the same visit.
- A second line to your fridge’s ice maker or water dispenser. A short run is easy. A long run across the kitchen, or one that goes through a wall, is where the dedicated-line exclusion can come into play.
- Low water pressure. If your pressure is too weak for the membrane, a small booster pump may be needed to get a normal flow.
- A garbage disposal and a crowded drain, or an older home whose under-sink plumbing needs work before anything new can be connected.
The install price isn’t the whole cost of owning an RO system. The filters before and after the membrane need changing on a schedule, and the membrane itself wears out more slowly. Some systems use common filter sizes you can buy almost anywhere. Others use brand-specific cartridges that cost more each time. A system that’s a little cheaper today can cost you more over five years, so ask what the replacement filters cost before you choose one.
Before you hire anyone for an RO install in Dallas, these questions will tell you a lot:
- Is the faucet included, and will it match the drain setup it needs?
- If my shutoff valve or drain needs work, will I hear about it and get a price before you start?
- Do I need a permit for this job, and who handles it if I do?
- What do the replacement filters cost, and how often will I need them?
- Will you test the water output before you leave?
A good installer will answer every one of these plainly and won’t rush you. If anyone dodges the filter-cost question or won’t price extra work up front, that’s worth noticing before you agree to anything.
Watch Our Video
See How We Handle Reverse osmosis system installation in Dallas
Xtreme Air Services — Oak Lawn
How the Installation and Testing Process Works
An under-sink RO install is a short, tidy job when it’s done in the right order. Most of our jobs finish the same day. Here’s how a proper install goes, so you know what’s happening in your kitchen and why each step matters.
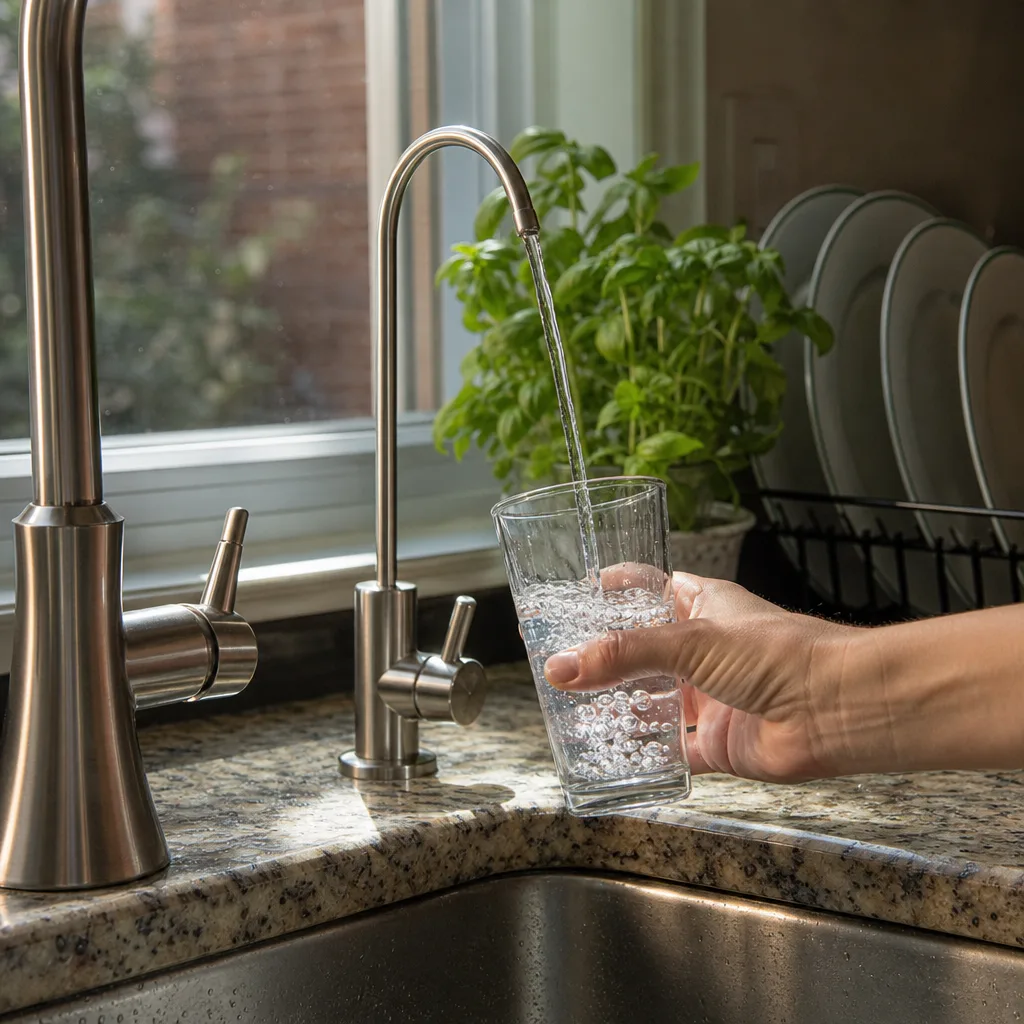
- Look before touching anything. The installer checks your cabinet space, shutoff valve, drain, and countertop. If something needs extra work, you hear about it and approve upfront flat-rate pricing before work begins.
- Shut off the cold water and clear the cabinet. Plan on emptying the space under your sink so there’s room to work.
- Mount the faucet. It goes in a spare sink hole, a soap dispenser hole, or a new hole drilled through the counter.
- Hang the filter unit and set the tank. The filter housing usually mounts to the cabinet wall, up off the floor, so it’s easy to reach when filters need changing.
- Make the supply and drain connections. These are the two connections covered above, and they’re where careful work pays off.
- Turn the water back on slowly and check every fitting for drips.
Your water is only off for part of the visit. You’ll have normal water at your regular kitchen faucet again before the job is done.
Startup is the step people skip when they install a kit themselves. A new carbon filter can shed fine black dust, and a new membrane ships with a preservative inside. So the first water through the system shouldn’t go in your glass. The system gets flushed, and the first tank is drained and refilled. That clears the new filters out before you drink from it.
Testing is how you know the system is doing its job. A simple check compares your tap water to the water coming out of the RO faucet. A handheld meter reads the dissolved solids in each one. The RO water should read much lower. If it doesn’t, something’s off with the membrane, the pressure, or a connection, and it’s far better to find that out before anyone leaves. The flow and the dry cabinet get checked too. Startup and testing are part of every install we do.
Here’s what’s normal over the first few days, so nothing catches you off guard:
- The RO faucet may sputter at first. That’s air working its way out of the lines.
- A glass of water might look cloudy, then clear from the bottom up. That’s tiny air bubbles, not dirt.
- A tank system needs a few hours to fill all the way after it’s drained. Flow from the RO faucet is slower than your main tap. That’s how RO works.
- You may hear a soft trickle in the drain while the system makes water. A loud gurgle every time is worth a call.
For the first week, open the cabinet once a day and run your hand under the fittings and along the cabinet floor. Dry is what you want. If you ever spot a drip or the water starts tasting off, don’t wait on it. Small fixes are easy when you catch them early.
Call 469-269-6373
Frequently Asked Questions
Common questions about Reverse osmosis system installation
Is there a downside to drinking reverse osmosis water?
The main downside is that RO removes beneficial minerals like calcium and magnesium along with the impurities, which can leave the water tasting flat to some people. That’s why remineralization is worth asking about if taste matters to you. It adds a small amount of those minerals back in after filtering, so you get clean water without the flat taste some people notice.
Can I buy an RO system at a home improvement store and have it installed separately?
You can, but the connections matter more than where the system came from. A store-bought kit still needs a proper supply line tap and a drain clamp placed correctly above the trap, so the install quality depends on who hooks it up, not just the brand of system. If you already own a system, we can still handle the supply and drain connections, startup, and testing for you.
Is reverse osmosis the best option, or is something else better for my water?
It depends on what’s bothering you about your water. If you just notice a chlorine taste, a simple carbon filter on your faucet often solves that for less money. RO earns its place when you want more than a taste fix, like lower dissolved minerals in every glass, or when you’re tired of buying bottled water or swapping pitcher filters all the time. A water test clears up which one fits your situation before you spend money on the wrong fix.
Ready to Get Started?
Call (469) 269-6373 Today, Get Service Today.