


Reverse Osmosis System Installation in Plano: DIY Kit or Pro Install?
Find out if reverse osmosis fits your water problem before you buy – then a licensed installation.

What’s Covered on This Page
- Under-Sink RO Installation Covers Drinking and Cooking Water, Not Whole-Home Treatment
- A Retail DIY Kit Can Work for Simple, Accessible Setups
- Plumbing Condition and Drain Access Decide When Professional Install Pays Off
- What a Professional Under-Sink RO Installation Includes
- A Kitchen Renovation Is the Right Time to Add RO Plumbing
- How long do I need to run the RO system after changing the filters?
- Is a reverse osmosis system worth installing?
- Can I just buy an RO kit from a store and skip professional installation?
Under-Sink RO Installation Covers Drinking and Cooking Water, Not Whole-Home Treatment
Before you book anything, it helps to know what this system can and can’t do. An under-sink RO unit sits in the cabinet below your kitchen sink. It pushes water through a fine membrane and a few filters, then sends that cleaner water to its own small faucet on the sink. That’s the water you’ll use for drinking, coffee, ice, baby formula, and cooking pasta or rice.
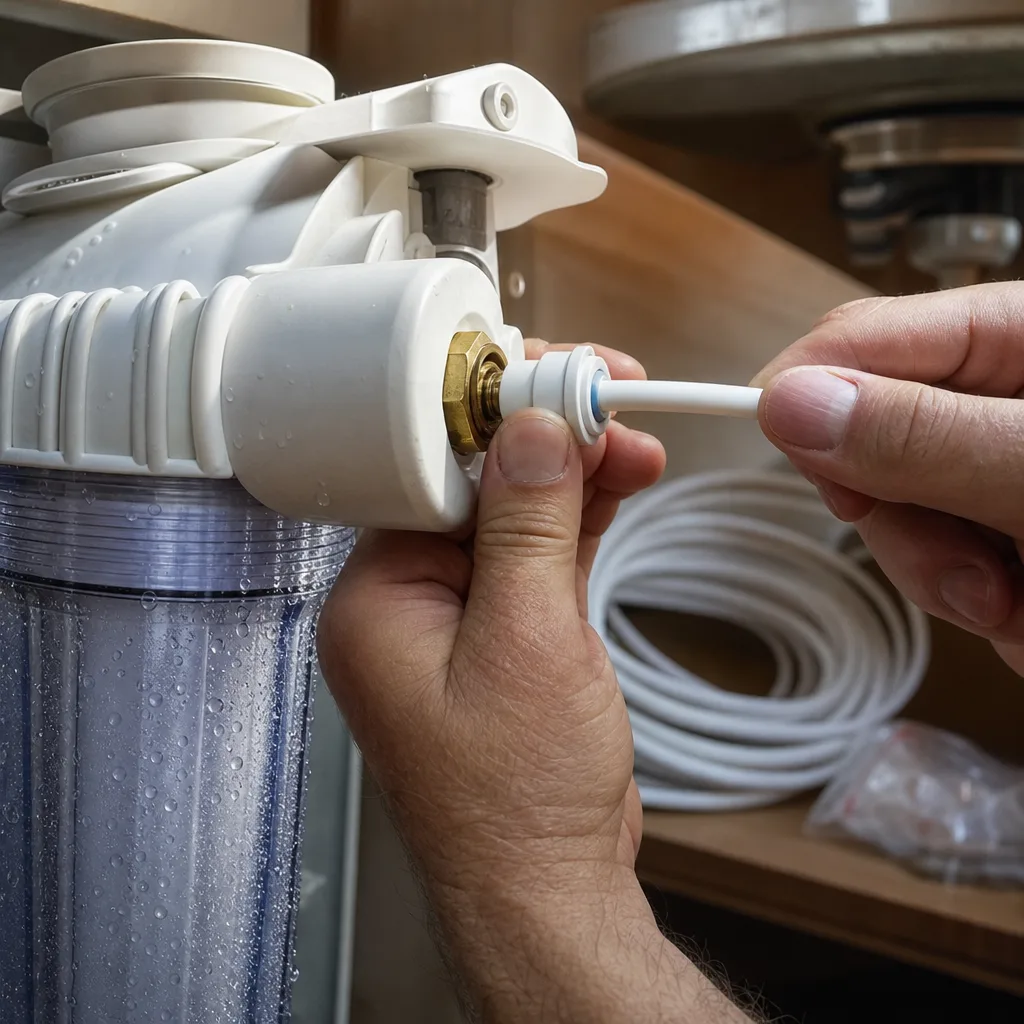
Everything else in your home still runs on the same water it always has. Your showers, tubs, toilets, washing machine, dishwasher, and water heater never touch the RO system.
- An RO system helps with: water that tastes or smells off, cloudy ice cubes, buying cases of bottled water, and wanting cleaner water for drinking and cooking.
- An RO system won’t help with: white crust on showerheads and faucets, spots on glass shower doors, dingy laundry, scale building up inside your water heater, or dry, itchy skin after a shower.
Here’s a common picture. You notice a chalky ring around the kitchen faucet, spots on your glasses when they come out of the dishwasher, and a showerhead that sprays crooked because the holes are crusted over. That’s hard water, and it’s a real fact of life in North Texas. An RO faucet would give you a great glass of water, but the dishwasher, the showerhead, and the water heater would keep getting scale just like before.
If hard water is your main problem, a water softener is the tool built for it, because it treats every tap in the house. If you want filtered water at every faucet, look at whole-home water filtration. Plenty of homeowners end up with both. A softener protects the plumbing and appliances, and an RO at the kitchen sink handles the drinking water. A softener can also take some strain off the RO membrane, since the membrane has less mineral to deal with.
There’s one more honest point. If the only thing bugging you is a slight chlorine taste, you may not need an RO system at all. A simple carbon filter, like a pitcher or a faucet-mount filter, can take care of taste for a lot less. RO makes the most sense when you want a bigger step up in water quality, or you’re tired of hauling bottled water home.
Not sure which problem you’ve got? Water testing is the easy way to find out. It tells you what’s in your water before you spend money on equipment, so you get the right fix for your home the first time.
A Retail DIY Kit Can Work for Simple, Accessible Setups
Here’s the honest answer: plenty of handy homeowners install their own under-sink RO kit and do just fine. The kits sold at home stores are built for it. They come with color-coded tubing, push-in fittings, and a step-by-step manual. If your kitchen sink setup is simple, you may not need us at all.
Open the cabinet under your kitchen sink and take a look. A DIY install usually goes smoothly when you can check every box on this list:
- Your cold water shutoff valve turns off all the way and doesn’t drip when you close it.
- There’s clear room on the cabinet floor for the storage tank, or you’re buying a tankless unit that fits the space.
- Your sink drain has a straight section of pipe above the trap where the drain saddle can clamp on.
- Your countertop already has an open hole for the RO faucet, like an unused sprayer or soap dispenser spot, or your sink is the kind you can drill yourself.
- You’re comfortable shutting off the water, cutting tubing square, and checking fittings for slow leaks over the next few days.
If that sounds like your kitchen, a weekend afternoon and the kit manual may be all it takes. Follow the maker’s directions for flushing the filters and the first tank of water, since every brand handles that step a little differently.
A kit stops being a simple project when your cabinet doesn’t match that list. These are the spots where DIY installs tend to go sideways:
- The shutoff valve is old, stuck, or won’t seal. Forcing a seized valve can snap it, and then you’re dealing with water in the cabinet instead of a new faucet.
- You have a quartz or granite countertop with no spare hole. Drilling stone takes the right bit and a steady hand, and a cracked counter costs far more than the RO unit.
- A garbage disposal, a second drain, or a tangle of old pipes leaves no good place for the drain saddle.
- You want the RO water run to your fridge or ice maker, which means routing tubing through cabinets, floors, or walls.
- The cabinet is already crowded, so the tank and filters won’t sit where you can reach them for filter changes.
One more thing worth knowing: RO units depend on decent water pressure to make water at a normal speed. If your faucets already feel weak, an RO kit may fill slowly no matter how well you install it. That’s a pressure question to sort out first, not a kit problem.
The biggest risk with a DIY RO install isn’t a dramatic burst. It’s a small, slow drip from a fitting that wasn’t pushed in all the way. It soaks into the cabinet floor for weeks before anyone notices the soft spot or the smell. If you do it yourself, put a dry paper towel under each connection for the first few days and check it every morning. If the towels stay dry, you did it right.
Plumbing Condition and Drain Access Decide When Professional Install Pays Off
If your cabinet failed the DIY checklist above, the RO system itself usually isn’t the hard part. What’s under the sink is. The condition of your plumbing and how easy it is to reach the drain and cold line decide how much work the install takes, and that’s what moves the price.
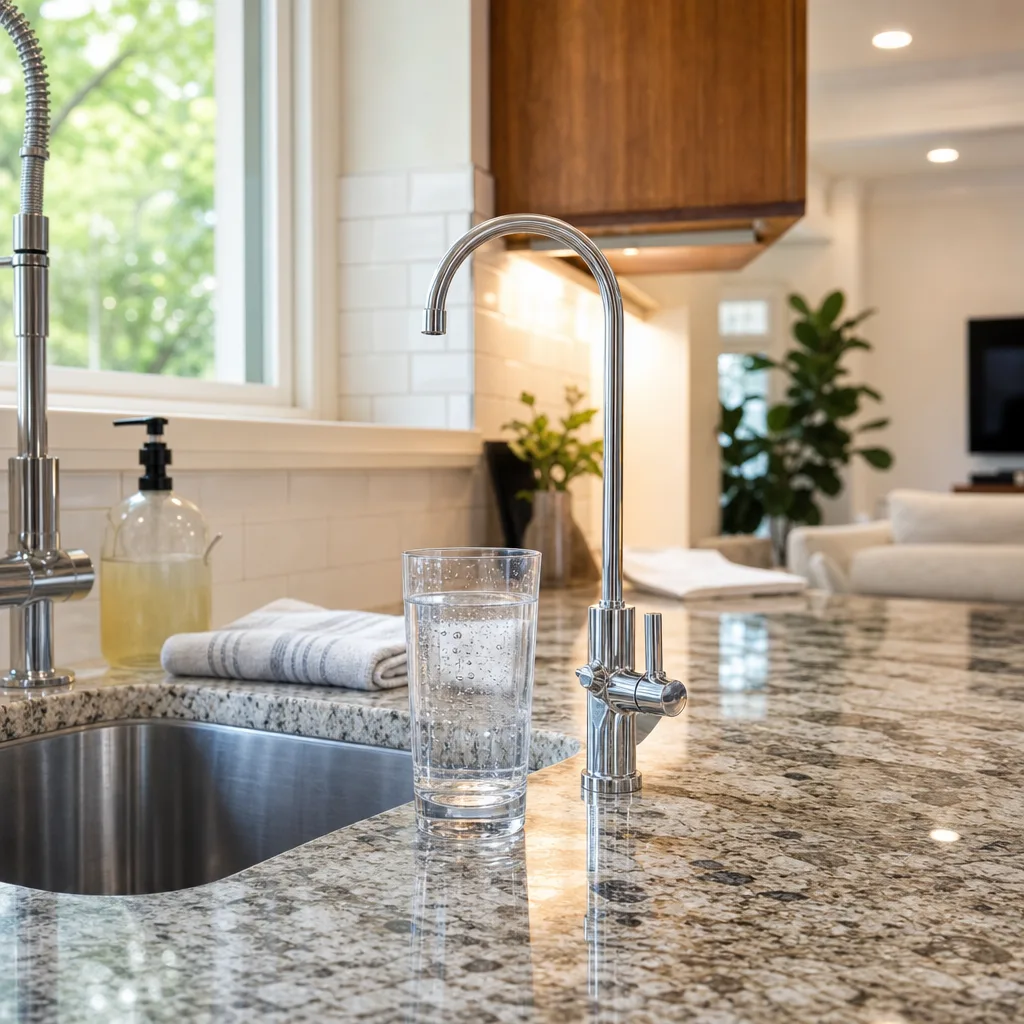
For our most common job, installing an under-sink RO drinking-water system with the faucet, membrane, and drain connection, then testing it for proper output, the price is $475 to $850. Most of these jobs finish the same day. Across all RO installs, our typical range is $300 to $1,200.
Where your job lands in that range comes down to five things:
- System stages and capacity. More filter stages, or a unit that makes more water per day, costs more than a basic setup.
- Faucet and tank type. A standard tank unit and a compact tankless unit fit and connect differently, and faucet styles vary.
- Condition of your existing plumbing. Old valves, worn supply lines, or patched drain pipe can need attention before the new system goes in.
- Drain and supply access. A clear cabinet with a straight drain and a working cold valve is quick. A crowded one takes longer.
- Added remineralization. This is an extra filter stage that puts a little calcium and magnesium back into the water. Some people like the taste better, and it adds to the cost.
Here’s what that price covers. The RO system and materials, professional installation, the faucet, all the connections, and startup and testing are included. You’re not buying a box and figuring out the rest yourself.
Some items are not included, and it’s better you hear that now than on the day of the install:
- A dedicated water line, if running one turns into extensive work
- Cabinet modifications
- Code corrections to existing plumbing
- Permits, unless stated in your quote
Most kitchens don’t need any of those. If yours does, you’ll know before any work starts, because we give you upfront flat-rate pricing that you approve first. No meter running, and no surprise line items once the cabinet is open.
There’s a service-call fee of $26 to $99, and it’s credited toward the job if you go ahead with Xtreme Air Services. Financing isn’t typically offered for a smaller job like this. It’s available on larger repairs and replacements.
So when does paying a pro make sense? It makes sense when the stakes under your sink are higher than the cost of the system. A seized valve, a stone countertop with no spare hole, or a drain with no clean spot for the saddle can turn a cheap kit into an expensive repair. In those kitchens, licensed and insured hands, a firm price you approve ahead of time, and a system tested for output before we leave are worth more than the money a DIY install saves.
If your setup is simple, you’re fine doing it yourself. If it isn’t, the price above tells you what you’d pay to have it done right the first time.
Need help with Reverse osmosis system installation?
Call Today, Get Service Today. Xtreme Air Services — West Plano is ready to help.
What a Professional Under-Sink RO Installation Includes
A professional RO install isn’t just hooking up a box. The goal is clean water at your kitchen sink and a dry cabinet under it, both on day one and a month from now. Here’s what a proper job covers, so you know what you’re paying for and what to look for before the technician heads out.
There’s one easy thing you can do first. Empty the cabinet under your kitchen sink before the visit. Cleaners, trash bags, and that bucket of sponges all need to come out so there’s room to work and room to see every connection.
- Tapping the cold water line. The system gets its water from the cold supply under the sink. If your shutoff valve is stuck or won’t seal, it has to be dealt with before anything new connects to it.
- Mounting the RO faucet. The faucet goes in an open sink or counter hole if you have one. If you don’t, a new hole has to be made, and that takes extra care on stone counters.
- Connecting the drain. RO systems send a small stream of wastewater down your sink drain. That line clamps onto the drain pipe above the trap, so dirty drain water can’t flow back toward your clean water.
- Placing the tank and filters. The storage tank, if your unit has one, and the filter housings should sit where you can reach them. You’ll be changing filters on a schedule, and nobody wants to empty the whole cabinet each time.
- Starting up and testing. The filters get flushed, the first batch of water is run through and dumped, and every fitting is checked for leaks. Then the system is tested to make sure it’s making water the way it should.
That testing step matters more than it sounds. An RO system can look perfect and still drip from one fitting that wasn’t seated all the way. It can also fill slowly because of a pressure problem. Catching that while the tools are still out is a lot better than finding a soft cabinet floor weeks later.
Before the technician leaves your home, you should be able to check off these points yourself:
- Every fitting and the drain connection are dry to the touch.
- The RO faucet runs a steady stream, and the tank is filling if you have one.
- Your regular kitchen faucet still has its normal pressure.
- You know where the filters are and roughly when they’ll need changing.
- You know where the shutoff is if you ever need to turn the system off.
If something on that list doesn’t check out, say so right then. It’s your kitchen and your water, and you should feel good about both before anyone packs up.
Most of these installs finish the same day. You’ll know your price before work starts, and the job is handled by our licensed, background-checked technicians, the same team your neighbors call for plumbing, water heaters, and water treatment across North Texas.
Call 469-217-9095
Watch Our Video
See How We Handle Reverse osmosis system installation in Plano
Xtreme Air Services — West Plano
A Kitchen Renovation Is the Right Time to Add RO Plumbing
If you’re already planning a kitchen remodel, you’ve got the best chance you’ll ever get to make an RO install easy. Every tricky spot from the sections above, like the countertop hole, the crowded cabinet, the drain layout, and a line to the fridge, is simple to plan while the kitchen is torn apart. Once the new counters and cabinets are in, those same choices cost more and take more work.

Think of it this way. Right now, the space under your sink is a blank page. In six months, it’ll be a finished cabinet you don’t want anyone cutting into.
Here’s what to decide before the remodel locks things in:
- The faucet hole. Tell your countertop fabricator you want a hole for an RO faucet, and where. It gets cut in the shop with the sink cutout, so nobody has to drill your new stone later.
- Cabinet space. Pick your RO system, tank or tankless, before the sink base is ordered. Then you’ll know it fits with room to change filters, and you won’t need cabinet changes after the fact.
- The drain layout. If you’re adding a garbage disposal or a double sink, ask your plumber to leave a clean, straight piece of drain pipe for the RO drain line to connect to.
- A line to the fridge. Want filtered water and ice from your refrigerator too? Run that tubing while the cabinets are out and the walls are open. Doing it later can turn into the kind of extensive line work that adds real cost.
- Power under the sink. Many tankless RO units need an electrical outlet in the sink cabinet. Adding one during a remodel is a small job. Adding one to a finished kitchen means opening walls.
Here’s a common picture. You’ve picked a quartz countertop, a big single-bowl sink, and a new disposal. The counter installers show up, everything looks great, and then you remember you wanted an RO faucet. Now you’re looking at drilling a brand-new counter and squeezing a tank in next to the disposal. Five minutes of planning back at the design stage would have avoided all of it.
You don’t need to install the RO system the same week as the remodel. You can plan the faucet hole, the outlet, and the drain spot now, then add the system itself whenever you’re ready. The hard part is already done, so the install later is closer to the simple, quick end of the job.
It also helps to have one team look at the whole picture. RO plumbing, a disposal, a new outlet under the sink, and a fridge water line touch both plumbing and electrical. Xtreme Air Services handles plumbing, electrical, and water treatment under one roof, so you’re not juggling separate companies for one sink cabinet.
Call 469-217-9095
Frequently Asked Questions
Common questions about Reverse osmosis system installation
How long do I need to run the RO system after changing the filters?
Flush the system and let the tank fill and drain two to three times before you drink the water. This clears any loose carbon dust or air from the new filters so your first glasses taste clean, not off. After that first flush cycle, the system runs normally and refills on its own.
Is a reverse osmosis system worth installing?
It’s worth it if your main goal is better-tasting drinking and cooking water, or you’re tired of buying bottled water. An RO faucet gives you cleaner water for coffee, ice, and cooking at a fraction of what cases of bottled water cost over time. If your real complaint is hard water spots or dingy laundry, a water softener solves that instead, since RO only treats the kitchen faucet.
Can I just buy an RO kit from a store and skip professional installation?
Yes, if your kitchen cabinet has a shutoff valve that seals well, open space for the tank, and a straight section of drain pipe for the saddle clamp. Many Plano homeowners install these kits themselves over a weekend using the included tubing and manual. If your countertop is stone with no spare hole, or your shutoff valve is old and stuck, a professional install avoids a cracked counter or a slow leak you don’t catch for weeks.
Ready to Get Started?
Call (469) 217-9095 Today, Get Service Today.