

A water heater anode rod is a sacrificial metal rod installed inside tank-style water heaters that corrodes in place of the steel tank, protecting it from rust and extending its working life. Without one, most steel tanks would rust through in just a few years. It is one of the cheapest, most overlooked parts in your home, and replacing it on schedule is far less painful than buying a new water heater.
Table of Contents
- How the anode rod protects your water heater
- What materials are anode rods made from?
- Where is the anode rod located on your water heater?
- How long do anode rods last, and what are the signs of failure?
- How to inspect and replace an anode rod yourself
- How to choose the right replacement anode rod
- What does anode rod replacement actually cost?
- Simple maintenance schedule to extend your water heater’s life
- Why professionals consider the anode rod the most important consumable
- Key Takeaways
- The real cost of ignoring a $20 part
- Xtremeairservices handles the jobs that are too risky to DIY
- Useful sources
- FAQ
How the anode rod protects your water heater
Water is corrosive. Left alone in a steel tank, it will attack the metal walls through a process called galvanic corrosion, where electrons flow between dissimilar metals and the weaker metal degrades first. The anode rod is engineered to be that weaker metal on purpose. It sits in the tank, draws the corrosive activity to itself, and slowly dissolves while the steel tank stays intact. Think of it as a rust magnet that takes the hit so the tank does not have to.
The rod works because it is made from a metal higher on the galvanic series than steel, typically magnesium or aluminum. In electrochemical terms, the rod acts as the anode (the metal that oxidizes and loses electrons) while the steel tank becomes the cathode (the metal that is protected). As long as enough rod material remains, the tank is shielded.
Impressed-current cathodic protection (ICCP) works differently. Instead of a sacrificial rod that depletes, ICCP systems use an external power source to push electrons into the tank wall and counteract corrosion. They are more common in commercial or industrial water heaters and do not require periodic rod replacement. For residential tank heaters, the sacrificial anode is the standard.
One key figure: most residential tank water heaters hold a typical volume of several dozen gallons and rely entirely on a single sacrificial anode rod to prevent internal corrosion for the life of the tank.
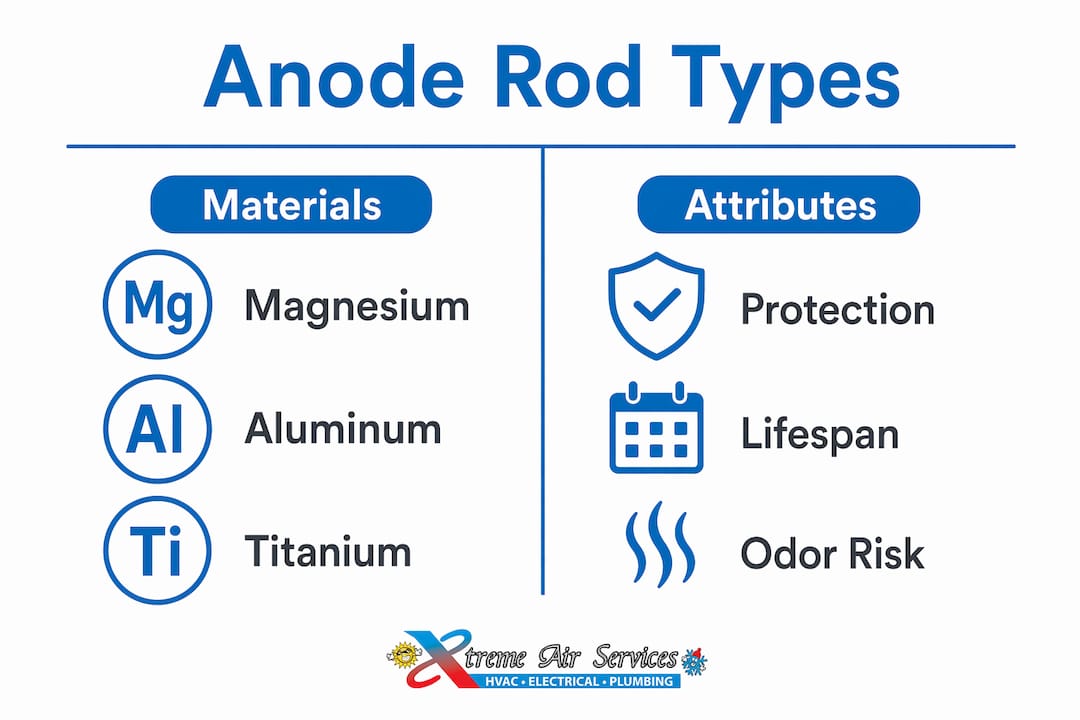
What materials are anode rods made from?
Not all rods are equal, and the material you choose affects protection strength, odor, and how fast the rod depletes.
Magnesium
Magnesium is the most reactive of the common sacrificial metals, which means it provides the strongest galvanic protection. It is the go-to choice for homes with soft water. The downside: in water supplies that contain sulfate-reducing bacteria, magnesium can react with those bacteria and produce hydrogen sulfide gas, which is the rotten-egg smell some homeowners notice from their hot water. If you have that odor, the rod is not necessarily failing; it may just be the wrong material for your water chemistry.
Aluminum and aluminum/zinc alloys
Aluminum rods corrode more slowly than magnesium, making them a better fit for hard water where a magnesium rod would deplete too quickly. Aluminum/zinc alloys address the odor problem directly: the zinc content inhibits the sulfur-producing reaction, so they are often the first recommendation when a homeowner complains about smelly hot water. Anode material selection meaningfully affects both protection strength and side effects like that sulfur smell.
Impressed-current (ICCP) rods
Titanium rods paired with an ICCP system do not deplete at all. They use a small electrical current to protect the tank instead of sacrificial corrosion. These are a professional installation and are rarely found in standard residential heaters, but they are worth knowing about if you have a specialty unit or are evaluating long-term options with a plumber.
Comparison table
| Material | Protection strength | Typical lifespan | Odor risk | Best for |
|---|---|---|---|---|
| Magnesium | Highest | 3–5 years (soft water) | Higher (sulfate-rich water) | Soft water, maximum protection |
| Aluminum/zinc | Moderate | 4–6 years | Low | Hard water, odor concerns |
| Aluminum | Moderate | 4–6 years | Low to moderate | Hard water, budget-conscious |
| ICCP (titanium) | Continuous | Does not deplete | None | Commercial, specialty installs |
Where is the anode rod located on your water heater?
Finding the rod is the first practical step before any inspection or replacement.
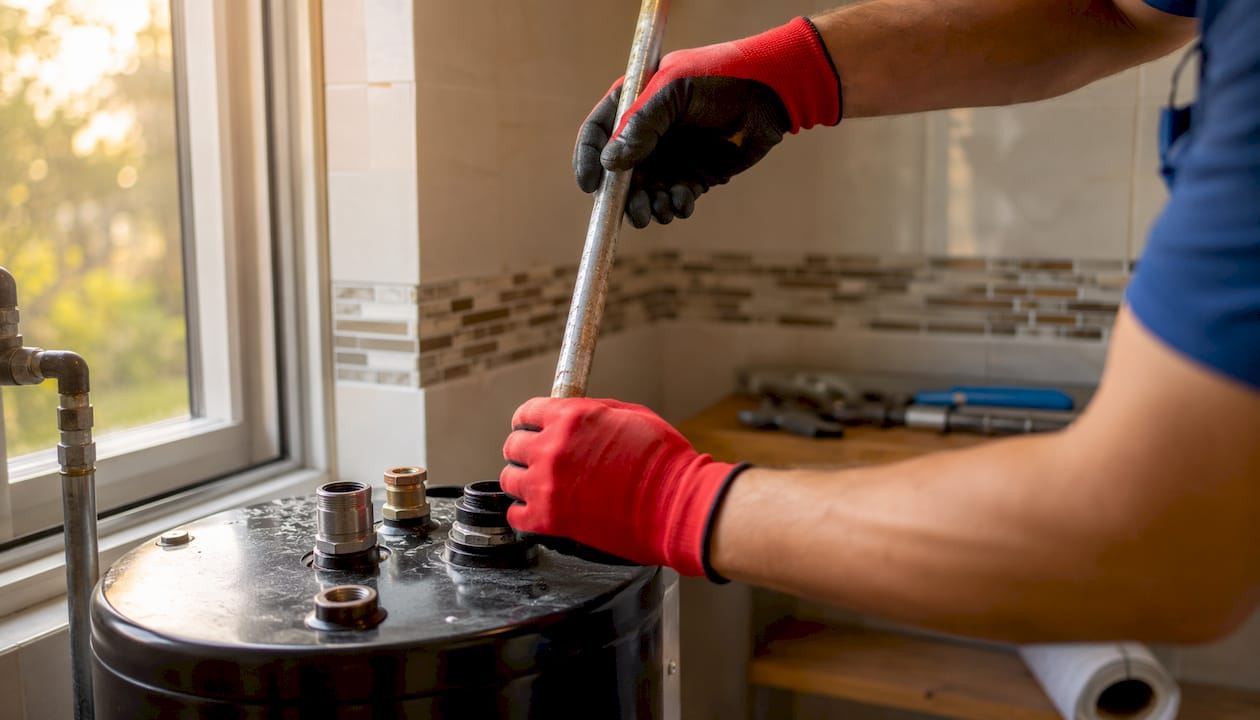
- Top of the tank: On most tank heaters, the anode rod threads into a hex plug on top of the unit, sometimes hidden under a plastic cap or insulation. You will need a 1 1/16-inch socket to access it.
- Through the hot-water nipple: Some heaters, particularly Bradford White models, have a combination anode rod built into the hot-water outlet nipple at the top. There is no separate hex plug; the nipple itself is the rod.
- Flexible rods: When a heater is installed in a tight space with limited overhead clearance, a flexible (segmented) anode rod threads in the same way but bends to fit through low-clearance areas.
- Multiple rods: Larger tanks (80 gallons and up) sometimes use two anode rods for full coverage. Check your owner’s manual to confirm how many your unit has.
- Tankless water heaters: Most tankless units do not use sacrificial anode rods at all. They heat water on demand through a heat exchanger rather than storing it in a steel tank, so the corrosion mechanism is different. If you have a tankless unit, skip the anode rod search and focus on descaling the heat exchanger instead.
Pro Tip: Before you start, photograph the top of your water heater and check the model number. A quick search of that model number plus “anode rod location” will tell you exactly what you are dealing with before you grab a wrench.
How long do anode rods last, and what are the signs of failure?
Lifespan varies more than most homeowners expect. Under normal conditions with average municipal water, a rod typically lasts several years. But factors like hot water temperature, softened water, and high ionic conductivity accelerate corrosion and can reduce that lifespan. Homes with water softeners are especially susceptible because softened water is more conductive and accelerates depletion.
The warning signs worth watching for:
- Heavy pitting or more than 50% depletion when you pull the rod out for inspection
- Rotten-egg smell from hot water (especially with magnesium rods and sulfate-rich water)
- Rusty or discolored hot water coming from faucets
- Increased sediment settling at the bottom of the tank
- Rising repair frequency on a heater that used to run trouble-free
Do not wait for a leak to act. Once the rod is fully depleted, the tank wall becomes the anode, and corrosion accelerates rapidly. A water heater that is no longer keeping up with demand or producing rusty water may already have a compromised tank.
Inspection threshold: replace the anode rod when it is more than roughly 50% depleted or shows heavy pitting, regardless of how many years it has been in service.
How to inspect and replace an anode rod yourself
You can do this job yourself on most standard tank heaters. The realistic risks are a seized rod that will not budge and the possibility of twisting the tank or connected plumbing if you apply too much leverage. Know your stop points before you start.
Tools you will need
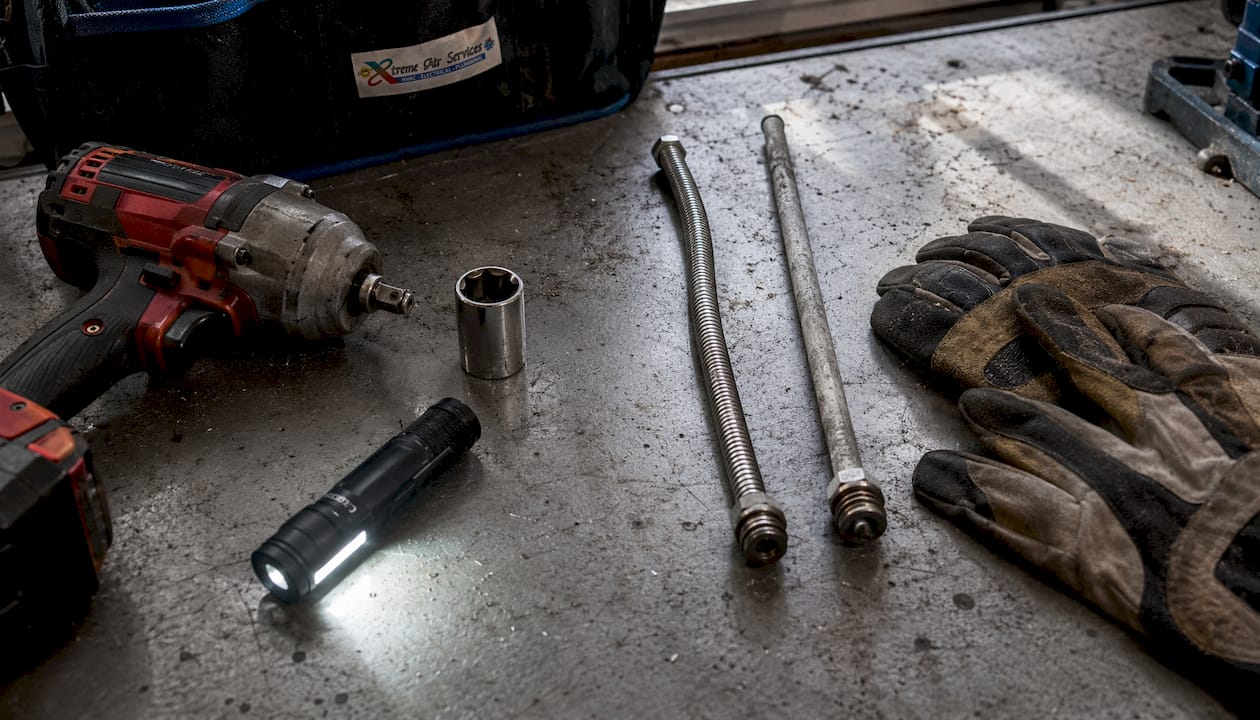
- 1 1/16-inch socket (deep well)
- Breaker bar or impact wrench (strongly preferred for factory-installed rods)
- Replacement anode rod (correct length and thread size for your tank)
- Teflon tape (plumber’s tape)
- Bucket and garden hose for draining
- Adjustable wrench
Step-by-step replacement
- Shut off power or gas. For electric heaters, flip the breaker. For gas heaters, turn the control knob to “Pilot.” Never work on a live heater.
- Turn off the cold-water supply to the heater using the shutoff valve above the unit.
- Relieve pressure. Open a hot-water faucet somewhere in the house and leave it open throughout the job.
- Drain a few gallons. Attach a garden hose to the drain valve at the base of the tank and drain 3–5 gallons into a bucket. You do not need to empty the tank fully.
- Locate and loosen the rod. Place your socket over the hex plug and use the breaker bar or impact wrench to break it loose. Turn counterclockwise.
- Inspect the old rod. Pull it out and look at the condition. If more than half is gone or it is heavily pitted, replace it. If it looks mostly intact, reinstall it and check again in a year.
- Choose and prepare the replacement. Match the thread size and length (see the next section). Wrap the threads with two layers of Teflon tape.
- Install the new rod. Thread it in by hand first, then tighten with the socket. Snug is enough; you do not need to crank it down.
- Refill and check for leaks. Close the drain valve, turn the water supply back on, and let the tank fill completely before restoring power or gas. Check the hex plug area for drips.
Pro Tip: *
are often torqued in with impact tools at the factory. If you are using a breaker bar and the rod will not move, stop. Applying more manual leverage can twist the heater body and damage connected water or gas lines. An impact wrench is the right tool, and if you do not have one, a plumber does.*
When to stop and call a plumber
- The rod will not break loose after reasonable impact-wrench effort
- The tank body or connected pipes are visibly flexing or moving
- The heater is near a gas line and you are not comfortable with the proximity
- The access point is the hot-water nipple type and you are unsure of the configuration
- The heater is under an active manufacturer warranty (some require professional service)
How to choose the right replacement anode rod
Getting the wrong rod is a common and avoidable mistake. Here is what to check before you buy:
- Thread size: Most residential tank heaters use a 3/4-inch NPT thread. Confirm this in your owner’s manual before ordering, because some models differ.
- Length: Measure the old rod or check the manual. Standard rods run 36–44 inches; flexible rods are available for tight spaces.
- Access type: If your heater uses a combination anode in the hot-water nipple, you need a nipple-style replacement, not a standard hex-plug rod.
- Material selection by water type:
- Soft water: magnesium for maximum protection
- Hard water: aluminum or aluminum/zinc to avoid rapid depletion
- Sulfur odor present: aluminum/zinc to suppress the smell
- Specialty or commercial installs: consult a plumber about ICCP options
- Warranty caution: Some manufacturers specify that using a third-party anode rod voids the tank warranty. Check your documentation before substituting a generic rod for an OEM part.
A flexible rod costs a bit more than a solid one but is worth it if your heater is in a closet or alcove with less than 44 inches of overhead clearance.
What does anode rod replacement actually cost?
The math here is straightforward and strongly favors routine maintenance.
| Service | Typical cost range | Notes |
|---|---|---|
| DIY anode rod (parts only) | $15–$50 | Plus tools if you do not own them |
| Professional rod replacement | $150–$300 | Labor + parts, varies by market |
| Full tank water heater replacement | $1,000–$3,000+ | Parts, labor, and disposal |
A full water-heater replacement costs dramatically more than a rod change, which is why Forbes and other consumer outlets consistently frame anode maintenance as one of the highest-return tasks a homeowner can do. Spending $20 on a rod every few years to protect a $1,500 appliance is not a close call.
Hire a pro when:
- The rod is seized and will not move with an impact wrench
- Your heater is a gas unit and you are not comfortable working near the gas line
- The heater is in a confined space requiring a flexible rod and specialized access
- The manufacturer warranty requires professional service to remain valid
For homeowners in the Dallas area, Xtremeairservices handles water heater repair and anode service for exactly these situations.
Simple maintenance schedule to extend your water heater’s life
Consistent, light maintenance beats a single emergency repair every time. Here is a practical schedule:
- Every 12 months: Do a visual check. Look for rust around fittings, listen for popping or rumbling (sediment buildup), and note any change in hot-water smell or color.
- Every 2–3 years: Pull and inspect the anode rod. Replace it if more than 50% is gone. Flush 2–3 gallons from the drain valve to clear sediment.
- Every 1–2 years (softened water): Inspect the rod more frequently. Softened water accelerates depletion significantly.
- Annually: Test the temperature and pressure (T&P) relief valve by lifting the lever briefly and confirming water flows, then stops cleanly.
- Keep a maintenance log: Write down the inspection date, rod material used, water-quality observations (odor, color), and any parts replaced. This record is useful for warranty claims and helps you spot patterns like accelerating corrosion.
Pairing anode-rod checks with a broader home plumbing maintenance checklist keeps everything on one schedule and reduces the chance of missing a step. Routine maintenance, including rod checks and periodic flushing, also meaningfully reduces the risk of water damage from tank failure.
Why professionals consider the anode rod the most important consumable
That is the consensus view among professional plumbers, and Forbes backs it up with a clear cost-benefit framing: routine rod maintenance protects the tank lining and prevents early replacement costs that run into the thousands. This Old House reinforces the point by recommending anode-rod inspection and replacement as a primary maintenance step, noting that water “wants to attack the steel” and the rod is what stands in the way.
The ROI is hard to argue with. A low-cost rod replaced regularly protects a tank that costs significantly more to replace. Keeping a simple maintenance log, as field technicians recommend, helps you catch accelerated corrosion early, especially if you notice sulfur odor or discolored water between scheduled checks.
Actionable checklist:
- Inspect the rod every 2–3 years (every 1–2 years with softened water)
- Replace when more than 50% depleted or heavily pitted
- Log the date, material, and any water-quality observations
- Schedule a professional inspection if the rod is seized or the heater is under warranty
Key Takeaways
Replacing a water heater anode rod on schedule is the single most cost-effective maintenance task for any tank-style water heater, protecting a $1,000–$3,000 appliance for the cost of a $20–$50 part.
| Point | Details |
|---|---|
| What the rod does | It corrodes sacrificially to protect the steel tank from rust and premature failure. |
| When to inspect and replace | Inspect every 2–3 years; replace when more than 50% depleted or heavily pitted. |
| Material choice matters | Use magnesium for soft water, aluminum/zinc for hard water or sulfur odor issues. |
| DIY vs. pro threshold | Stop and call a plumber if the rod is seized, the tank is under warranty, or gas lines are nearby. |
| Xtremeairservices | Provides professional anode inspection and replacement for Dallas-area homeowners, including seized-rod situations. |
The real cost of ignoring a $20 part
Most homeowners never think about the anode rod until they are standing in a puddle. That is understandable; it is invisible, it does its job silently, and nothing breaks when it depletes. The tank just quietly starts corroding from the inside.
What the conventional wisdom misses is that the rod does not fail all at once. It depletes gradually, and the last 20% of its life is when the real damage accelerates. By the time you see rusty water or a leak, the tank wall may already be compromised. The rod is not just a maintenance item; it is the only thing standing between your water heater and a slow-motion failure that ends in a flooded utility room.
The other thing worth saying plainly: if your water smells like sulfur, do not assume the worst. That odor is almost always a chemistry mismatch between a magnesium rod and sulfate-reducing bacteria in your water supply, not a sign of a failing tank. Switching to an aluminum/zinc rod typically resolves it without any other intervention. It is a $25 fix that homeowners routinely spend months worrying about.
Routine checks, a simple log, and knowing when to hand it off to a pro are all it takes to get 15 or more years out of a tank that might otherwise fail in 8.
Xtremeairservices handles the jobs that are too risky to DIY
Anode rod replacement is straightforward when everything goes right. When the rod is seized, the heater is in a tight closet, or the unit is still under a manufacturer warranty that requires professional service, the math changes fast. A stripped thread or a twisted gas line costs far more than a service call.

Xtremeairservices serves homeowners across the Dallas, TX area with professional water heater inspection and anode-rod replacement, including the seized-rod situations that stop most DIYers cold. A typical anode service visit runs under an hour and includes a full inspection of the rod, tank condition, T&P valve, and connections. Professional replacement with parts generally falls in the $150–$300 range, a fraction of what a new tank costs. Our plumbing maintenance plans can include scheduled anode checks so you never have to remember the interval yourself. To book an inspection or get a quote, visit our Dallas plumbing service page or call us directly.
Useful sources
These resources are worth bookmarking before you attempt a DIY inspection or order a replacement rod:
- Your water heater’s owner’s manual: The single most important document for thread size, rod location, and warranty terms. Find it by searching your model number plus “installation manual.”
- This Old House: How to Replace an Anode Rod: Clear step-by-step guidance with professional tips on material selection and seized-rod risks.
- Forbes Home Improvement: Water Heater Anode Rod: Consumer-focused cost-benefit breakdown and maintenance framing.
- Thumbtack: Water Heater Anode Rod Guide: Practical inspection thresholds and replacement guidance for homeowners.
- Zero Water Restoration: Water Damage Prevention: Broader context on how routine maintenance, including anode-rod care, reduces the risk of water damage.
- Manufacturer websites (A.O. Smith, Rheem, Bradford White): Each publishes model-specific anode rod specs, thread sizes, and warranty terms. Always cross-check before buying a replacement.
FAQ
Do I need an anode rod in my water heater?
Yes, if you have a tank-style water heater. The rod is the primary defense against internal corrosion; without it, the steel tank will rust from the inside out and fail prematurely.
How often should I replace my water heater anode rod?
Inspect the rod every 2–3 years and replace it when more than 50% is depleted or heavily pitted. Homes with water softeners or very hot water settings should inspect annually, since those conditions accelerate depletion.
Why does my hot water smell like rotten eggs?
A sulfur smell usually means a magnesium anode rod is reacting with sulfate-reducing bacteria in your water supply. Switching to an aluminum/zinc rod typically eliminates the odor without any other changes to the heater.
Can I replace the anode rod myself?
Most homeowners can handle a standard replacement with a 1 1/16-inch socket and a breaker bar or impact wrench. Stop and call a plumber if the rod is seized and will not move, if the heater is near a gas line, or if the unit is under a manufacturer warranty requiring professional service.
How much does anode rod replacement cost?
A DIY replacement costs $15–$50 for the rod itself. Professional replacement by a licensed plumber, including labor and parts, typically runs $150–$300 in the Dallas area. Either option is far less than a full tank replacement, which averages $1,000–$3,000 or more.