


Chiller Installation in Fort Worth: What the Job Involves
Commercial chiller replacement sized for your building, with what's included and excluded explained before work starts.
What’s Covered on This Page
- What Counts as a Standard Chiller Installation
- What Drives the Price Above a Standard Swap
- Signs Your Building Needs a New Chiller Now
- When Repair Makes More Sense Than Replacement
- How the Installation Process Works From Assessment to Startup
- How long does a chiller installation take from order to startup?
- Do I need a temporary chiller while mine gets replaced?
- What happens to my old chiller when the new one goes in?
What Counts as a Standard Chiller Installation
You’ve probably seen chiller prices that look all over the map. Our typical range runs from $15,000-$150,000. That gap isn’t guesswork. It comes down to one question: can the new chiller drop into the same spot and hook up to what’s already there?
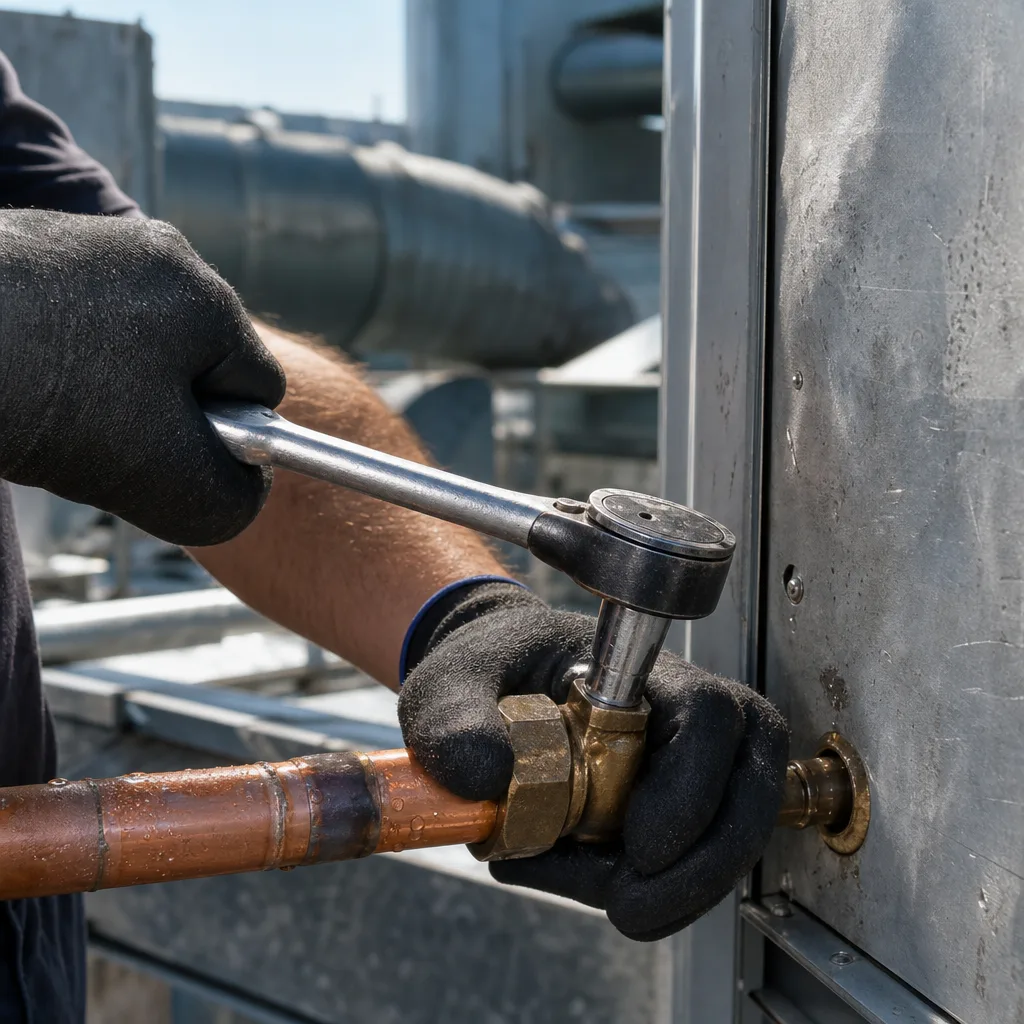
If it can, you’re looking at our most common job. That’s a standard like-for-like installation that uses your existing connections with no major changes. It covers equipment and materials plus professional installation, startup, and testing. The price for that job is $42,000-$96,000.
Here’s what that standard job includes:
- The new chiller and the materials to install it
- Professional installation by our licensed and insured team
- Standard connections to your existing setup
- Startup and testing, so you know it’s running right before we leave
- Haul-away of your old unit
And here’s what it doesn’t include unless your quote says so: duct, electrical, or plumbing changes, code corrections, and permits. We’d rather tell you that up front than have it come as a surprise halfway through the job.
A few things push a job past standard. Each one adds labor, parts, or both:
- Size and efficiency. If your building’s cooling load has changed and you need more or less tonnage, the new unit may not match your old connections.
- Brand and model. Different equipment costs different amounts, and some models don’t line up with what you have now.
- Ease of access. A chiller on a tight rooftop or deep in a basement mechanical room is harder to get in and out than one on an open pad at ground level.
- Condition of what’s already there. Worn piping, outdated wiring, or tired plumbing may need work before the new unit can safely tie in.
- Code upgrades and permits. An older install may not meet current requirements, and fixing that is separate from the swap itself.
- Custom fabrication. Some jobs need parts built to fit, and that adds time.
Changing the type of system also changes the scope. Moving from an air-cooled chiller to a water-cooled one usually means adding a cooling tower, which is its own project. We handle cooling tower installation too, but you should know it’s a bigger job than a straight swap.
So when you read any quote, check for three things. Does it say whether the job is like-for-like? Does it list what’s excluded? And does it say who’s pulling the permit? If those answers aren’t on paper, two quotes that look close can end up thousands of dollars apart.
If your job lands on the bigger side, flexible financing is available on qualifying installations and larger jobs, on approved credit. That way, the right fix for your building doesn’t have to wait on a single budget cycle.
What Drives the Price Above a Standard Swap
You usually can’t see what pushes a chiller job past a standard swap from the parking lot. It shows up when someone stands in your mechanical room or on your roof and looks at what the new unit has to connect to. That’s why any phone price for a job beyond like-for-like is really a guess. Here’s how each cost driver shows up on a site walk, so you know what you’re paying for.
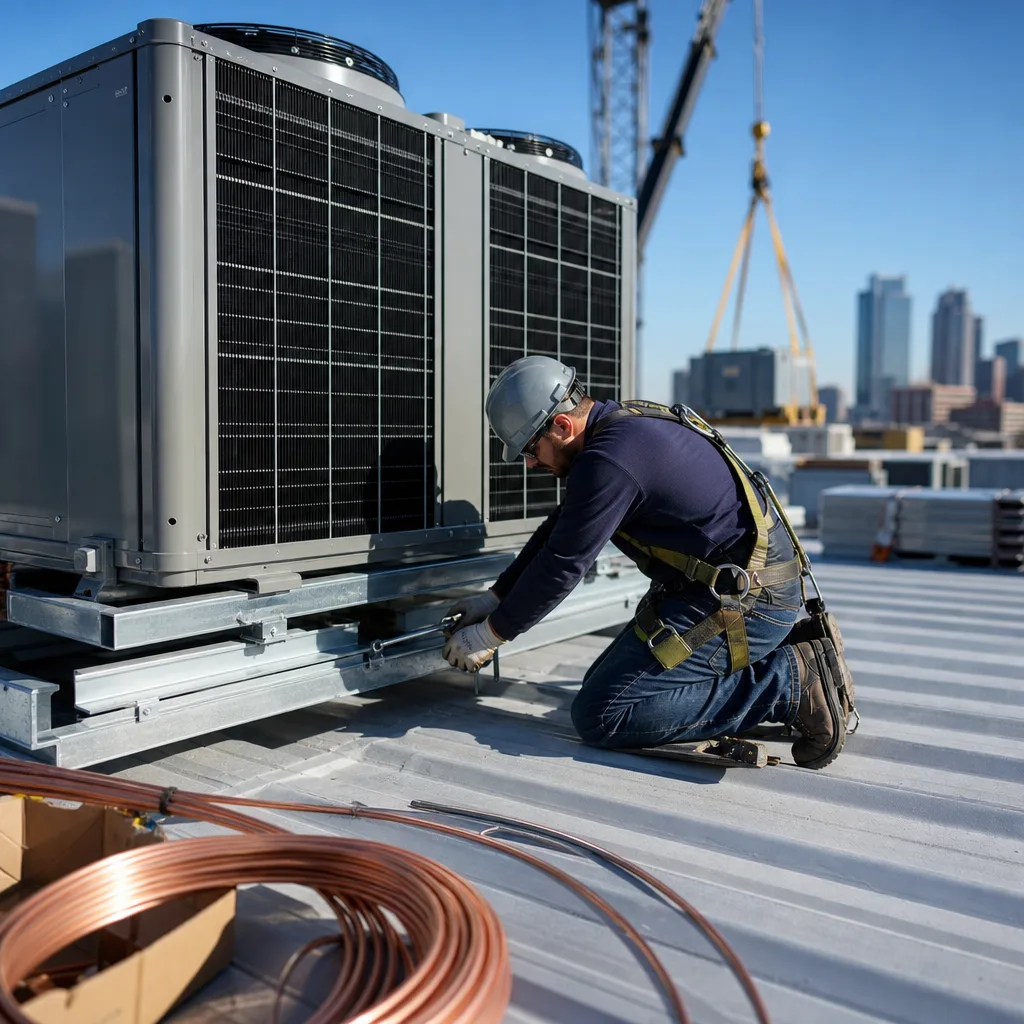
- Getting the unit in and out. On an open ground-level pad, this is simple. On a tall roof downtown, it can mean renting a crane and planning the lift around your building’s schedule. In a basement, the chiller may have to come apart to fit through a doorway and get rebuilt in place. All of that is labor before a single pipe gets touched.
- The old connections. Valves can be rusted shut, pipe insulation can be soaked through, and the flanges on the old piping may not line up with the new unit. Any of these means new parts before the chiller can tie in safely.
- The electrical service. A new chiller may need a different breaker, disconnect, or feeder than the old one. If what’s on the wall doesn’t match the new unit’s nameplate, it has to be upgraded first.
- Your building controls. If a building automation system runs your plant, the new chiller has to talk to it. Older controls don’t always speak the same language as newer equipment, and getting them connected is its own line of work.
- Refrigerant. Many older chillers run on refrigerants that are being phased out. Your new unit may use a different one, and the old charge has to be recovered properly before the old unit leaves the site.
One more cost catches people off guard, and it has nothing to do with the equipment. It’s downtime. If your business can’t go without cooling for a few days, you may need a temporary chiller to carry the load during the swap. In a Fort Worth summer, that can matter more than anything else on the quote. It protects your tenants, your inventory, or your servers while the new unit goes in.
Think about a property manager whose old chiller sits in a basement plant room. The quote comes back well above what a neighbor paid for a rooftop swap. On the walk-through, the reasons are easy to see. The unit won’t fit through the door in one piece, the main valves are seized, and the controls are two generations old. None of that is padding. Each one is real work that a rooftop job with good connections just doesn’t need.
These items also stack. A tight access path plus worn piping plus a controls upgrade adds up faster than any one of them alone. That’s why we’d rather find them during the walk-through and put each one on your quote as its own line, with its own price. You can see exactly what’s driving the number, ask about any item, and decide what has to happen now and what can wait. No surprises halfway through the job, and no meter running while you figure it out.
Signs Your Building Needs a New Chiller Now
A chiller rarely quits all at once. It usually tells you it’s wearing out long before it stops. The trick is knowing which warning signs mean it’s time to plan a replacement, and which ones just mean it needs a good repair.
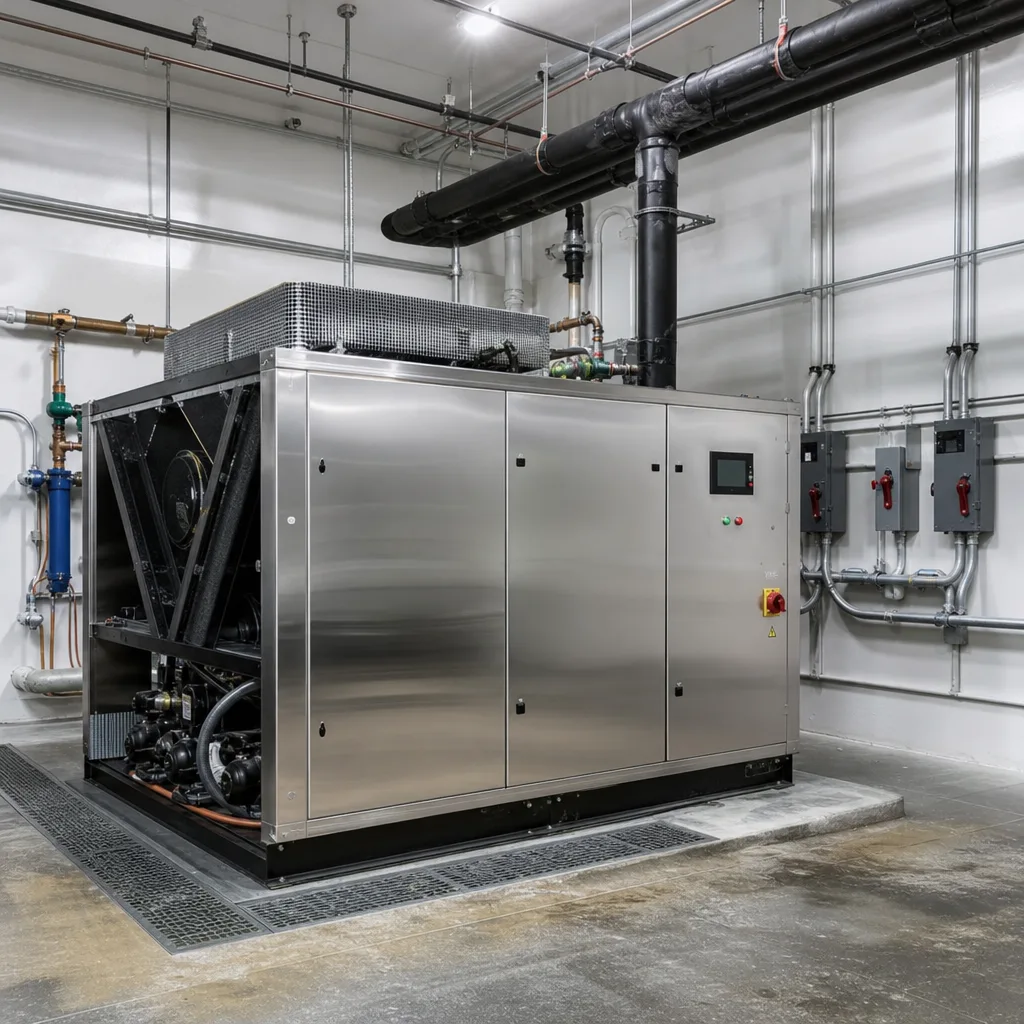
These are the signs that point toward a new chiller:
- It can’t keep up on the hottest days. Your building feels fine in May, but by August the chiller runs nonstop and still can’t hold your set temperature. In a Fort Worth summer, a unit that’s losing capacity shows it first in the late-afternoon heat.
- The repair calls keep coming. One fix leads to the next, and you’re spending more each year just to keep it running. When the repair bills start to look like a down payment, the math has changed.
- The same problem keeps coming back. A leak that gets patched and returns, or a compressor that trips again and again, often means the unit is worn out deeper than one part.
- Your energy bills climb while your use stays the same. An aging chiller works harder to make the same cooling, and you pay for that effort every month.
- It runs on a refrigerant that’s being phased out. As covered above, that makes every recharge harder to get and more costly, so each repair buys you less time.
- Your building has changed. You added floors, servers, tenants, or kitchen equipment, and the chiller sized for the old building just can’t carry the new load.
One of these on its own doesn’t always mean replacement. Two or three together usually do. Picture a facilities manager who notices the chiller struggling every July, has called for the same leak twice this year, and sees the power bill creeping up. Each problem looks small alone. Side by side, they tell you the unit is near the end.
Here’s the honest other side. If your chiller is in good shape overall and one part failed, like a fan motor, a sensor, or a control board, a repair is often the smart call. Replacing a solid unit because of one bad part wastes your money. The same goes for a chiller that cools fine but just needs cleaning or a tune-up. In those cases, fix it and keep watching for the signs above.
The worst time to decide is in the middle of a breakdown in July, when you’re choosing fast and paying for a temporary unit to keep your tenants or inventory cool. If you’re seeing these signs now, you’ve got time to plan. You can schedule the swap for a cooler month, line up financing on approved credit if you need it, and avoid a rushed decision.
A site walk is the fastest way to know where your chiller stands. Our licensed and insured team will look at the unit, the connections, and your building’s load, then tell you plainly whether you need a repair or a replacement. You’ll get upfront flat-rate pricing before any work starts. There’s a $26-$99 service-call fee, and it’s credited toward the work if you go ahead with Xtreme Air Services.
Ready when you are – get in touch today.
Call Today, Get Service Today. Xtreme Air Services — Fort Worth is ready to help.
When Repair Makes More Sense Than Replacement
A new chiller is a big check to write. Before you sign one, make sure the chiller is really the problem. Sometimes it isn’t. Sometimes it’s worth fixing even when it’s not young anymore. Here’s when holding off is the smart move.
- The trouble is outside the chiller. Warm spaces and weak cooling don’t always start at the chiller. A worn pump, a cooling tower that isn’t shedding heat, stuck valves, or air handlers that are out of balance can all make a healthy chiller look tired. Fix those parts, and the chiller you already own may keep up just fine.
- The tubes are dirty, not worn out. Over time, scale and grime build up inside the tubes where the chiller trades heat with water. That layer acts like a blanket, so the chiller runs harder and cools less. A good tube cleaning can bring back a lot of lost capacity. It costs far less than a new unit.
- There’s one leak, and it can be found. A slow refrigerant leak from a single fitting or joint is a repair job. It’s a different story when leaks keep popping up in new spots. If a technician can find the source and seal it, you don’t need a whole new machine.
- The controls are confused, not the equipment. A bad sensor reading or a setpoint that drifted can make a chiller short-cycle or run nonstop. Recalibrating or updating the controls costs a small fraction of a swap.
Timing matters too. Say your chiller is near the end, but it fails in late June. A solid repair that gets you through the summer can be the right call. That’s true even if you already know a replacement is coming. You keep your tenants cool now. Then you plan the swap on your own schedule, not in a panic during the hottest part of a Fort Worth summer.
Your building’s plans count as well. Are you about to add a floor, bring in a big tenant, or change how a space is used? Your cooling load may be about to change. Buying a new chiller sized for today’s building could leave you with the wrong unit in two years. In that case, keep the current one running and size the replacement once you know what the building will need.
Here’s a simple way to think about it. Picture a manager who sees the chiller running hot every afternoon and assumes it’s done. Then a technician checks the cooling tower and finds clogged fill and a weak pump. The chiller itself checks out fine. Fixing the tower and pump solves the problem. Replacing the chiller wouldn’t have, because the old tower would have held back the new chiller the same way.
So ask any contractor one plain question before you agree to a replacement: what did you check besides the chiller? If the answer doesn’t include the water side, the pumps, and the controls, you don’t have the full picture yet. A replacement should be the answer only after the cheaper fixes have been ruled out.
Watch Our Video
See How We Handle Chiller installation in Fort Worth
Xtreme Air Services — Fort Worth
How the Installation Process Works From Assessment to Startup
A chiller swap isn’t one big day of work. It’s a handful of steps, and most of what decides your final price happens in the first one. Here’s how a typical installation goes, so you know what’s coming and what to look for at each stage.
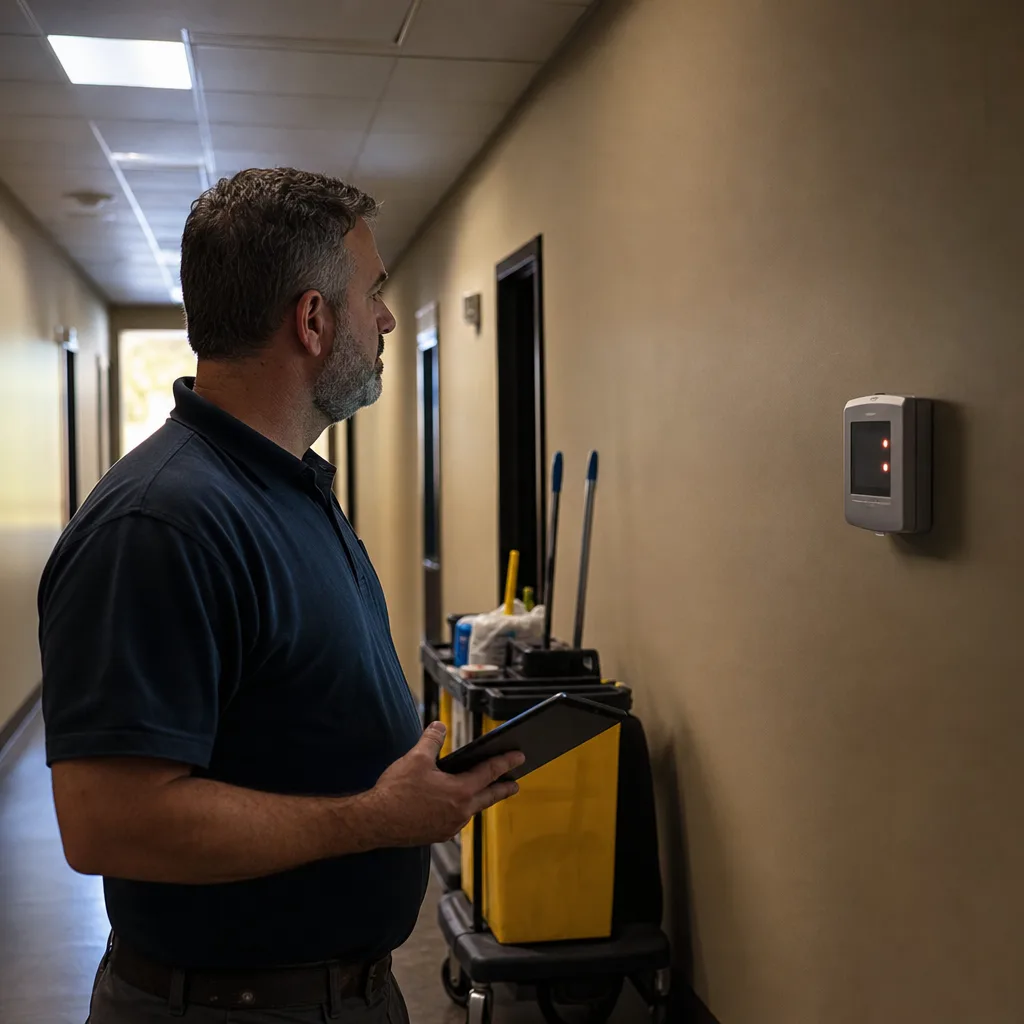
1. The site walk and load check. Before anyone talks about equipment, someone has to measure what your building really needs. A cooling load calculation looks at your square footage, people, lights, servers, and equipment to figure out the right size. The same visit checks the access path, the old connections, the electrical service, and your controls, which are the cost drivers covered above. This is where you learn whether your job is a true like-for-like swap or something bigger.
2. A written scope and price. You should get a quote that names the unit, says whether it’s like-for-like, and lists what’s excluded and who handles permits. With us, you’ll see upfront flat-rate pricing and approve it before work starts. Because the site walk already found what’s behind the walls and on the roof, the number you approve is the number you can plan around.
3. Ordering and scheduling. Commercial chillers often aren’t sitting on a shelf, so expect some lead time between signing and install day. Use that time well. If you can, plan the shutdown for a spring or fall week instead of the middle of a Fort Worth summer. Line up any crane lift, building access, and tenant notices ahead of time, and decide early whether you need temporary cooling.
4. Removing the old unit. On install day, the crew shuts down and isolates the water loops, drains what needs draining, recovers the old refrigerant, and disconnects power and piping. Then the old chiller comes out, whole or in pieces. Haul-away of the old unit is included in our standard job, so you’re not left with a several-ton problem in your parking lot.
5. Setting and connecting the new chiller. The new unit is set in place, leveled, and mounted so it doesn’t shake the building. Then it’s tied into your chilled water piping, condenser piping, electrical service, and controls. On a standard job, these are the standard connections already covered in your price.
6. Startup and testing. This is the step you should never let anyone rush. Startup and testing are part of our standard installation. A proper startup usually covers:
- Checking every new joint for leaks before the system runs
- Filling the water loops and bleeding out trapped air
- Confirming water flow through the chiller is where it should be
- Measuring the water temperature going in and coming out under real load
- Checking motor amp draw and testing the safety shutoffs
- Making sure the chiller and your building controls are talking to each other
When startup is done, ask for the readings in writing. Those numbers are your baseline. If something feels off next July, a technician can compare today’s performance to day one and spot the change fast, instead of guessing.
That’s the whole path. A careful site walk sets an honest price, good planning keeps your downtime short, and a thorough startup proves the new chiller is doing its job before the crew leaves.
Frequently Asked Questions
Common questions about Chiller installation
How long does a chiller installation take from order to startup?
Most of the wait happens before install day, since commercial chillers often aren’t sitting on a shelf and need lead time after you sign. Once the unit arrives, removing the old chiller, setting the new one, and running startup and testing usually fits into a short, planned shutdown. Scheduling that shutdown for spring or fall instead of a Fort Worth summer helps you avoid rushing the job or tenants going without cooling.
Do I need a temporary chiller while mine gets replaced?
You may, if your building can’t go without cooling for a few days during the swap. This matters most in a Fort Worth summer, when losing cooling even briefly can affect tenants, inventory, or servers. Deciding on temporary cooling early, during the planning and scheduling stage, keeps it from becoming a last-minute scramble on install day.
What happens to my old chiller when the new one goes in?
Your old chiller gets properly shut down, drained, and hauled away as part of a standard installation. The crew isolates the water loops, recovers the old refrigerant the right way, and disconnects power and piping before the unit comes out. You won’t be left managing a several-ton piece of equipment in your parking lot afterward.
Ready to Get Started?
Call (817) 677-1907 Today, Get Service Today.