
The fastest way to lower your electric bill at home is to combine four free or nearly free changes: adjust your thermostat a few degrees, kill standby power drains, switch your most-used bulbs to LEDs, and lower your water heater to 120°F. Most households see a measurable drop on the very next billing cycle.
Do this today:
- Nudge your thermostat 3-5 degrees toward outdoor temperature (each degree saves roughly 1% to 3% on heating and cooling)
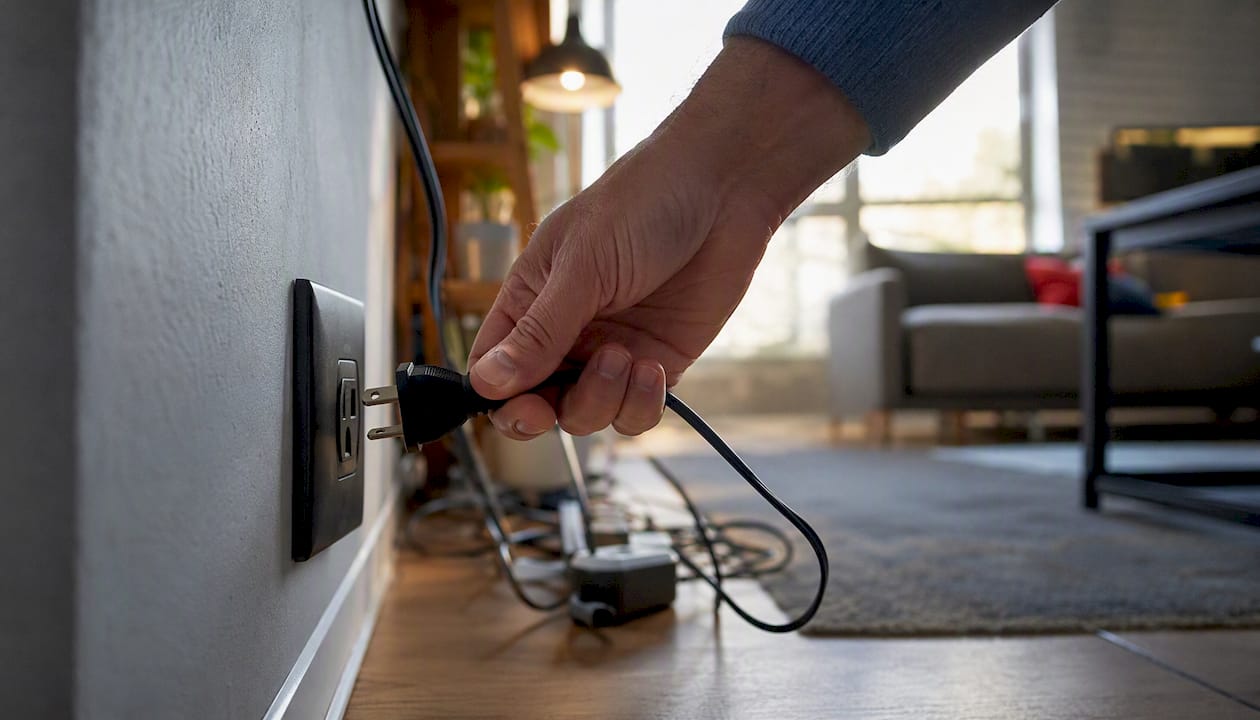
- Unplug chargers, game consoles, and idle electronics you’re not using
- Swap your five most-used bulbs for ENERGY STAR LEDs
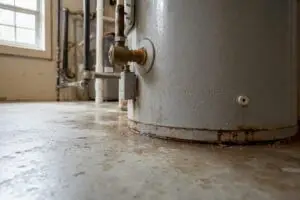
- Lower your water heater to 120°F
- Run only full loads in the dishwasher and washing machine
- Check your last two utility bills to spot your actual kWh trend
Quick math: water heating alone runs about 18% of a typical home’s energy use, and sealing air leaks can cut heating and cooling costs by 10% to 20%. Pull up last month’s bill now, note the kWh total, and use it as your baseline for everything below.
Key Takeaways
Lowering an electric bill reliably comes down to sequencing: free behavioral changes first, cheap maintenance and sealing second, equipment upgrades only after the house itself stops leaking energy.
| Point | Details |
|---|---|
| Start with thermostat and standby loads | Each degree of thermostat adjustment saves 1% to 3%; killing vampire loads costs nothing and pays back in weeks. |
| Water heater setting matters | Lowering the tank to 120°F saves 6% to 10% on water heating, which is about 18% of a typical bill. |
| Seal before you upgrade | Air sealing and insulation save 10% to 20% on heating and cooling and should come before any new HVAC purchase. |
| Maintenance is the cheapest big win | Filter changes, coil cleaning, and annual tune-ups restore lost HVAC efficiency for little to no cost. |
| Call in professional diagnostics when needed | Xtreme Air Services offers HVAC maintenance plans with blower-door and duct testing to catch losses a DIY audit can’t find. |
Table of Contents
- Priority Checklist: What to Fix First for the Best Payback
- How Do You Check Your Home’s Energy Use Right Now?
- What Thermostat Settings and HVAC Maintenance Actually Save You
- How Much Can You Save on Water Heating and Appliances?
- Which Lights and Devices Waste the Most Standby Power?
- Where Should You Seal and Insulate First?
- Can Switching Your Electric Rate Plan Save You Money?
- When Does a DIY Fix Turn Into a Job for a Professional?
- Why a Layered Approach Beats Chasing One Big Upgrade
- Get a Professional Home Energy Check From Xtreme Air Services
- Sources
- FAQ
Priority Checklist: What to Fix First for the Best Payback
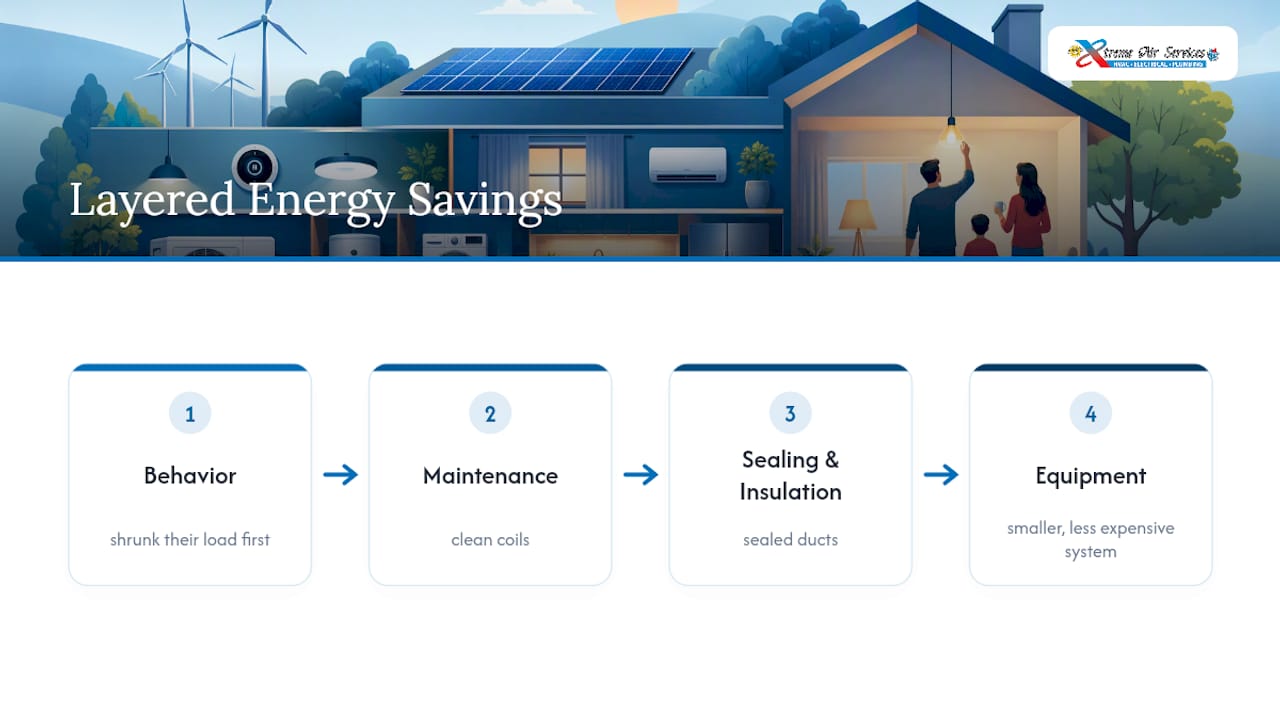
Not every fix deserves your time on the same afternoon. The U.S. Department of Energy recommends a layered order: behavior changes first, maintenance second, equipment upgrades last. That order isn’t arbitrary. It’s the sequence that gets you savings before you spend a dollar, and it keeps you from buying new equipment you didn’t actually need.
- Behavior changes (cost: $0). Thermostat setbacks, full laundry loads, turning off unused lights. Annual savings: 5% to 10% of your electric bill, starting immediately.
- Standby power elimination (cost: $10 to $30 for smart power strips). Cuts vampire loads that often run 5% to 10% of household electricity. Payback: under two months.
- Lighting swaps (cost: $30 to $80 for a house’s worth of LEDs). Five heavily used fixtures switched to LEDs can save around $40 a year. Payback: one season.
- Routine HVAC maintenance (cost: $0 to $150 for filters and a tune-up). Restores lost efficiency, often 5% to 15%. Payback: same winter or summer.
- Air sealing and insulation (cost: $300 to $1,500 DIY to professional). Saves 10% to 20% on heating and cooling. Payback: one to three years.
- Equipment upgrades: smart thermostat, heat pump, efficient water heater (cost: $150 to $6,000+). Savings vary widely; payback runs two to ten years depending on the equipment.
Pro Tip: If your utility offers a smart meter portal or you own a plug-in kWh monitor, check usage before and after each change. Two weeks of data tells you whether a fix actually worked, rather than guessing from the monthly bill total.
How Do You Check Your Home’s Energy Use Right Now?
Start with your own bill, not a contractor. Pull twelve months of statements and note your baseline kWh for each season. Then run this quick DIY audit:
- Check usage around 3 AM using your utility’s hourly data or app. Anything that’s still pulling significant power while you sleep is a vampire load worth chasing down, a trick DOE recommends for finding always-on loads.
- Walk your attic, basement, and exterior walls with a lit incense stick on a windy day. Smoke that wavers near outlets, plumbing penetrations, or window frames marks an air leak worth sealing.
- Check attic insulation depth. Less than 10 to 14 inches in most climates usually means you’re losing conditioned air through the ceiling.
A professional audit goes further: blower-door testing to measure whole-house leakage, infrared scanning to find missing insulation, and combustion safety checks on gas appliances. That level of testing typically produces a prioritized list of the most cost-effective fixes rather than a guess. Many utilities subsidize or fully cover an audit, so check your provider’s rebate page before paying out of pocket.
What Thermostat Settings and HVAC Maintenance Actually Save You
Heating and cooling eats the largest share of most electric bills, so this is where prioritization pays off fastest. The rule of thumb holds up well: every degree you adjust your thermostat toward the outdoor temperature saves roughly 1% to 3% on your heating and cooling costs. A smart thermostat that automates setbacks while you’re asleep or away typically adds another 8% to 15% in savings, averaging around $50 a year for most households and closer to $100 for homes that sit empty for long stretches.
Maintenance is the next lever, and it’s cheap:
- Replace or clean HVAC filters monthly during peak season, more often with pets
- Schedule an annual tune-up before summer and winter, not during a breakdown
- Clean condenser coils outside; a dirty coil can force the system to work far harder than it should
- Confirm return and supply vents aren’t blocked by furniture or rugs
Ducts matter more than most homeowners realize. Leaky ductwork in an attic or crawlspace loses conditioned air before it ever reaches a room, and sealing those joints can save 10% to 20% on heating and cooling. Small gaps around register boots are DIY fixable with mastic sealant; full duct systems with major leaks are a job for a technician with a duct pressure tester.
If you’re weighing a full system replacement, run the math on a heat pump or a higher SEER-rated AC only after you’ve sealed and insulated. Combining an efficient system with insulation and air sealing can cut heating and cooling energy use by roughly 30% compared to older systems running without those whole-house upgrades. Buy the smaller, cheaper system that matches your new, lower load, not the one sized for your leaky house.
Pro Tip: Before signing off on any new HVAC install, ask the technician for a load calculation and an airflow diagnostic, not just a quote based on your old unit’s tonnage. An oversized system cycles on and off constantly and wastes money every month it runs.
How Much Can You Save on Water Heating and Appliances?
Water heating is the second-biggest energy line item in most homes, and it’s one of the easiest to fix without spending anything. The DOE recommends setting your tank to 120°F, down from the factory-default 140°F common on many units. That single adjustment saves 6% to 10% on water heating costs, and a standard 50-gallon tank running at 140°F can burn through roughly 4,000 kWh a year, a number that drops noticeably at the lower setting.
- Lower the tank temperature to 120°F. Check the dial near the bottom of electric units; most people have never touched it.
- Insulate the tank and the first six feet of hot and cold pipe. A simple insulating blanket costs $20 to $40 and pays for itself within a year.
- Run only full loads in the dishwasher and washing machine, and switch laundry to cold water whenever the load allows it. Heating water is where most of a washing machine’s electricity goes, not the spinning.
- Clean the dryer lint trap every load and clear the vent line annually. A clogged vent line can force a dryer to run 20% to 30% longer than it should, which burns extra electricity and raises fire risk at the same time.
Replacement timing matters too. A refrigerator older than 15 years, a water heater past 10 to 12 years, or a dryer with a persistently clogged vent despite cleaning are all candidates for an ENERGY STAR replacement. The efficiency gap between an old unit and a current ENERGY STAR model is often wide enough that the payback lands inside three to six years, especially on refrigerators that run continuously.
Which Lights and Devices Waste the Most Standby Power?
Vampire loads, the electricity devices pull while sitting idle, are an easy target because fixing them costs almost nothing. Game consoles, cable boxes, phone chargers, and countertop appliances with a standby light all draw power around the clock, and DOE’s own guidance points homeowners to check usage around 3 AM to spot exactly which devices never really turn off.
- Plug entertainment centers and home office gear into a smart power strip that cuts power to everything when the main device shuts down
- Unplug phone and laptop chargers when they’re not actively charging something
- Swap your most-used fixtures first; ENERGY STAR LEDs use up to 90% less energy than incandescent bulbs and last many times longer
When shopping for LEDs, check lumens (brightness) rather than watts, pick a color temperature around 2700K to 3000K for warm living spaces, and confirm the ENERGY STAR label before buying. For power strips, look for one with individually switched outlets or a “master/control” outlet that senses when your TV goes into standby and cuts the rest automatically.
Where Should You Seal and Insulate First?
Every dollar spent on air sealing does more for your bill than most equipment upgrades, because it reduces how hard your HVAC system has to work in the first place. Homeowners typically see 10% to 20% savings on heating and cooling after a proper sealing and insulation pass, and the fixes get progressively more involved as you move down the list.
- Seal gaps around outlets, light fixtures, and plumbing penetrations. These small, hidden leaks are high-ROI compared to bulk insulation alone, and caulk or foam sealant handles most of them for under $50.
- Weatherstrip doors and windows. A few hours and $30 to $60 in materials stops drafts you can often feel with your hand.
- Add attic insulation to recommended depth. This is a bigger job, usually $1,000 to $2,500 professionally installed depending on square footage, but it’s one of the highest-leverage upgrades on this list.
- Insulate ducts running through unconditioned attics or crawlspaces. Bare metal ductwork in a 130°F attic loses cooling before it reaches your bedroom.
Caulk, weatherstripping, and outlet sealing are safe DIY work for most homeowners. A partner guide on common sources of home energy loss walks through more of these leak points in detail. Attic insulation depth and any work near knob-and-tube wiring or older electrical panels is where hiring a contractor stops being optional.
Can Switching Your Electric Rate Plan Save You Money?
If you live in a deregulated electricity market, you likely have a choice of suppliers, and switching from a default variable rate to a fixed-rate contract can meaningfully change your annual bill, particularly if your current plan resets to a high seasonal rate. Many utilities also offer time-of-use plans that price electricity 20% to 50% cheaper during off-peak hours.
- Check your utility’s website for time-of-use or off-peak rate options before assuming your rate is fixed
- Shift laundry, dishwashing, and EV charging to late evening or early morning if you’re on a time-of-use plan
- Enroll in any rebate programs your utility lists for smart thermostats, insulation, or appliance recycling
- Use a smart plug or timer to automate shifting loads without having to remember every night
When Does a DIY Fix Turn Into a Job for a Professional?
Some of the fixes above are safe weekend projects. Others involve combustion appliances, attic access, structural insulation, or your home’s electrical panel, and that’s where DIY confidence should stop.
- Call a professional for gas furnace or water heater combustion safety checks, not a flashlight inspection
- Bring in a contractor for full duct sealing or resizing, attic insulation beyond a thin top-up layer, or any electrical panel work
- Ask for a blower-door test, duct pressure test, and a proper load calculation before agreeing to any new HVAC system quote
- Request the unit’s SEER and HSPF ratings in writing, not just a verbal “it’s efficient”
Xtreme Air Services runs these diagnostics as part of its HVAC maintenance plans, pairing filter and coil service with the kind of airflow and duct checks that catch problems before they show up as a spike on your bill.
Why a Layered Approach Beats Chasing One Big Upgrade
Homeowners who jump straight to a new HVAC system or solar panels often skip the cheaper fixes that would have shrunk their load first. Sealing and insulating before upgrading equipment means you can buy a smaller, less expensive system and still get better comfort. That’s the order worth following: behavior, then maintenance, then structural fixes, then equipment. Our technicians see the same pattern on service calls again and again: the house with the newest AC unit isn’t always the one with the lowest bill. The house with sealed ducts and clean coils is.
Get a Professional Home Energy Check From Xtreme Air Services
Most of the fixes in this guide cost nothing and take an afternoon. But once you’ve handled the thermostat, the standby loads, and the LEDs, the next real jump in savings comes from the parts of your house you can’t easily inspect yourself: duct leaks, an aging HVAC system, or an electrical panel that’s working harder than it should.
That’s where Xtreme Air Services fits in. Our technicians run the diagnostics a DIY audit can’t, blower-door style airflow checks, duct pressure testing, and load calculations, so you upgrade the right equipment instead of the biggest one on the showroom floor. Our HVAC maintenance plans catch the small inefficiencies (dirty coils, weak airflow, aging filters) before they turn into a bigger bill or a mid-summer breakdown. If your electrical panel is older or you’re planning a bigger retrofit, our residential electrical services cover that side of the house too. Serving homeowners in the Dallas, TX area, book a maintenance visit and get a real read on where your house is losing money.
Sources
FAQ
What runs up your electric bill the most?
Heating and cooling typically account for the largest share of a home’s electric bill, with water heating running second at around 18% of total energy use.
How do I make my electric bill lower?
Adjust your thermostat a few degrees, eliminate standby power loads, switch to LED lighting, lower your water heater to 120°F, and follow up with air sealing and routine HVAC maintenance for the biggest combined effect.
How can I cut my electric bill by a large amount?
The realistic path to major, double-digit savings is layering behavior changes, HVAC maintenance, air sealing, and equipment upgrades together, since combining efficient equipment with insulation and sealing can cut heating and cooling energy use by roughly 30% compared to older, unsealed systems.
What wastes the most electricity in a house?
Inefficient or poorly maintained HVAC systems waste the most, followed by standby “vampire” loads from electronics left plugged in around the clock, which DOE recommends checking for at 3 AM when little else should be drawing power.
Is it worth getting a professional energy audit?
Yes, especially if a DIY inspection turns up drafts, high bills you can’t explain, or an HVAC system over 10 to 15 years old. Professional audits use blower-door and infrared testing to find losses a homeowner can’t see and often qualify for utility rebates.